Are you tired of your kitchen looking like a tornado hit it?
Well, I’ve got just the thing for you!
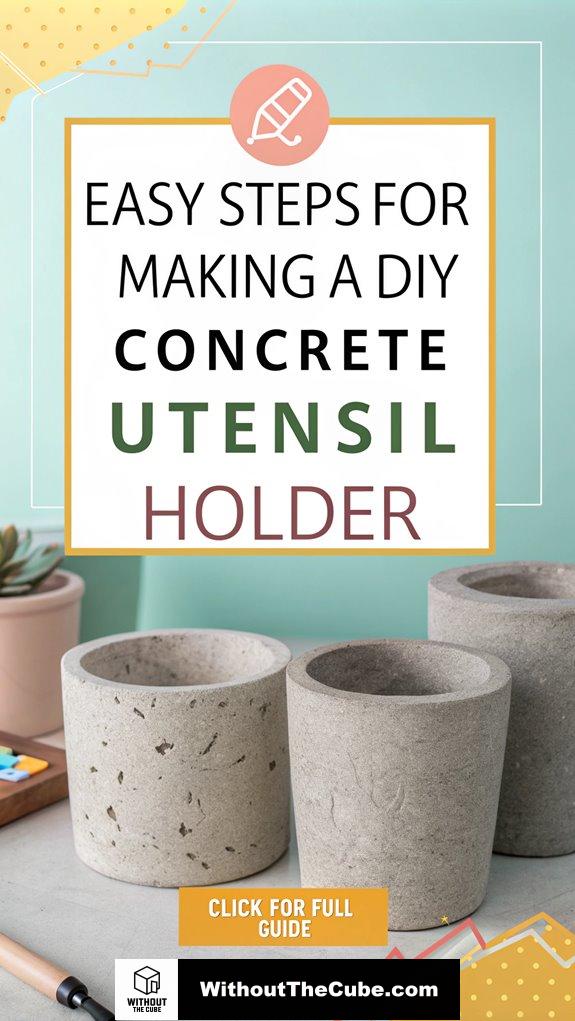
I recently decided to tackle my messy utensil drawer head-on—yes, I know, groundbreaking stuff over here. I whipped up a DIY concrete utensil holder in 10 easy steps.
First, I grabbed a tall cardboard container (thank you, Amazon boxes) and coated it in cooking spray. Then, I mixed up some quick-setting concrete—think peanut butter, but less tasty. After pouring it in layers and channeling my inner sculptor to compact it, I smoothed the edges and added some fun color.
Honestly, it’s amazing how a little concrete can make you feel like a design genius.
And if you haven’t visited my blog, Without The Cube, check it out! I’m all about promoting superior interior design.
—
A Client’s Concrete Conundrum
I once worked with a client who had a kitchen so cramped, you’d think they were preparing for a reality show on minimalism. They needed a utensil holder that was both functional and stylish.
After brainstorming, we opted for a concrete holder. The transformation was unreal! Not only did it declutter their space, but it also added a modern touch. We even played with colors to match their chic vibe.
Talk about a win-win!
Key Takeaways
- Prepare your mold using tall cardboard containers and a release agent to ensure easy removal of the concrete holder.
- Mix quick-setting cement to a peanut butter-like consistency using a paddle mixer for uniform texture.
- Pour the concrete in layers, compacting each layer to prevent segregation and ensure structural integrity.
- Finish the edges with silicone caulk for durability, and consider using water-based sealants for a non-toxic finish.
- Personalize your holder with unique colors, patterns, and textured finishes to enhance its aesthetic appeal.
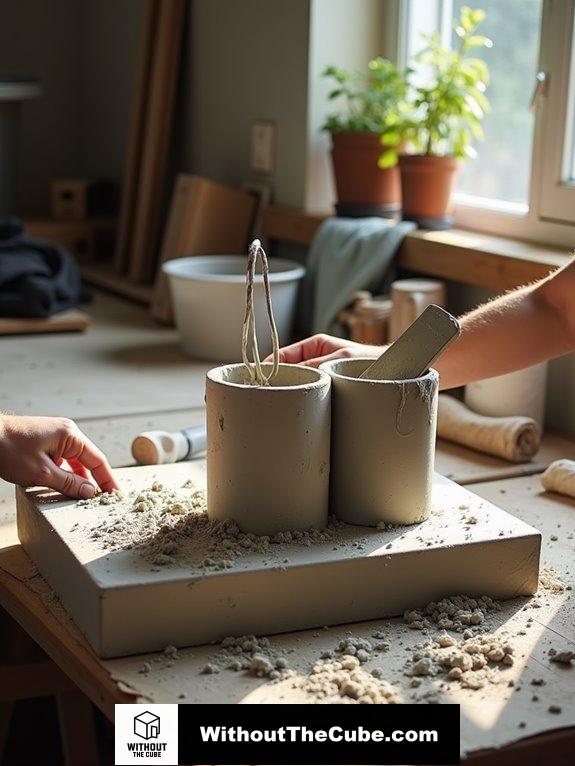
Prepare the Mold
Preparing the mold is an essential step in crafting your DIY concrete utensil holder.
I love using a tall cardboard container, like an empty half-gallon milk carton. Make sure to apply a release agent, like cooking spray, to the mold material. It’ll help the concrete pop out easily later! Using a straight-sided mold will also provide stability for your utensil holder. selecting the right mold material can significantly impact the final appearance of your holder. Trust me, no one wants a stuck utensil holder—what a hassle!
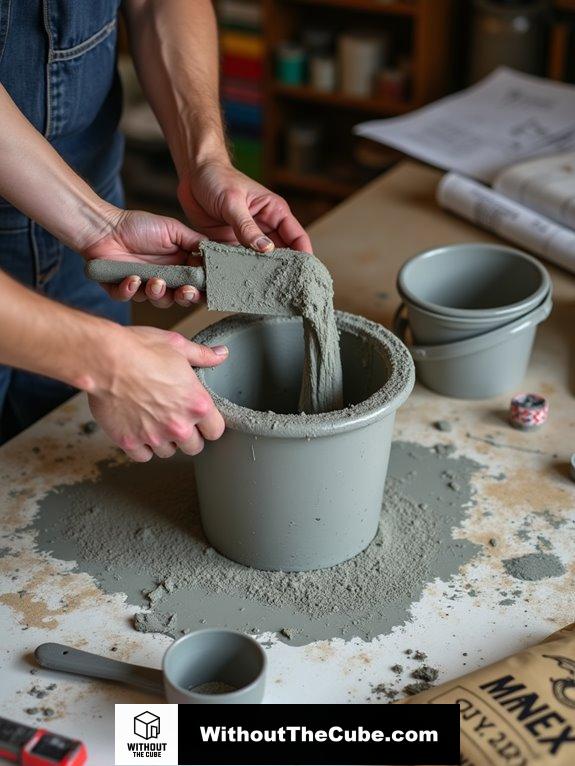
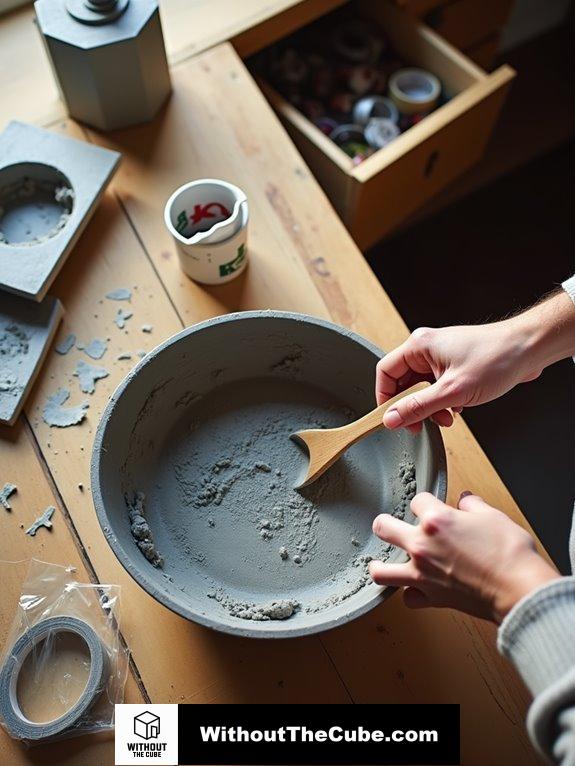
Mix the Concrete
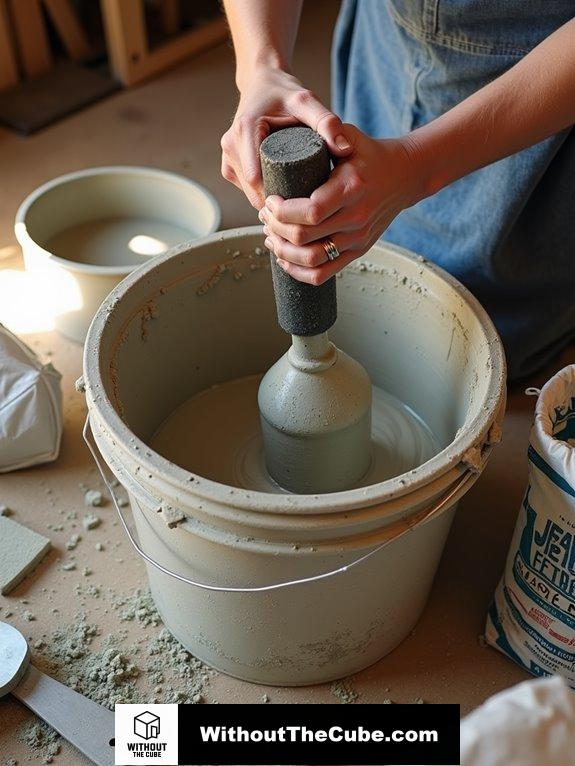
Mixing concrete is a critical step in creating your utensil holder, and getting it right makes all the difference.
I always opt for a paddle mixer—trust me, it’s a game-changer! Choose a paddle designed for the texture you’re working with. Use effective mixing techniques, and don’t skip the peanut butter-like consistency. This guarantees a smooth, even mixture that’ll have your holder looking fabulous! incorporating modern concrete techniques can elevate the aesthetic appeal of your project. Remember that using the right quick-setting cement mix will also contribute to the overall durability of your utensil holder.
Let’s get mixing!
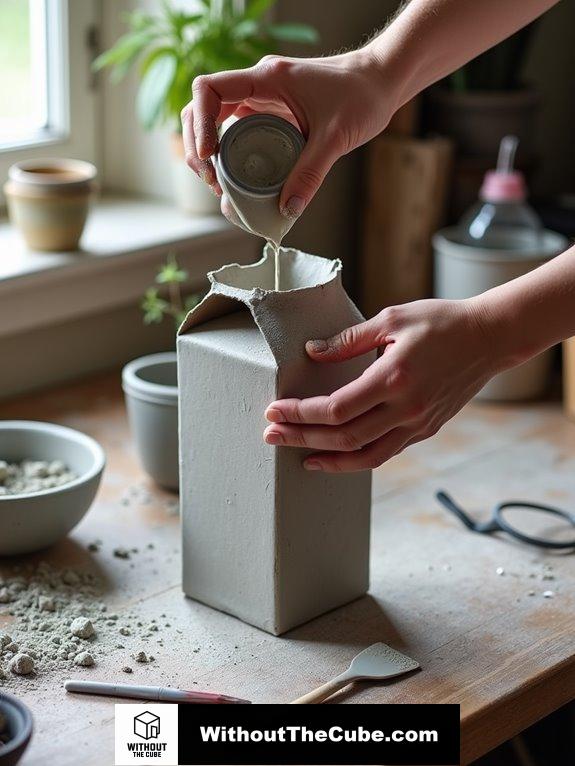
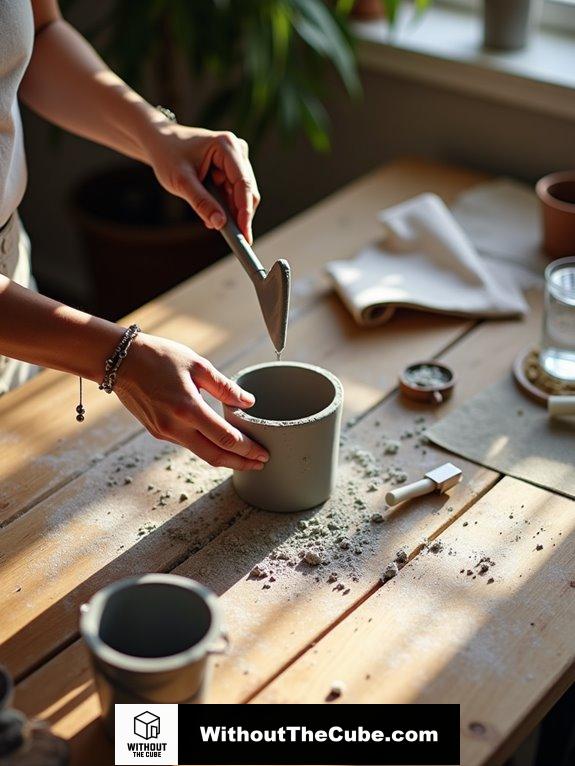
Pour the Concrete
Once you’re ready to pour the concrete, it’s essential to pay attention to the temperature and layering techniques. Aim for that sweet spot between 10°C and 21°C to avoid pesky temperature effects. Pour in layers, and don’t forget to compact each one to prevent segregation. Proper techniques during the pouring process will ensure your utensil holder will thank you for it—no honeycombs here! To create a durable final product, consider using high-quality concrete mix specifically designed for crafting projects. Let’s get creative!
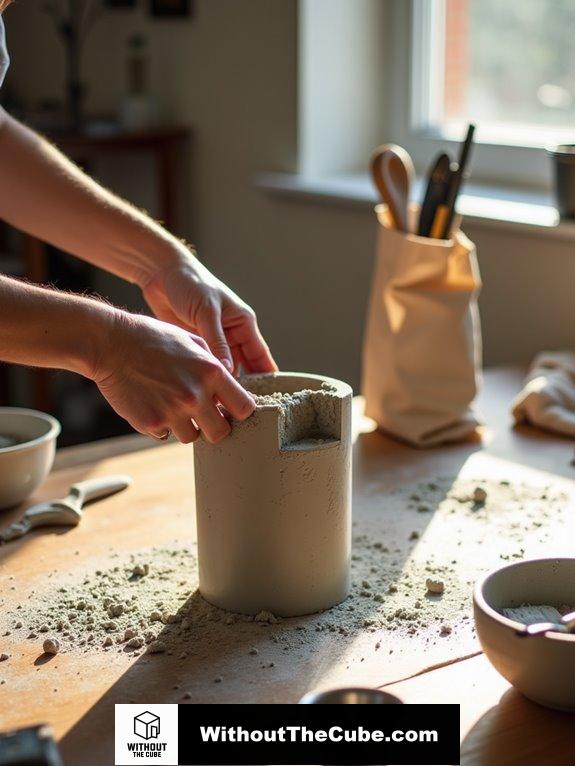
Shape the Concrete
As I shape the concrete, it’s essential to guarantee that my mold is clean and dry before adding the mix.
I love using a hand float at a 45° angle to smooth the surface, ensuring a sleek finish. Remember, concrete curing is key! Don’t forget your mold release to make removing it a breeze. Choosing the right concrete storage solutions can enhance both the functionality and style of your kitchen.
Ready to see your masterpiece emerge? Let’s do this!
Allow to Set
While I wait for the concrete to set, it’s essential to create the right environment to guarantee a successful cure.
I monitor the temperature, aiming for 50-70 degrees Fahrenheit, and use smart curing techniques.
Damp paper towels keep moisture levels up—no one wants a dried-out holder!
With the right environmental factors, I’m confident my DIY project will turn out beautifully. Stylish concrete towel holders not only serve a practical purpose but also enhance the aesthetic of your space.
Ready to get creative with me?
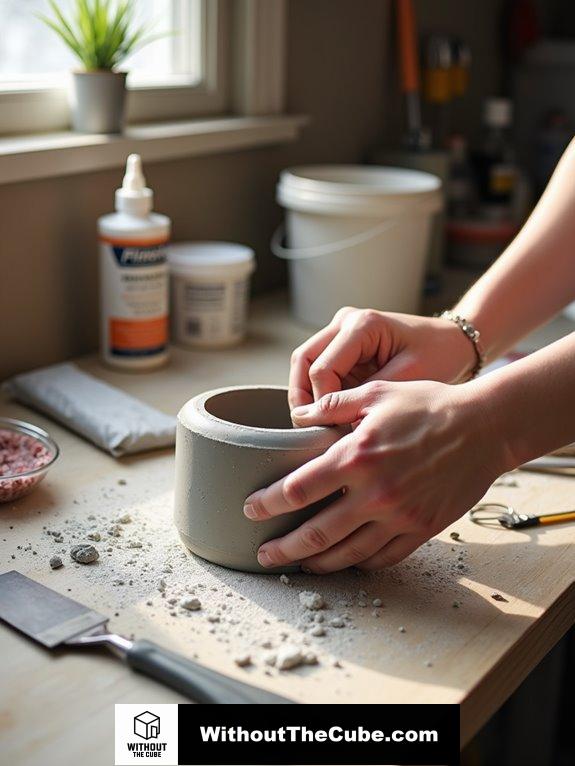
Remove From Mold
After the concrete has set and cured properly, it’s time to remove it from the mold.
If you used a flexible mold, just wiggle and peel it away—no fuss!
For rigid molds, try cooling with ice to help break the seal. Recall, each mold type has its own mold release magic. Contemporary concrete dish racks can add a stylish touch to your kitchen decor.
Ready to reveal your masterpiece? Let’s get to it!
Smooth Edges
Achieving smooth edges on your concrete utensil holder elevates its overall look and feel.
To get there, I use clever formwork techniques, like applying a mix of petroleum jelly and mineral spirits, avoiding those pesky corners.
Then, I tool silicone caulk for perfect rounded edges. Trust me, this not only boosts aesthetics but also edge durability, making your project shine.
using a high-quality concrete mix will ensure a more refined finish and enhance the durability of your utensil holder. Ready to impress?
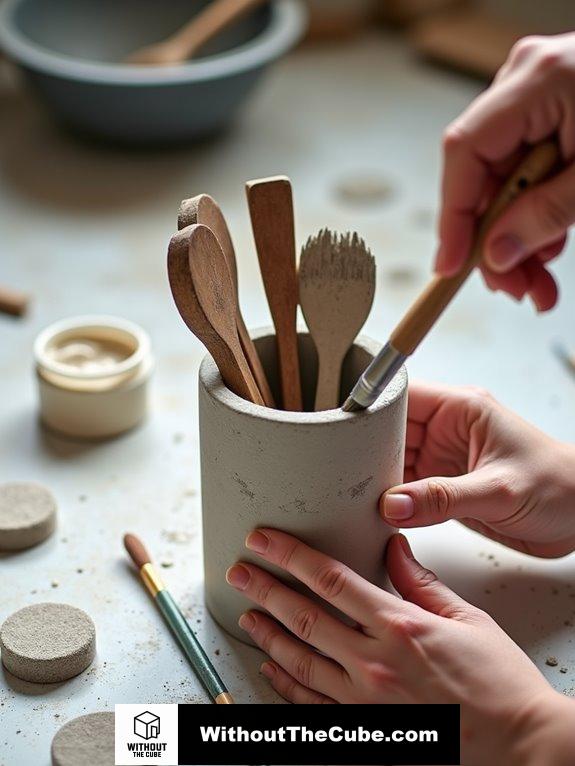
Decorate if Desired

Now that you’ve perfected those smooth edges, it’s time to add a personal touch to your concrete utensil holder.
Consider your color choices, and let design inspiration flow!
I love using heavy-body acrylic paint for vibrant hues. Get creative with patterns, and don’t forget a food-safe sealer to protect your masterpiece.
Trust me, this is where your personality really shines—let’s make it uniquely yours!
Final Touches
With a few final touches, your concrete utensil holder will transform into a functional piece of art.
Consider water-based sealing options to protect your creation; they’re non-toxic and safe!
Apply two flood coats for a durable finish.
Don’t forget to stick on protective felt pads underneath—it’s like giving your holder little shoes!
Let’s make it last, because we created this blog Without The Cube for superior design!
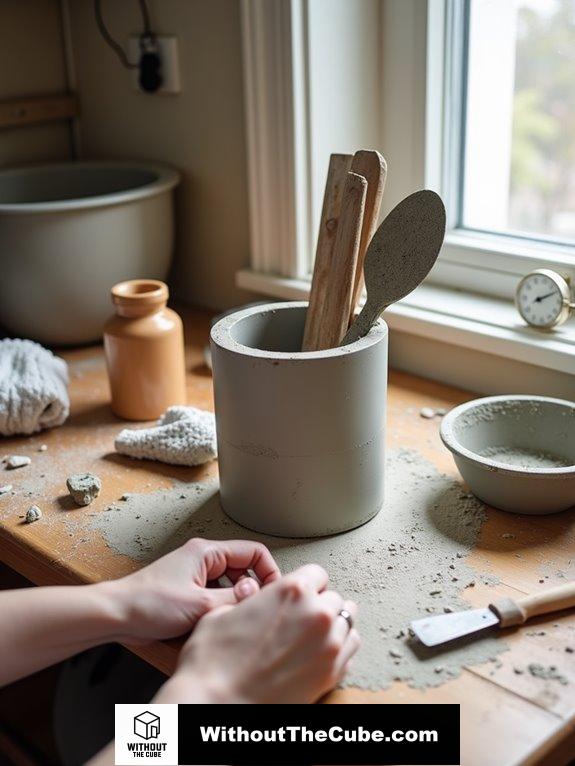
Use Your Holder
After adding those final touches to your concrete utensil holder, it’s time to put it to good use.
Trust me, it’ll transform your kitchen organization and utensil accessibility!
- Say goodbye to drawer chaos!
- Keep your essentials within arm’s reach.
- Create a tidy, efficient cooking space.
Let’s embrace the fun of cooking without the clutter.
You’ll love how it elevates your kitchen vibe!
Use Silicone Mold for Shaping
Creating a silicone mold for your concrete utensil holder opens up a world of customization and precision.
With silicone properties that guarantee flexibility and mold durability, you can craft unique designs effortlessly.
Just envision pouring your concrete into a perfectly shaped mold!
Plus, using a simple object with straight sides makes demolding a breeze.
Ready to get creative? Let’s shape something special!
Textured Surface Finish
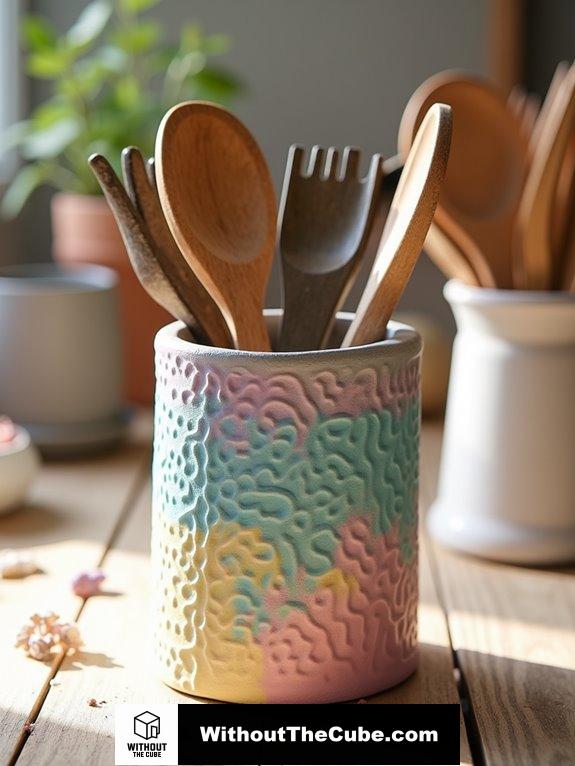
How can you elevate the look of your concrete utensil holder?
You can add a textured surface finish that’s both creative and functional!
Try these texturing techniques:
- Troweling for patterns
- A broom finish for subtle lines
- Texture paint for vibrant effects
These surface materials will surely make your holder pop, adding a unique touch to your kitchen.
Let’s get crafty!
Summary
I made a DIY concrete utensil holder, and it added a unique touch to my kitchen. It’s a simple way to showcase creativity while keeping utensils organized. This project was enjoyable and practical, enhancing my cooking space.
I’d love to hear about your own experiences with DIY projects. How do you add personal touches to your kitchen?
If you found this helpful, please share this post on social media to help our blog, Without The Cube, reach more people!
Leave a Reply