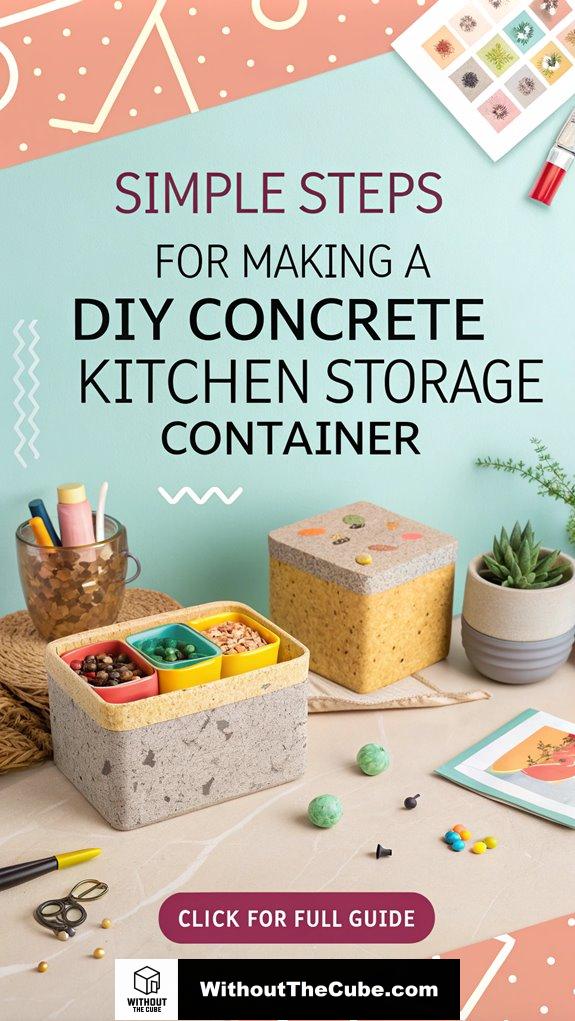
Creating a DIY concrete kitchen storage container? Oh boy, it’s a wild ride!
First off, I learned the hard way that silicone molds are the way to go—trust me, my first attempt with a cereal box was… let’s just say, a disaster.
I mix the concrete like a mad scientist, then pour it around a vase (because who doesn’t want a surprise centerpiece?). Tapping the sides to banish air bubbles becomes my new ritual.
After it sets, I sand it smooth, seal it, and unleash a burst of color. Voilà! My kitchen glows with my quirky touch.
Isn’t it funny how a little concrete can change the vibe?
—
Real-Life Experience: Designing with Concrete
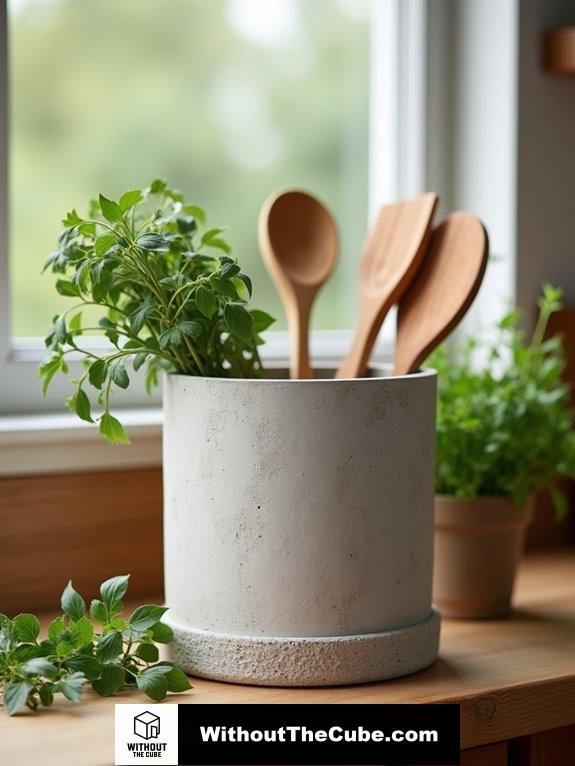
I once worked with a client who was convinced concrete could only belong in industrial spaces. But after we created a stunning concrete planter for her kitchen, she was sold! It added a rustic charm that made her space feel uniquely hers.
We discussed various interior design elements like textures and colors, and I showed her how to incorporate concrete in unexpected ways—like chic storage solutions. She was thrilled to see how it transformed her home, proving that concrete can be both stylish and functional.
Who knew a little DIY could spark such joy?
Key Takeaways
- Choose a food-safe silicone mold that fits your desired container size and shape, ensuring drainage holes if necessary.
- Measure and mix concrete ingredients precisely, adding superplasticizer for improved workability and achieving the right consistency.
- Securely center a sturdy vase within the mold, then pour the concrete quickly while avoiding overfilling.
- Gently tap the mold sides to release air bubbles, ensuring a smooth finish throughout the curing process.
- Once cured, sand the surface to eliminate imperfections and apply a waterproof sealant and vibrant paint for aesthetic appeal.
Prepare the Mold
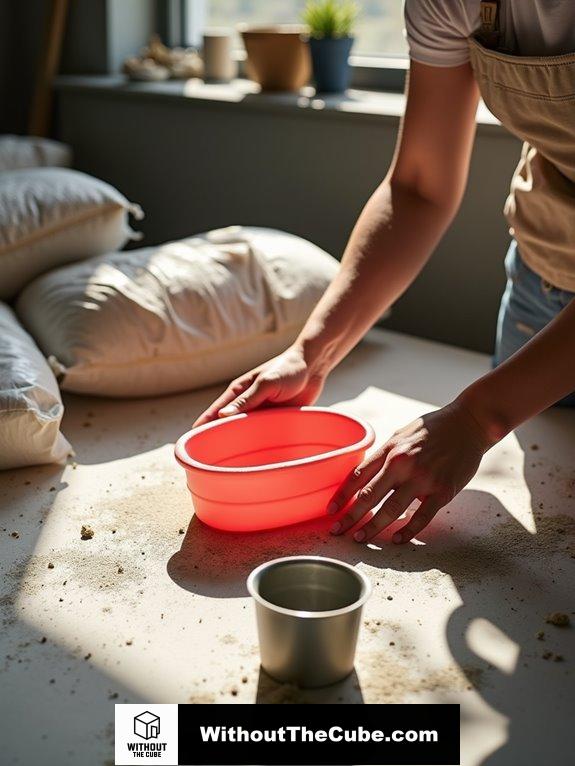
To kick off your DIY concrete kitchen storage container project, you’ll need to prepare the mold carefully.
Consider mold types like silicone or durable plastic, and think about design considerations—size, shape, and features like drainage holes. Trust me, a well-crafted mold makes all the difference. A great option for your project is a Concrete Storage Container Silicone Mold, which is made from durable, food-safe silicone. using molds designed for styling concepts can enhance the aesthetic appeal of your finished product. So, gather your materials, measure accurately, and don’t forget that release agent!
Let’s make something amazing together!
Mix the Concrete
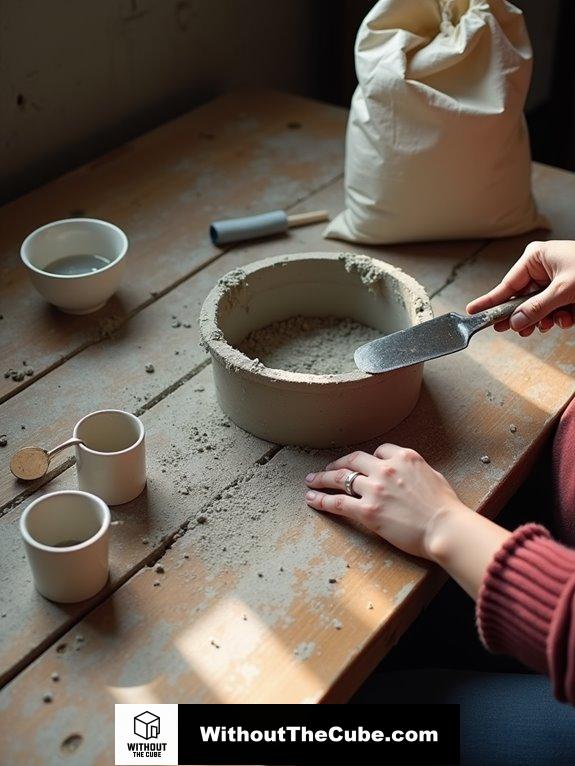
Mixing concrete is where the magic really happens, transforming your dry ingredients into a workable substance.
I start by carefully measuring my ingredient ratios, using those nifty mixing techniques to blend everything seamlessly. A well-mixed concrete can help achieve a stylish finish that complements your kitchen design.
Gently adding water and superplasticizer, I keep an eye on consistency. Have you ever felt that satisfying blend? It’s like a DIY dance party!
Recall, we created this blog Without The Cube to inspire your innovative spirit! Remember, proper planning is crucial for successful concrete mixing, as the casting process starts with well-measured ingredients.
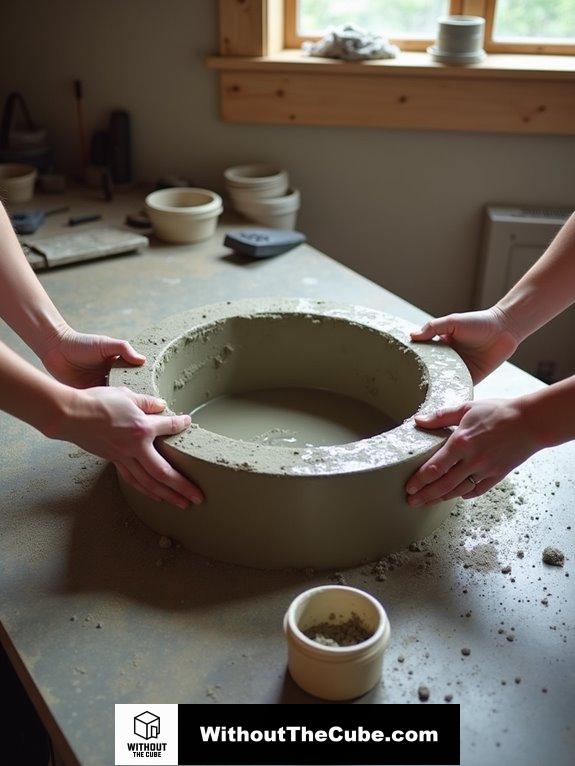
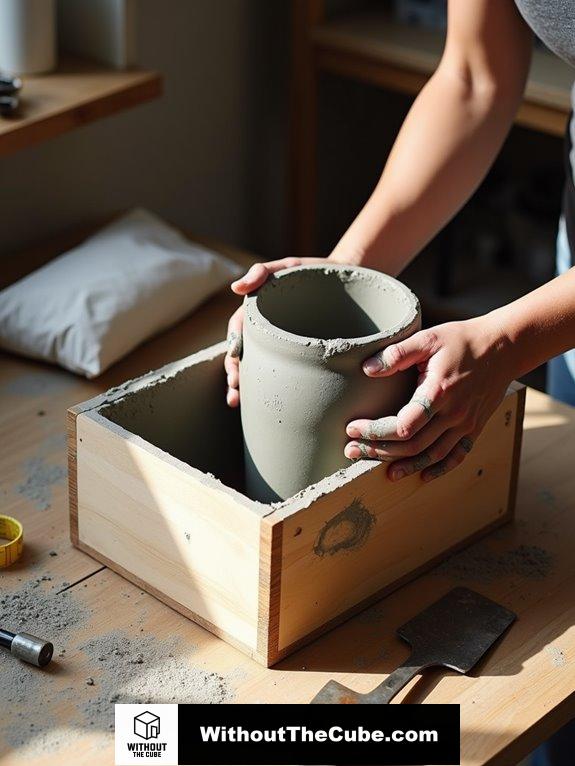
Pour Concrete and Insert Vase

Now that the concrete is mixed and ready, it’s time to bring our creation to life by pouring it into the mold and inserting the vase.
- Make sure the vase’s centered for vase stability is ensured by adjusting it as needed.
- Pour quickly to maintain concrete consistency.
- Don’t overfill!
- Hold that vase firmly until the concrete sets! Air bubble removal can be done by patting the container sides after pouring.
Trust me, you’ll love the results!
Release Air Bubbles
As I prepare to release air bubbles from the concrete, it’s essential to guarantee the mold is properly set up.
I gently tap the sides and use a vibrating table for effective air bubble prevention. This makes my concrete curing process smoother and more refined. Adding a release agent can also help in preventing surface damage during the demolding process. Trust me, a little extra effort here leads to a stunning finish!
Ready to see your creation come to life? Let’s do this!
Secure the Vase
Before the concrete fully sets, it’s essential to secure the vase properly to confirm a stable and beautiful finished product.
Here’s what I do to confirm vase stability and concrete adhesion:
- Press the vase firmly down into the mix
- Monitor the concrete as it sets
- Adjust if needed
- Check for air pockets
Incorporating functional concrete kitchen storage container ideas not only enhances stability but also adds a modern aesthetic to your kitchen.
Trust me, this step makes a world of difference!
Remove the Mold
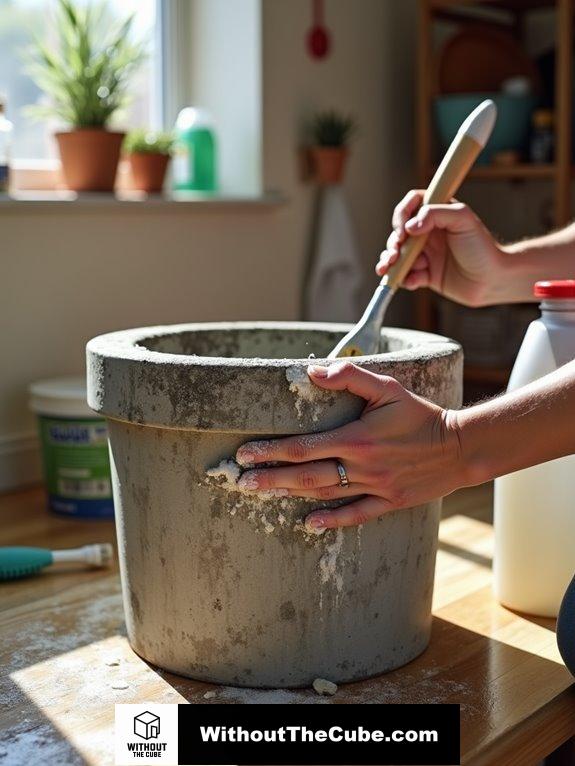
How can I effectively remove the mold from my concrete storage container?
Start by mixing one part bleach with three parts water, or try a natural alternative like vinegar. Saturate the moldy area, let it sit, then scrub vigorously using a stiff brush. Rinse thoroughly, and dry the surface completely for mold prevention. consider sealing your concrete after cleaning to enhance its durability and resistance to moisture, creating a long-lasting surface finish. Trust me, these cleaning techniques will keep your container fresh and fabulous!
Sand the Surface
Once the mold is gone and the surface is clean, it’s time to sand the concrete storage container.
Here’s what I suggest for effective surface preparation:
- Inspect for bumps and cracks.
- Choose the right sanding tool.
- Start with coarse grit sandpaper.
- Clean between sanding rounds.
These sanding techniques will give your container a smooth finish, making it a stylish addition to your kitchen! achieving a polished look can enhance the overall aesthetic appeal of your concrete projects.
Seal and Paint
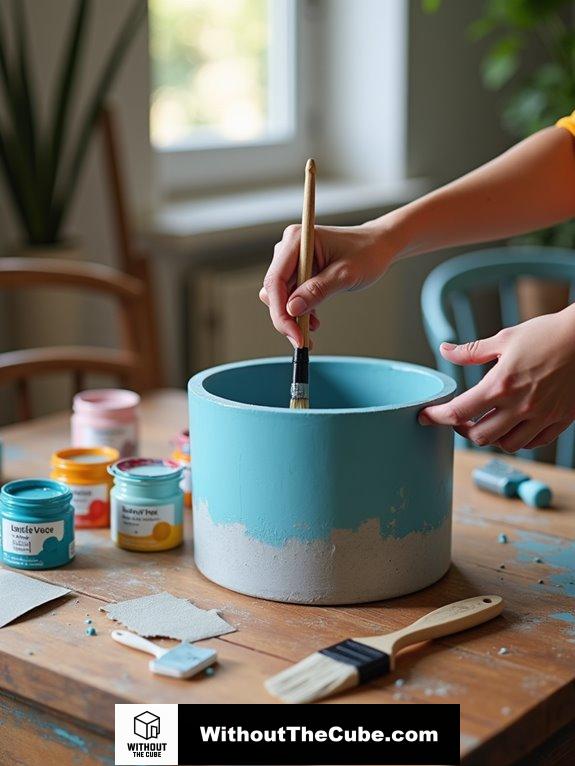
After sanding the surface of your concrete container, it’s time to protect and enhance its look by sealing and painting it.
I recommend using a waterproof sealant type to fend off moisture and stains.
Once sealed, pick a vibrant heavy-body acrylic paint. Layer it on thin for a smooth finish.
Trust me, your kitchen will pop with style! Isn’t that exciting?
Use a Mold Release Agent
Using a mold release agent is essential for achieving a smooth and flawless finish on your concrete kitchen storage container.
Trust me, you don’t want your beautiful creation to stick to the mold!
Here are some fun options to ponder:
- Vegetable Oil and Mineral Oil
- Cooking Oil (Olive or Vegetable Oil)
- Beeswax
- Castor Oil and Isopropyl Alcohol
Let’s make magic happen!
Textured Surface Finish
To achieve a stunning textured surface finish on your concrete kitchen storage container, I recommend diving right into the preparation and texturing process.
Using trowels, you can create various textured patterns, while a broom finish adds those lovely linear vibes.
Don’t forget to experiment with surface treatments like texture paint for an extra pop!
Ready to impress your guests? Let’s get creative!
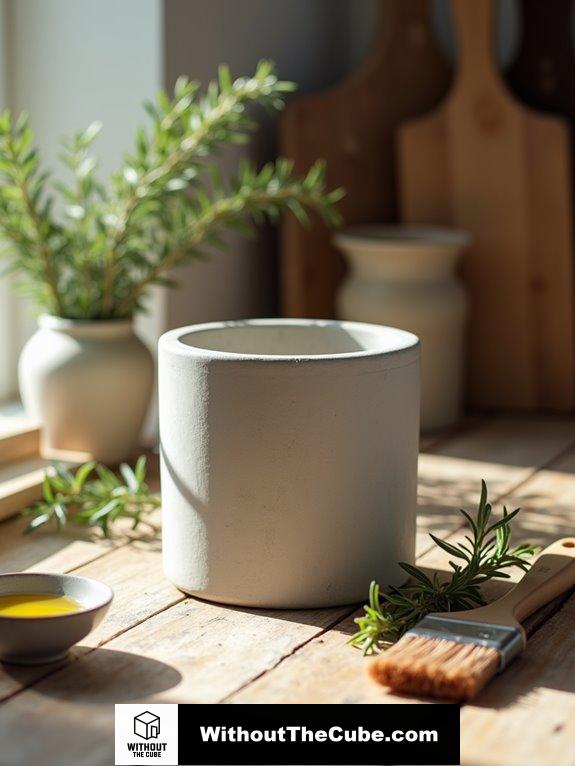
Summary
I’ve just created a DIY concrete kitchen storage container that’s both practical and visually appealing. It’s satisfying to turn simple materials into something functional that adds character to my space.
Every project like this enhances my home, reflecting my personal touch.
What about you? Have you tried making a concrete storage container or similar DIY project? Share your experiences in the comments!
If you found this post helpful, consider sharing it on social media to help others discover creative DIY ideas from Without the Cube.
Leave a Reply