
Ready to dive into the wild world of DIY?
Let me tell you, tackling my exposed concrete staircase felt like an epic quest.
I gathered all the essentials—high-strength concrete, plywood, and rebar. Don’t even get me started on the safety gear. I looked like a space explorer!
Designing was an adventure, making sure I followed the 7-11 rule. Spoiler alert: I didn’t want anyone tumbling down!
After mixing and pouring the concrete, I had a moment of panic. Would it really cure? But hey, patience is a virtue, right?
And yes, I added some chic wood accents because why not?
If you want to see more about my interior design escapades, check out my blog, Without The Cube, where I promote superior interior design—because living in a box is so last season.
—
A Client’s Journey with Concrete Design
I once had a client who wanted a bold staircase to showcase their art collection. We chose exposed concrete, but let me tell you, the design process was like herding cats!
We debated colors and textures, and I channeled my inner therapist. In the end, the stairs became a stunning focal point that perfectly complemented their art.
It reminded me how crucial it is to blend functionality with style—just like life! So, if you’re considering a similar project, remember: it’s all about finding that sweet spot between trendy and practical.
Key Takeaways
- Start by planning your staircase design, adhering to the 7-11 rule for riser height and tread depth for safety and functionality.
- Clear the site and prepare the ground, checking for underground utilities before digging to the required depth.
- Construct sturdy forms using 3/4-inch plywood, ensuring they are level and pitched for drainage away from the house.
- Mix and pour high-strength concrete, using a cement mixer for consistency, and allow adequate curing time to prevent cracks.
- Add aesthetic finishes like staining treads and painting risers, enhancing safety with lighting and contrasting colors for visual appeal.
Gather Your Materials
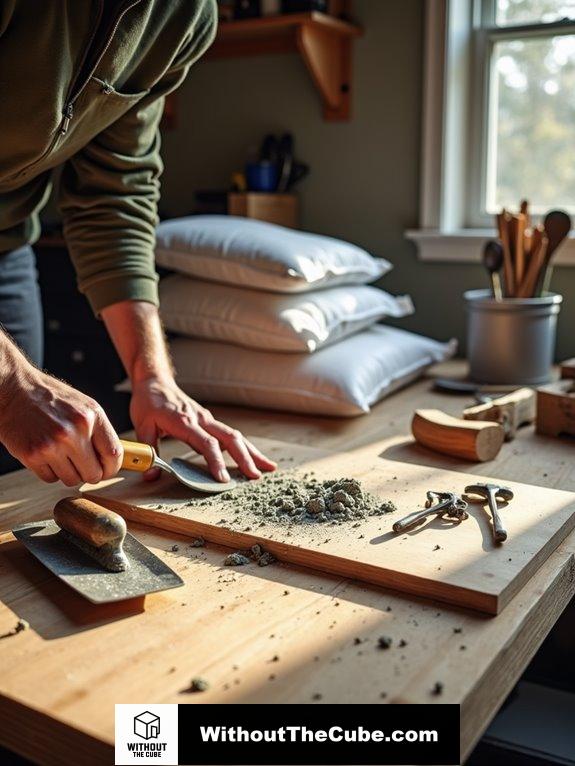
Gathering your materials is an important first step in building your DIY exposed concrete staircase. Trust me, you don’t want to be halfway through and realize you’re missing a significant piece!
Start with high-strength concrete—it’s the backbone of your staircase. Grab some sturdy 3/4-inch plywood for the sides and 2x8s for the steps. Consider adding some functional concrete storage elements to enhance your staircase’s utility.
Don’t forget rebar! It’s like vitamins for your concrete, adding strength. You’ll also need stakes to keep everything in place and screws to hold it together.
For tools, a hammer, screwdriver, and trowel are necessary, along with a level to guarantee your masterpiece doesn’t end up looking like a funhouse slide. confirm building permit requirements to ensure you’re following local regulations before starting your project.
And hey, safety first! Grab some gloves and goggles, because we’re all about innovation without injury here!
Design Your Staircase
When designing your staircase, it’s essential to balance functionality with aesthetics to create a space that’s both safe and visually appealing.
Who wouldn’t want a stunning staircase that’s also practical, right?
First, think about the dimensions. The 7-11 rule is a game-changer: keep your risers at a maximum of 7 inches and tread depth at a minimum of 11 inches. Uniformity in risers and treads is essential to prevent slips and falls, so pay attention to those measurements! Incorporating minimalist concrete shelving can enhance the overall design of your staircase and provide functional storage.
Your feet will thank you for it later!
Now, let’s get creative! Consider a curved or angled design to really make a statement.
Trust me, nothing says “innovative” quite like a staircase that defies convention.
Oh, and don’t forget to check local building codes; they’re not just suggestions!
With careful planning, you’ll create a staircase that’s the envy of the neighborhood.
Prepare the Site

Preparing the site for your exposed concrete staircase is essential to guarantee a solid foundation.
First things first, clear the area of debris, grass, and anything else that’s lurking around. You don’t want any surprises when you start digging!
Next, measure the height from the ground to your entrance. This helps you know how much dirt you need to remove or add. be sure to check for underground utilities before digging to avoid any unexpected issues. A well-prepared site ensures a stable base for your staircase.
Once you’ve got that sorted, dig out the area to the correct depth, or add soil to reach the desired height.
Use a dirt tamper to pack the soil tightly—think of it as giving the ground a good hug!
Finally, check that everything is level. You want it as flat as a pancake, right?
Ready for the next steps? Let’s go!
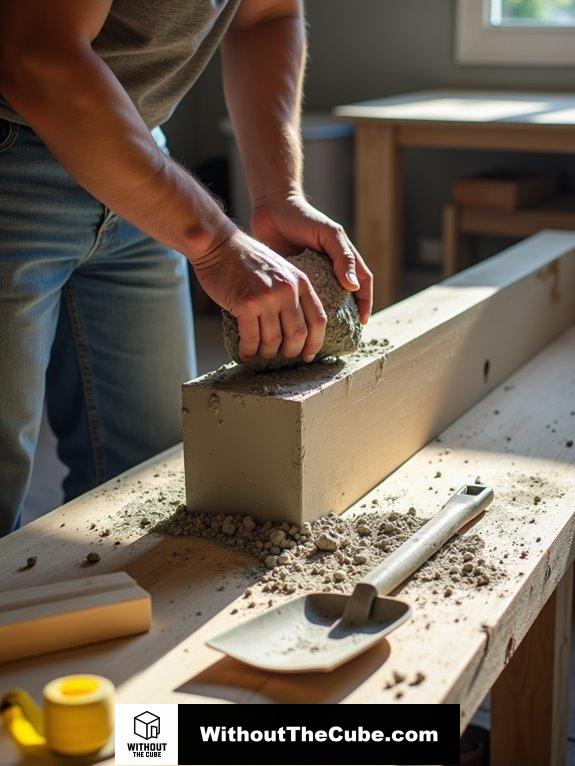
Build the Forms

Building the forms is a critical step in creating your exposed concrete staircase. Trust me, this is where the magic begins!
First, grab some sturdy 3/4-in. plywood for your side forms—bending is for yoga, not stairs! Dig a trench, then secure the sides with 2×4 stakes, leaving a little wiggle room for adjustments. We want it perfect, right? Using concrete forms can help ensure a smoother finish for your staircase.
Make sure everything’s plumb, and pitch it away from your house for drainage—don’t invite water in! To ensure proper drainage, maintain a slope away from the house to prevent water accumulation.
To keep things square, use a large speed square, and add cross braces for extra support.
When you’re ready for the steps, flush those 2x8s with the top and attach them securely.
It’s all about precision, so take your time. You got this!
Mix the Concrete
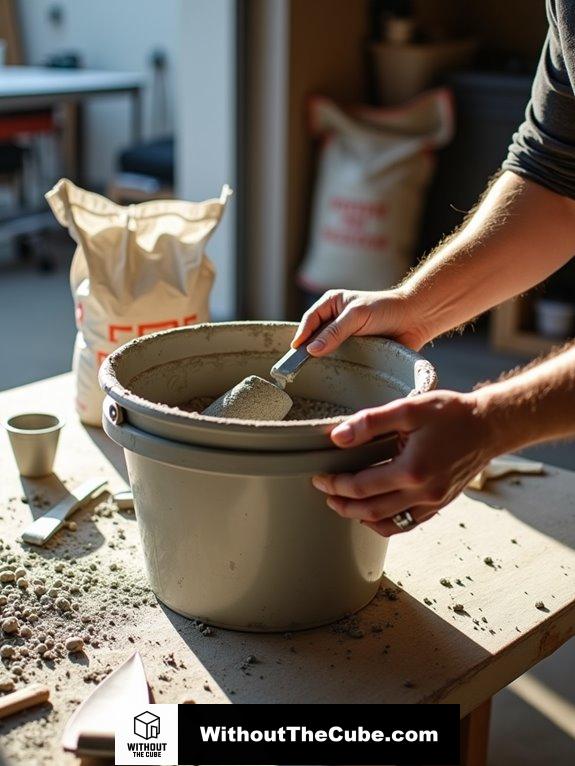
Mixing the concrete is where your staircase truly starts to take shape, so let’s get it right!
First off, consistency is key—aim for a mix that’s neither a desert nor a swimming pool.
You’ll need about 13 bags per step for those 7-inch beauties, so don’t forget to calculate your total.
Using a cement mixer? Genius! It saves time, and trust me, your arms will thank you later.
Oh, and wear your safety gear; concrete can be a bit of a diva.
Remember, mix just until everything’s combined—no overmixing! consider using exposed aggregate concrete to enhance the aesthetics of your staircase. This technique involves creating texture that can elevate the overall design.
And if you want a pop of color? Toss in some additives.
Ready to mix magic? Let’s do it!
After all, we created this blog Without The Cube to inspire your innovative designs!
Pour the Concrete
Now that the concrete is mixed and ready, it’s time to pour it into your prepared forms.
I like to start with a thicker pour for the stoop—trust me, it makes life easier when you want to dismantle those forms later. As I pour, I keep it wet for the sidewalk, ensuring I’ve got extra cream for smooth vertical faces.
Don’t forget to poke and tap with a shovel and hammer; this helps eliminate pesky air pockets. Oh, and I always use a muck rake to lift that rebar, keeping it safe in the center of the concrete—no surface scratching here! remember to allow the concrete to cure properly, as adequate curing is essential for preventing cracks and ensuring durability.
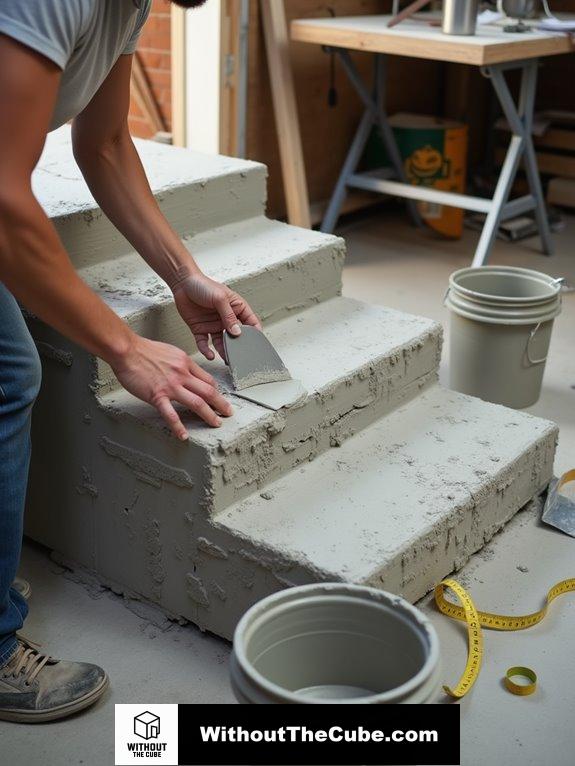
Finish the Surface
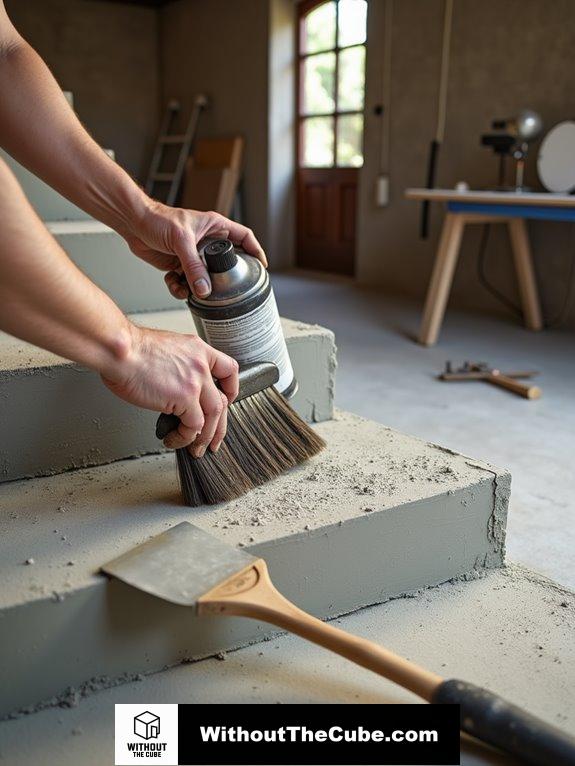
Finishing the surface of your exposed concrete staircase is essential for both aesthetics and durability.
First, I wait about eight hours until the concrete isn’t sticky anymore. Then, I gently brush and lightly spray water to reveal the gorgeous aggregate beneath. Just keep in mind, light brushing is key – we don’t want to lose that stunning look! Pressure washing recommended after form removal can also help reveal more stones if needed.
Next, I smooth out the surface with a hand float and create a textured broom finish for those steps.
Once I’m happy with it, I apply an acrylic cure and seal product to protect my masterpiece from the elements.
After 28 days, I pop on a finish coating for that shiny, polished look.
Trust me, it’s totally worth the effort!
Remove the Forms
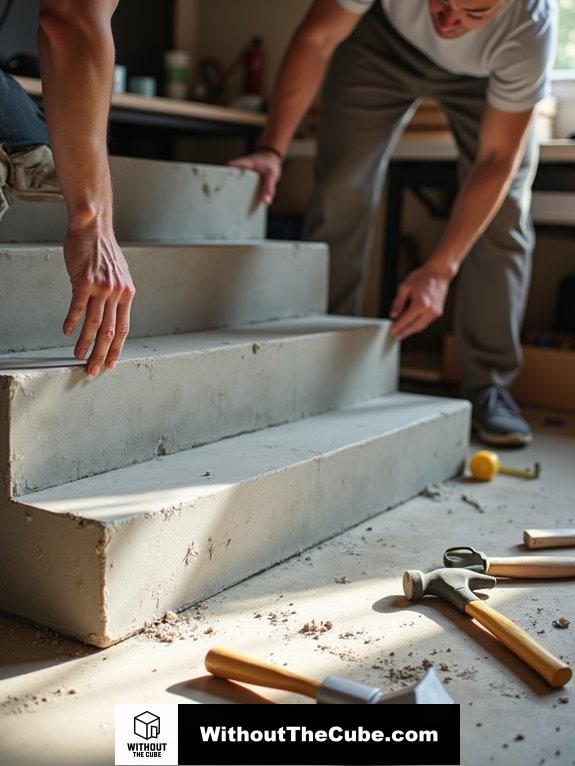
Removing the forms from your newly poured concrete staircase is an essential step that requires careful timing. You don’t want to rush this part—trust me! I’ve learned the hard way. Wait until the concrete’s firm enough, so you don’t end up with a sad, lumpy mess. Look for signs like no excessive deflection or cracking; that’s your green light! Start with the risers, as removing them early lets you finish the step faces while the concrete’s still workable. After that, tackle the side forms when the concrete can hold its shape. Remember that form removal timing often depends on achieving sufficient strength to support the weight. And don’t forget to inspect for any defects—those can sneak up on you! Remember, a little repair work now saves you from future headaches. Happy building!
Avoid Uneven Surface Finishing
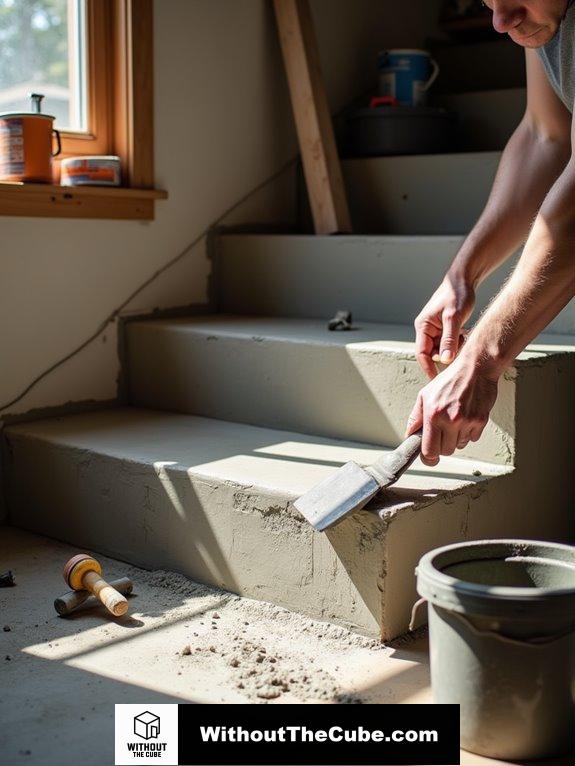
Achieving a smooth, even surface on your exposed concrete staircase is essential for both aesthetics and safety. I mean, who wants to trip on an uneven step, right?
Preparation is key! Make sure to remove those forms at the right time—too soon, and you’ll get slumping concrete that looks like a bad art project. proper curing process is crucial, as it enhances the durability and lifespan of your staircase.
Use a trowel to smooth the surface, and don’t forget that bull-nose tool for those perfect edges.
And hey, avoid twisting or pressing too hard; we’re not in a wrestling match here!
With the right grinding tools, you can achieve that professional finish.
Trust me, a little attention to detail goes a long way. Let’s make your staircase not just functional, but fabulous!
Incorporate Natural Wood Accents
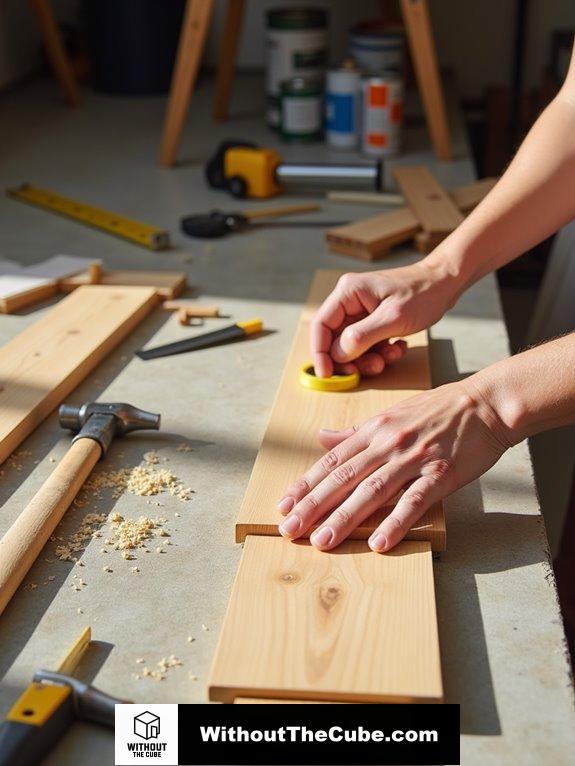
While ensuring a smooth surface on your concrete staircase is important, adding natural wood accents can elevate its overall appeal. Trust me, it’s like adding sprinkles to a cupcake—totally makes a difference!
You can choose between traditional wood, which has that classic charm but demands some TLC every few years, or composite decking, which is super low maintenance. Just make sure your concrete steps are sloped to avoid water pooling.
I love extending the step width; it feels like you’re stepping onto a cozy deck. Wider steps create a more grand entrance, enhancing the overall aesthetic.
Plus, matching your treads to the porch floor? Genius! A splash of semi-gloss paint on the risers and a nice stain on the treads ties it all together.
Ready to wow your guests? Let’s do this!
Summary
I created my own exposed concrete staircase, combining patience and creativity. It’s a unique addition to my home that stands out. It’s not about being perfect; it’s about making something functional and stylish that I can be proud of.
I’d love to hear about your experiences with DIY projects. What challenges did you face?
If you found this post helpful, please share it on social media to help spread the word about Without the Cube.
Leave a Reply