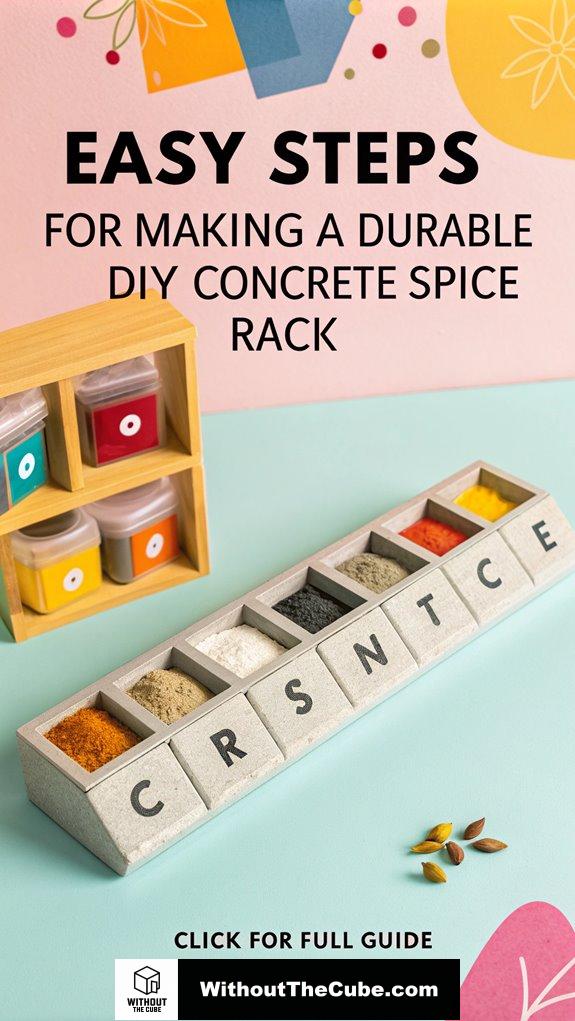
Creating a DIY concrete spice rack? You bet!
I’m super excited to share my latest escapade in the kitchen.
First off, I whipped up some sturdy molds from cardboard—because who doesn’t have duct tape lying around, right? Then, I got to mixin’ concrete, and oh boy, did I add a splash of color! I mean, why not turn a spice rack into a fashion statement?
After tap-tap-tapping out the bubbles, I polished it up like it was a diamond. Trust me, it’s a game-changer for my kitchen.
And for the record, I started my blog, Without The Cube, to spread the word about superior interior design.
—
A Real-Life Spice Rack Transformation
Once, a client asked me to jazz up their dreary kitchen. They were tired of the same old spice jars cluttering their counters. I suggested a custom concrete spice rack—something unique and durable.
After mixing concrete together, we added vibrant colors. The look on their face when they saw it was pure joy! It’s amazing how a little creativity can transform a space.
This project not only added functionality but also turned their kitchen into a stylish, organized haven. Who knew concrete could be so chic?
Key Takeaways
- Prepare molds using cylindrical cardboard, securing them with duct tape and applying white glue for stability and a smooth finish.
- Design a sturdy rack mold from plywood or cardboard, ensuring accurate measurements and smooth edges for a professional look.
- Mix three parts sand with one part concrete, adding color for personalization, and pour into molds while tapping to remove air bubbles.
- Cure concrete using wet-curing methods for enhanced strength, and remove molds with a cleaning solution to prevent mold growth.
- Sand the concrete with progressive grit levels for a polished finish, and add protective bases using durable materials for longevity.
Prepare the Molds
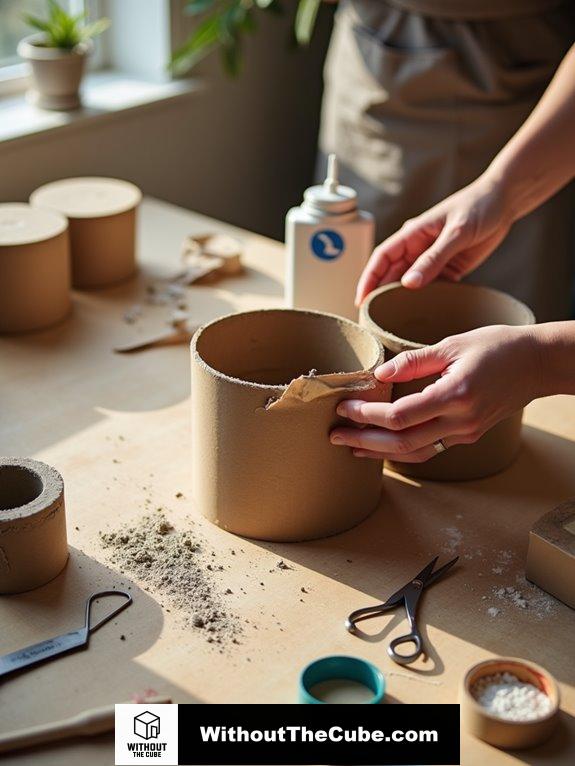
To kick off your DIY concrete spice rack, I recommend preparing the molds carefully.
Start by selecting mold materials that fit your container sizes, like cylindrical cardboard. Toilet roll cardboard encapsulates spice containers effectively for mold creation. Using a non-stick surface can further enhance the mold release process.
Wrap them with duct tape to keep the concrete from sticking.
Don’t forget to secure those containers! A little white glue goes a long way.
Trust me, this prep makes for a smooth, beautiful finish.
Let’s get crafting, bestie!
Create the Rack Mold
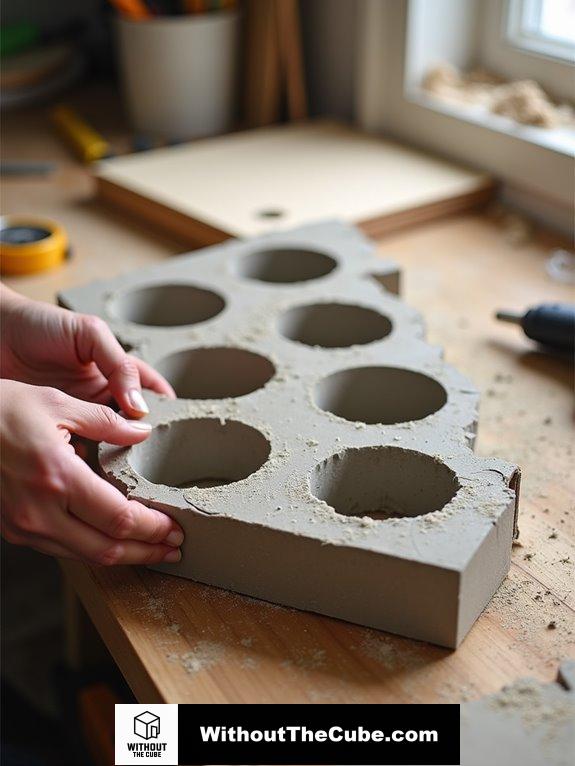
Creating the rack mold is an essential step in building your concrete spice rack.
First, think about your mold design—will it be a sleek square or a trendy triangle? A stylish concrete spice rack can elevate your kitchen aesthetic significantly.
Grab some sturdy cardboard or plywood as your mold materials. Proper clamping setup is crucial for easy assembly when you start building your rack.
Don’t forget to measure carefully and smooth those edges!
Trust me, your future self will thank you for a perfect, uniform spice holder.
Let’s get creative!
Assemble the Mold
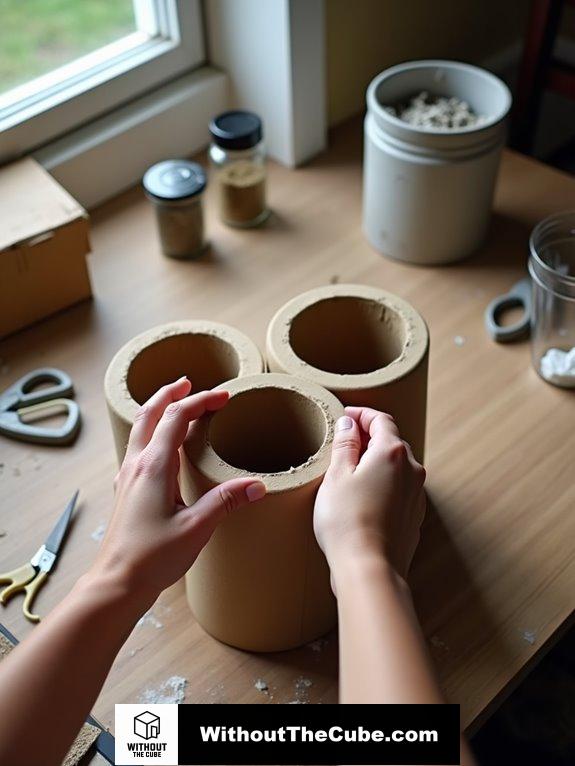
Assembling the mold is where the magic begins, and I promise it’s easier than it sounds.
First, I cut the toilet roll cardboard to create cylindrical molds and pop in the spice containers. To guarantee container stability, I secure everything with duct tape, making sure no concrete sneaks in. This method allows for a smooth and clean finish, which is essential for a stylish concrete board.
It’s a simple yet innovative step that sets the stage for our DIY spice rack! This method ensures that the design can accommodate various jar sizes without wobbling, adding to the functionality of your spice rack.
Cast the Concrete
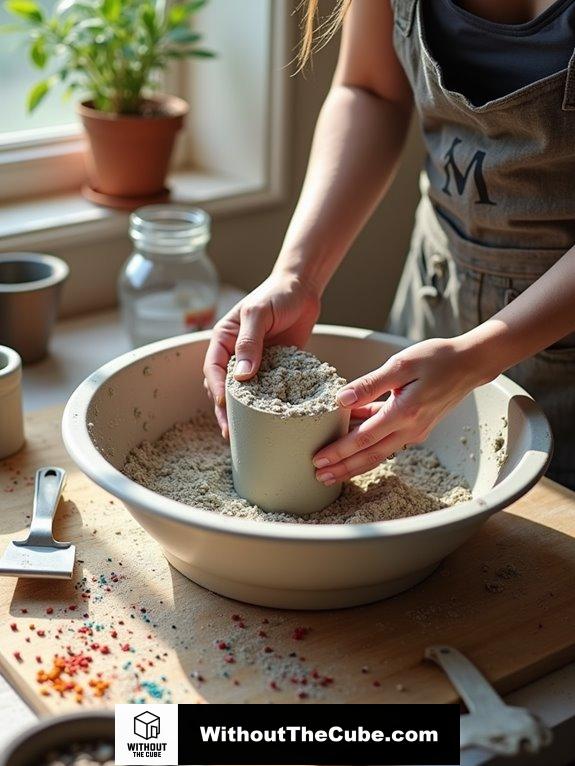
Now that the mold is ready, it’s time to cast the concrete.
I mixed three parts sand with one part concrete, adding water until it was just right.
Want some flair? I incorporated color additives for a pop of personality!
Gently scoop the mixture into the mold, tapping to release any pesky air bubbles.
Adding the right texture can further enhance the styling concepts aesthetics of your spice rack.
Just like that, we’re one step closer to a stunning spice rack!
Cure the Concrete
Curing the concrete is an essential step that shouldn’t be overlooked.
I can’t stress enough how important moisture retention is during this phase!
Using curing techniques like wet-curing or applying a curing compound keeps your spice rack strong and crack-free. maintaining optimal curing conditions during this phase can significantly enhance the overall durability of your concrete.
Keep in mind, taking a little extra time to cure properly can boost the strength by up to 50%.
Trust me, your future self will thank you!
Remove the Mold
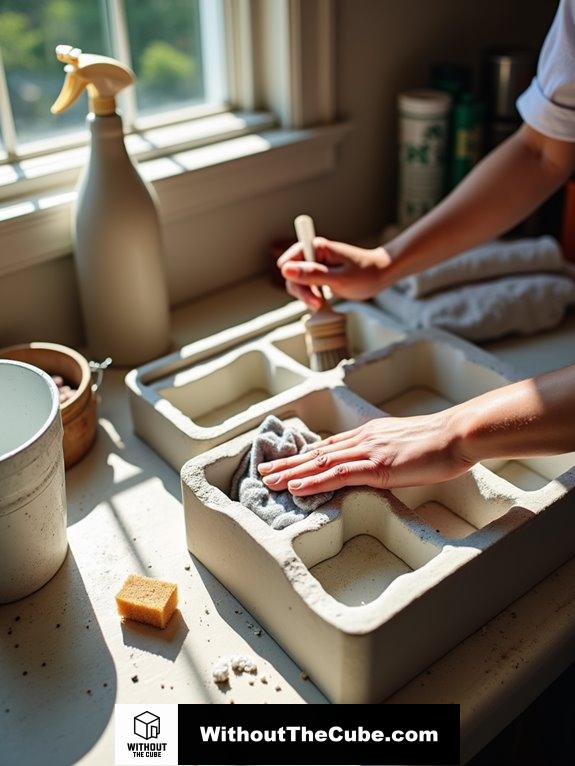
Removing mold from your concrete spice rack is essential for both aesthetics and safety.
I recommend using a cleaning solution of bleach and water—it’s a powerhouse for mold prevention!
Just spray it on, let it sit, and scrub away.
In addition to this method, maintaining a clean and dry environment can significantly reduce the chance of mold growth in the future.
Trust me, those cleaning techniques work like a charm, keeping your spice rack fresh and fabulous.
Let’s get that mold gone, shall we?
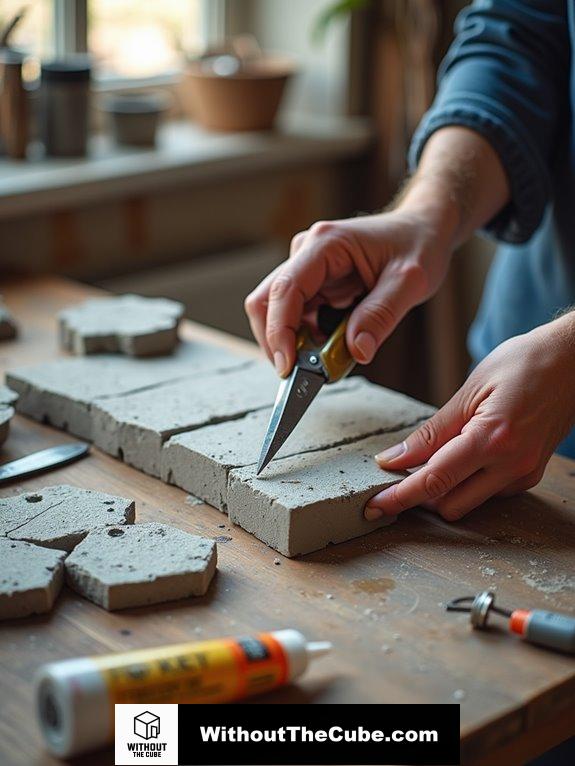
Sand and Finish
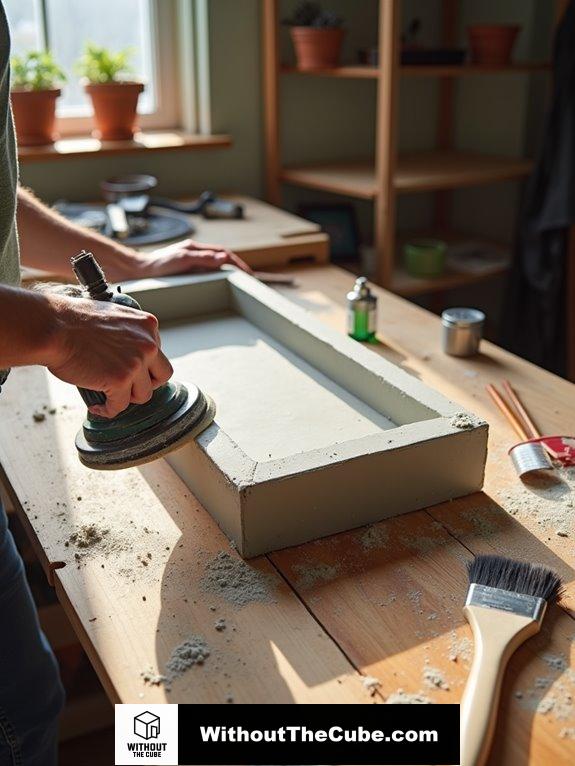
After you’ve tackled the mold and restored your spice rack’s cleanliness, it’s time to focus on achieving a smooth, polished finish.
I love using various sanding techniques—start with 100 grit and work your way up to 320 grit.
Keep in mind, wet sanding not only minimizes dust but gives you that sleek polish.
Incorporating minimalist concrete shelving into your home can elevate both functionality and aesthetics.
Inspect for imperfections and feel that smoothness, it’s so satisfying!
Attach Base Protection
To guarantee your spice rack stands the test of time, it’s essential to attach base protection that prevents scratches and absorbs shocks.
I recommend using old bike tyre tubes for their durability and shock-absorbing qualities.
After cutting the material to size, apply a rubber-based adhesive, following the instructions for bonding.
Trust me, this material selection will keep your rack looking fresh and fabulous for years to come!
Final Touches

Final touches are what truly elevate your DIY concrete spice rack and give it that polished, professional look.
I love adding decorative enhancements, like colorful labels or stylish jars, to highlight its functional design.
Did you ever think spice racks could be this chic?
Trust me, these little details make a massive difference!
Let’s show off your creativity and make it shine!
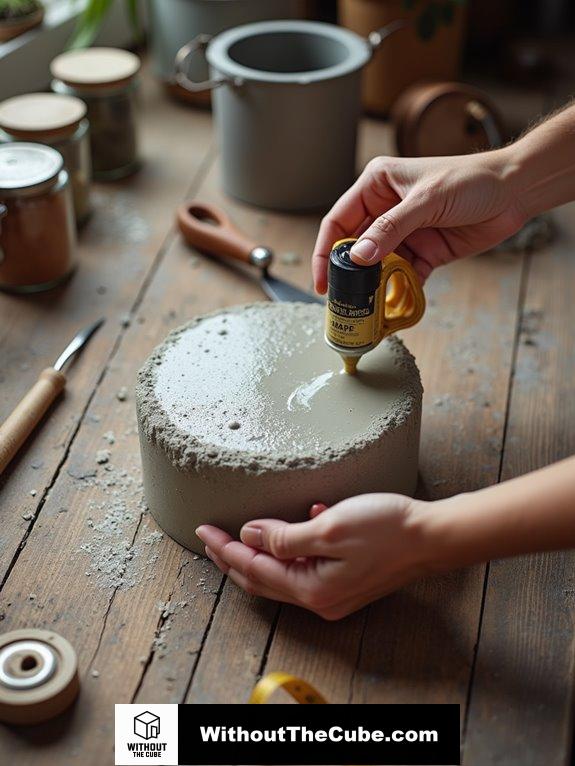
Use High-Quality Mold Release
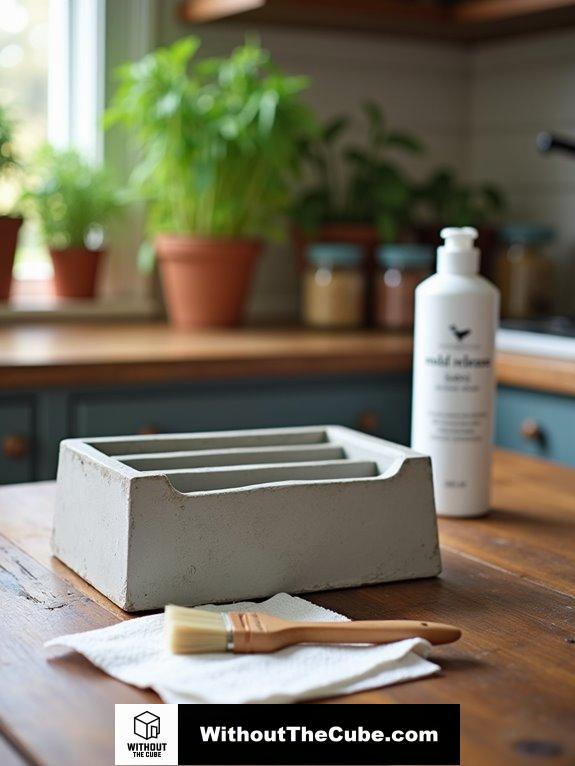
Using high-quality mold release is essential for ensuring a smooth and hassle-free process when creating your DIY concrete spice rack.
Think about it—mold release benefits include easy removal and longer mold life!
I recommend applying the agent evenly, avoiding drips.
Plus, using the right application techniques makes all the difference. Trust me, you’ll thank yourself later when that spice rack slides right out!
Textured Surface Finish

Often, I find that adding a textured surface finish to my DIY concrete projects can elevate their overall appeal.
Using a baking soda application can create stunning textured aesthetics.
Here’s how:
- Apply baking soda in the mold.
- Fill with concrete without disturbing it.
- Push or smear the concrete for added texture.
- Use thicker layers for pronounced impressions.
Trust me, your spice rack will look fabulous!
Summary
I’ve transformed simple concrete into a functional spice rack that enhances my kitchen’s style. Crafting this project can be messy, but that’s part of the creative process. It’s a rewarding way to add personal flair to my space.
I’d love to hear about your own DIY experiences! Share your thoughts and stories in the comments below.
If you found this post helpful, please share it on social media to help spread the word about Without The Cube!
Leave a Reply