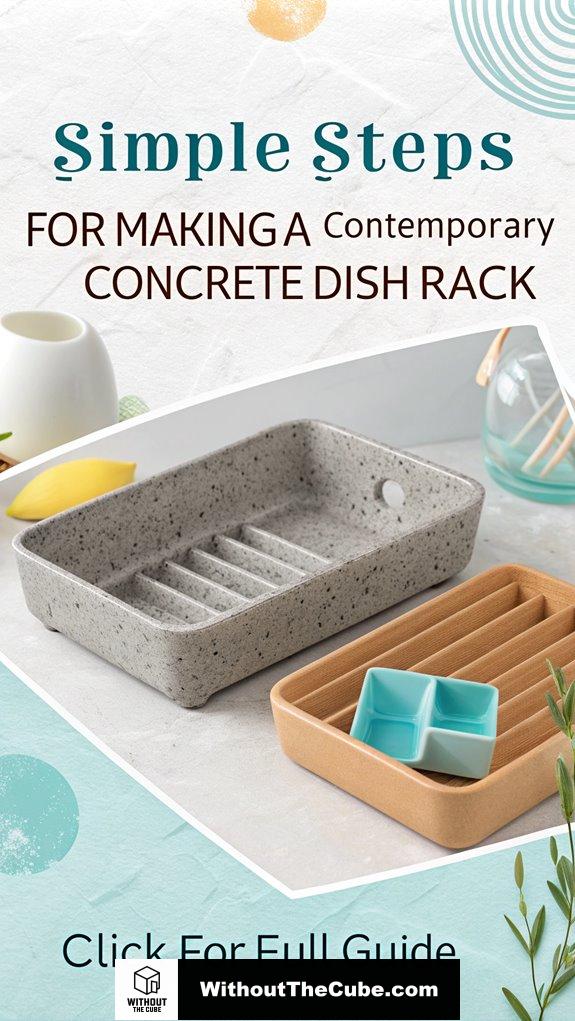
Creating a contemporary concrete dish rack? Honestly, it’s easier than it sounds!
First off, I whipped up some molds with silicone. Let me tell you, removal is a breeze—if you don’t get it all messy first.
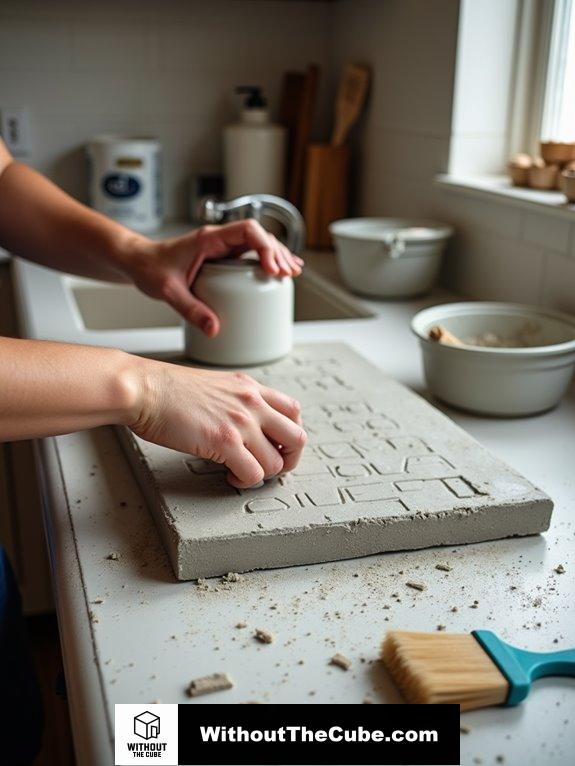
Then, I prepped my rebar like a boss and mixed the concrete. Fun fact: I may or may not have spilled a bit. Oops!
After leveling it out and letting it set, I sealed the deal for that extra durability. Voilà—an impressive kitchen piece that my friends swear I bought!
I started my blog, Without The Cube, to promote superior interior design. Trust me, you don’t want to miss this journey!
A Real-Life Concrete Project Experience
Once, I helped a client who wanted a minimalist look. We decided on a concrete dish rack to match their aesthetic. They were skeptical about the weight, but after I assured them, they loved it. The whole kitchen transformed! Similar projects, like custom shelving or unique countertops, can elevate any space. So, next time you think concrete isn’t for you, remember: it can be a game-changer!
Key Takeaways
- Design a sturdy mold using silicone or polyurethane, ensuring it supports concrete weight and matches your desired dish rack dimensions.
- Prepare the rebar by cutting and bending it accurately, maintaining proper spacing for enhanced strength and structural integrity.
- Mix concrete with the correct ratios of cement, sand, and water, ensuring a consistent blend for a durable final product.
- Pour the concrete into the mold, using a trowel to level the surface and eliminate any air pockets for a smooth finish.
- After curing, apply a waterproofing sealer to protect against moisture and stains, ensuring the dish rack remains stylish and functional.
Build and Prepare Molds
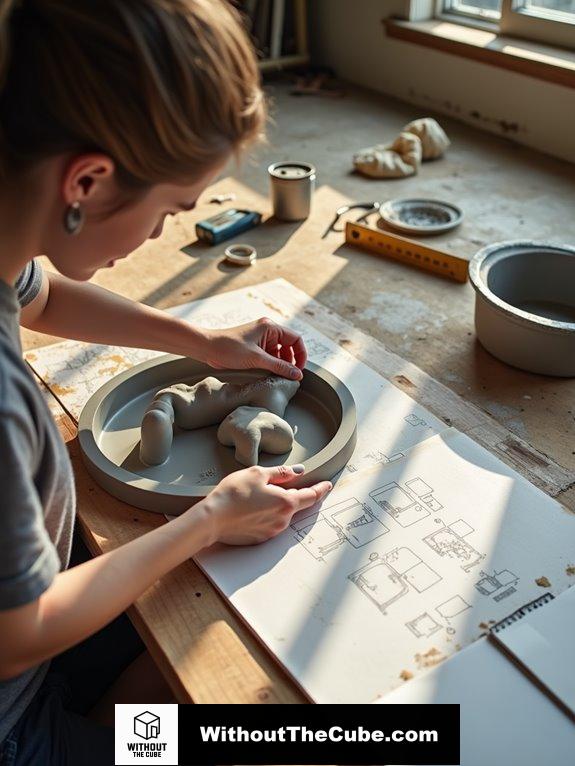
When I build and prepare molds for my contemporary concrete dish rack, I always start by carefully designing and planning the mold. Choosing the right mold design is essential, and I often opt for silicone or polyurethane for easy demolding. I sketch it out, ensuring it fits my dishes perfectly. To create a sturdy structure, I recommend using good quality materials for the mold construction. Got your materials ready? Let’s get creative together!
Seal the Molds

After I’ve built and prepared the molds for my contemporary concrete dish rack, sealing them becomes the next important step.
I love using penetrating sealers for their invisible protection, but acrylics are great too! Just keep in mind to clean the surface first, apply thin coats, and let it dry. A good sealer will ensure comprehensive protection against moisture and stains, making your project even more resilient. choosing a stylish concrete dish rack design can elevate the aesthetics of your kitchen. Who doesn’t want a durable, stylish dish rack that resists mold? Let’s keep it fabulous and functional, right?
Prepare the Rebar
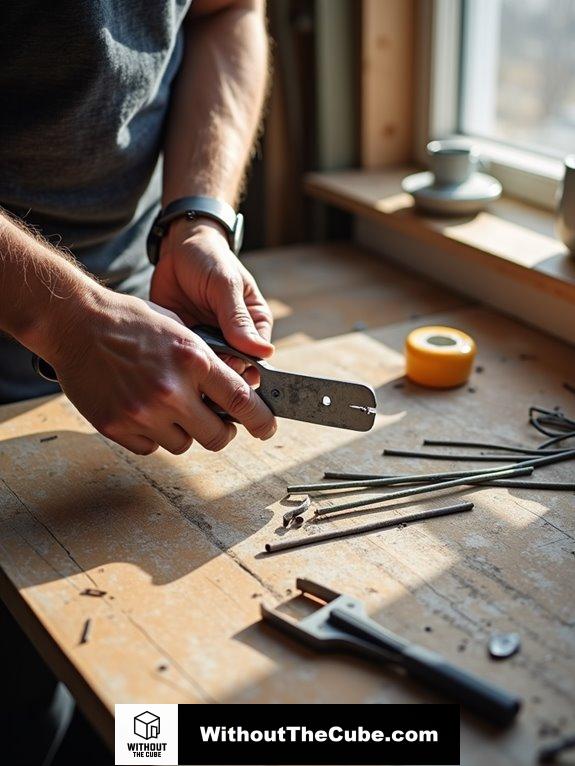
Preparing the rebar is essential for guaranteeing the strength of my contemporary concrete dish rack.
I grab my rebar tools and cut the pieces to the right length, no waste allowed!
Next, I use bending techniques to shape them—gotta get it just right!
Recall, incorrect bends can ruin everything, so I take my time to guarantee precision.
ensuring the correct spacing between rebar pieces helps to optimize the overall strength and durability of the dish rack.
Accurate placement of rebar is crucial to ensure the overall integrity of the structure.
Ready for the next step? Let’s do this!
Mix and Pour Concrete

Mixing and pouring concrete is an essential step in creating my contemporary dish rack.
I start with the right concrete ratios—cement, sand, and water. Using smart mixing techniques, I make certain the blend’s consistent.
For smaller projects, I often reach for premixed concrete like Sakrete, making it easy to whip up. Just keep in mind, a well-mixed batch makes all the difference! incorporating durable concrete designs can enhance the overall aesthetic and functionality of your dish rack. Ready to get messy?
Level and Remove Air Pockets
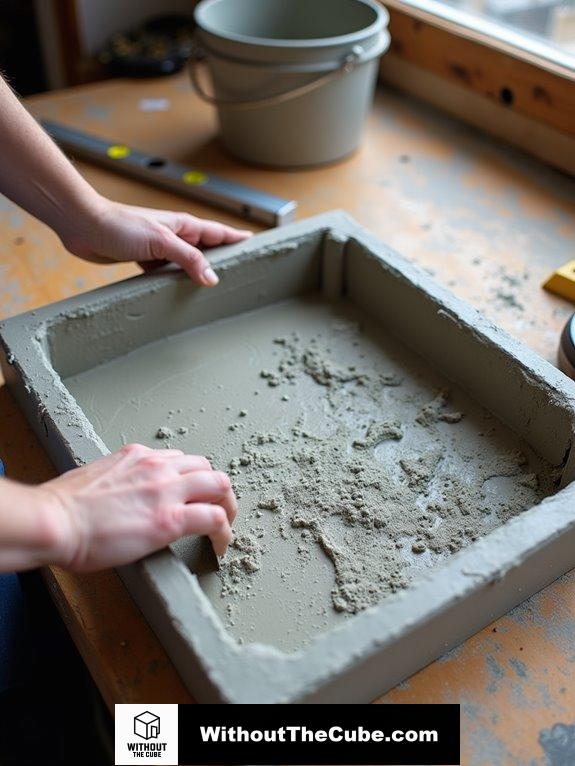
Once the concrete is poured, the next step is leveling the surface and removing any air pockets that might’ve formed.
I grab my spirit level to guarantee perfect surface leveling, checking for any sneaky air pockets hiding in the corners.
Using a trowel, I gently push those bubbles out.
Keep in mind, air pocket prevention is key for a flawless finish. Properly addressing air pockets not only enhances the appearance but also contributes to the overall durability of the surface.
Let’s create something beautiful together, without the cube!
Allow Concrete to Set
After pouring the concrete, I give it some time to set properly, which is vital for achieving a solid dish rack.
Setting factors like temperature and humidity play a huge role here. I use effective curing techniques to guarantee my dish rack gains strength. using creative ideas for your project can enhance both functionality and aesthetics.
Keep in mind, the first 24-48 hours are significant, so be patient—great things take time! Trust me, it’s worth the wait!
Finish and Remove Mold
With the concrete fully set and solid, it’s time to finish and remove any mold that might’ve formed.
First, seal the concrete with a waterproofing sealer; it’ll keep your dish rack looking fresh!
For mold prevention, scrub with a mix of dish soap and water.
Keep in mind, maintenance tips like this guarantee your creation stays clean and chic. using stylish concrete storage solutions can enhance the overall aesthetic of your kitchen.
Ready to shine? Let’s go!
Use a Silicone Mat
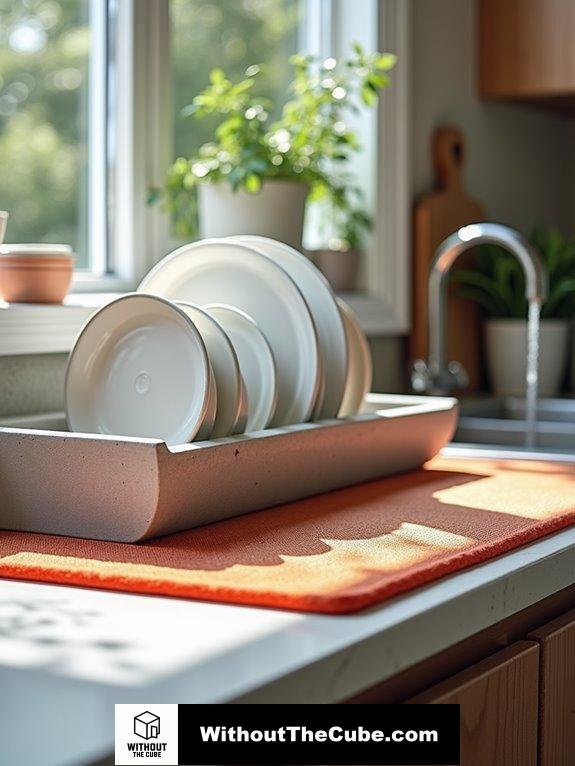
To enhance the functionality of your contemporary concrete dish rack, incorporating a silicone mat is a smart choice.
This eco-friendly mat not only boosts drying efficiency but also keeps dishes securely in place.
Plus, with proper silicone care, it channels water directly into the sink—no mess!
Trust me, your countertops will thank you. Let’s keep it stylish and practical, shall we?
Minimalist Design Accents
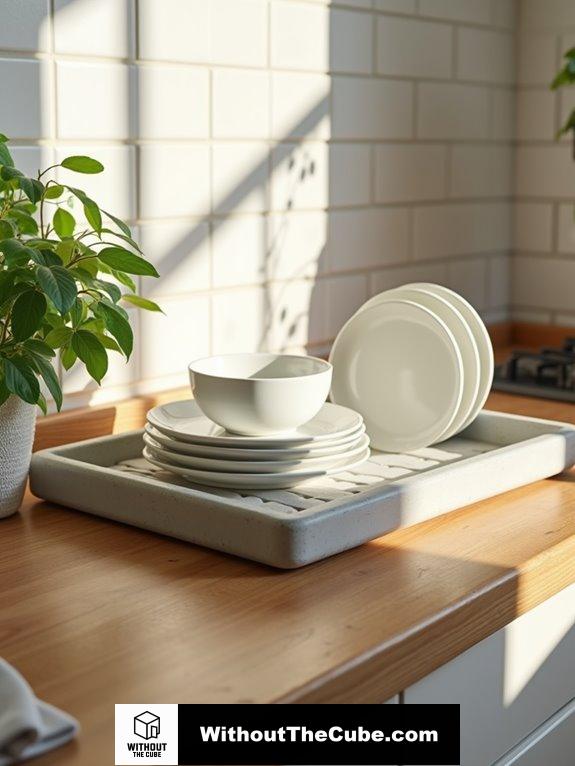
A contemporary kitchen’s charm often lies in its minimalist design accents, where every element plays an essential role in creating a cohesive space.
Think about color psychology—earthy tones warm the room, while pops of robin’s egg blue keep it lively.
Mixing textures, like sleek concrete with warm wood, creates a stunning contrast.
Trust me, this balance makes your kitchen feel both innovative and inviting.
Let’s get designing!
Summary
I just made a contemporary concrete dish rack, and I’m excited about its durability. Properly cured concrete is significantly strong, making it a great choice for my kitchen. This minimalist design not only organizes my space but also adds style.
I’d love to hear about your experiences with DIY projects like this one. What have you created recently?
If you found this post helpful, please share it on social media to help others discover our blog, Without the Cube!
Leave a Reply