
Creating a DIY concrete tabletop? Trust me, it’s not as daunting as it sounds!
First, I measured my space—because, you know, winging it is always a brilliant idea.
Then, I built a form with melamine board. Spoiler: it really does help with that smooth finish.
Mixing and pouring concrete was a fun adventure—tapping it to release air bubbles felt like my own mini science experiment!
After a few days of patience (not my strong suit), I sanded and sealed it for that polished look. Oh, and I tossed in some leaves for flair. Who says concrete can’t be artsy?
Welcome to my blog, Without The Cube, where I promote superior interior design. Let’s dive in!
—
A Client’s Journey to a Stunning Concrete Tabletop
I once worked with a client who wanted a unique dining table that screamed “wow.”
They were skeptical about concrete—thought it might feel cold or too industrial.
After showing them a stunning tabletop I crafted, they were sold.
We infused it with vibrant colors and even added embedded shells for a beachy vibe.
Their reaction? Priceless! It’s amazing how a personal touch can transform something so raw into a piece of art.
Honestly, it’s moments like these that remind me why I love interior design.
Key Takeaways
- Measure the space for your tabletop and choose dimensions that fit well, considering weight and support for a concrete thickness of 2-3 inches.
- Build a secure form using melamine board, ensuring it is square and sealed with silicone caulk to prevent leaks during pouring.
- Mix high-strength concrete in small batches, pouring evenly and leveling the surface to achieve a smooth finish while minimizing air bubbles.
- Allow the concrete to cure for 3-4 days under moisture-retaining covers, checking for proper setting before removing the mold.
- Personalize your tabletop by embedding natural elements or using colorants, then seal the surface with food-safe sealants for durability and shine.
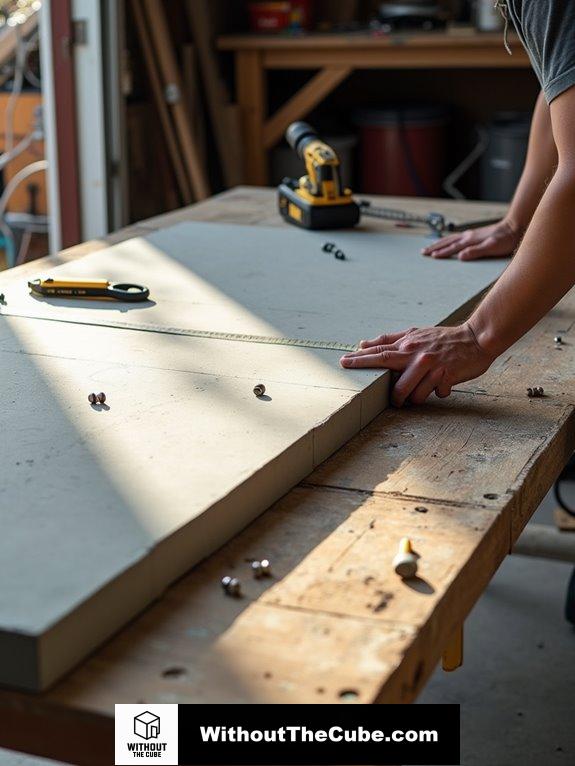
Determine Size
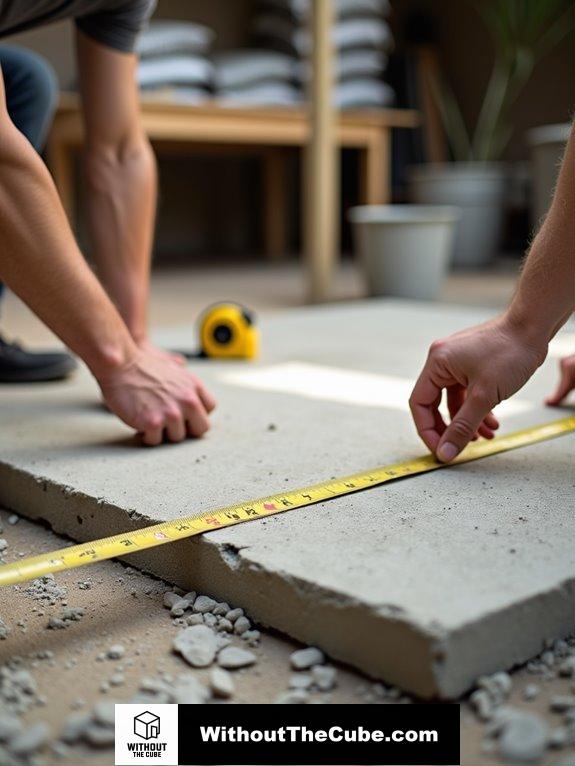
When I start planning a DIY concrete tabletop, the first thing I consider is the size. Seriously, you don’t want a table that looks like it’s trying to squeeze into a closet! I measure the space where it’ll sit, keeping standard dimensions for coffee tables or buffets in mind. a well-chosen concrete countertop size can enhance the overall aesthetic of your kitchen or dining area.
And let’s not forget about weight! Concrete can be heavy, so I think about the support my table base needs. If I’m going thick, like 2 to 3 inches, I need to guarantee my base can handle it, right?
Reinforcement is key, too. Using rebar or wire mesh helps keep everything nice and sturdy.
Build Form
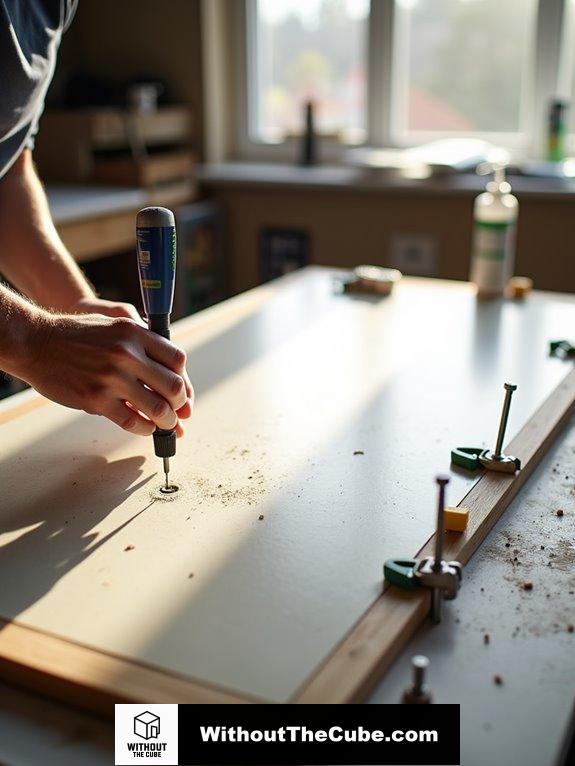
Before I plunge into pouring concrete, I need to build a sturdy form that will hold everything in place.
First, I grab some melamine-coated particle board, which is perfect for a smooth finish. I cut it to size and screw the sides to the bottom, making sure it’s nice and square. Clamps are my best friends here, keeping everything steady while I work.
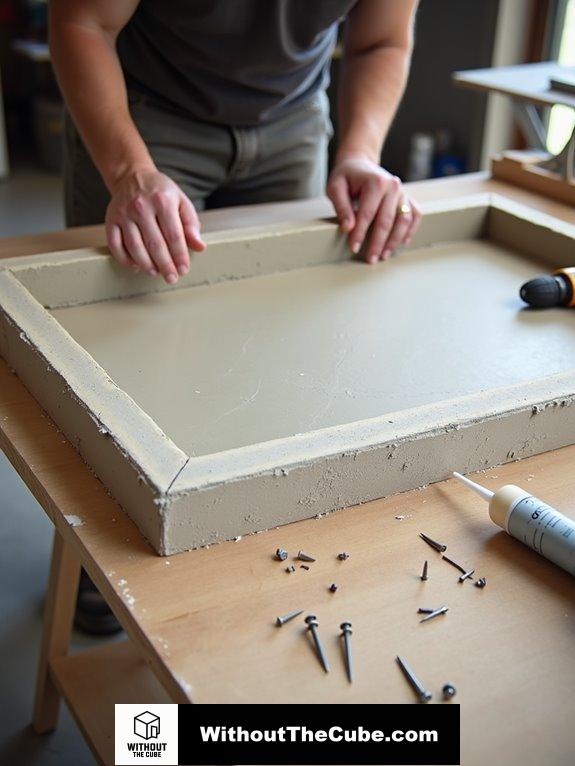
Next, I seal the seams with silicone caulk—no gaps allowed! This is important because any gaps can compromise the structural integrity of the form. A well-built form is essential for achieving a clean finish on the concrete surface.
I double-check that everything’s level, using shims if needed, because no one wants a wobbly table, right?
It’s all about precision and creativity! This form isn’t just a box; it’s the canvas for my masterpiece.
Ready to make some concrete magic? Let’s get to it!
Prepare Form
As I prepare the form for my concrete tabletop, I focus on ensuring every detail is just right. I’m using melamine board because it’s non-stick—thank you, science!
First, I cut the melamine to match my table’s dimensions. Keep in mind, those strips need to be 3/4″ taller to fit the bottom piece perfectly.
Next, I assemble everything with drywall screws spaced every 8-12 inches. Don’t forget to drill pilot holes; we don’t want any melamine drama here!
I apply silicone to the edges for a smooth finish and check that it’s level, using shims if necessary. Gaps? No way! I tape those up. using silicone caulk helps prevent any leaks during the pouring process.
Pour Concrete
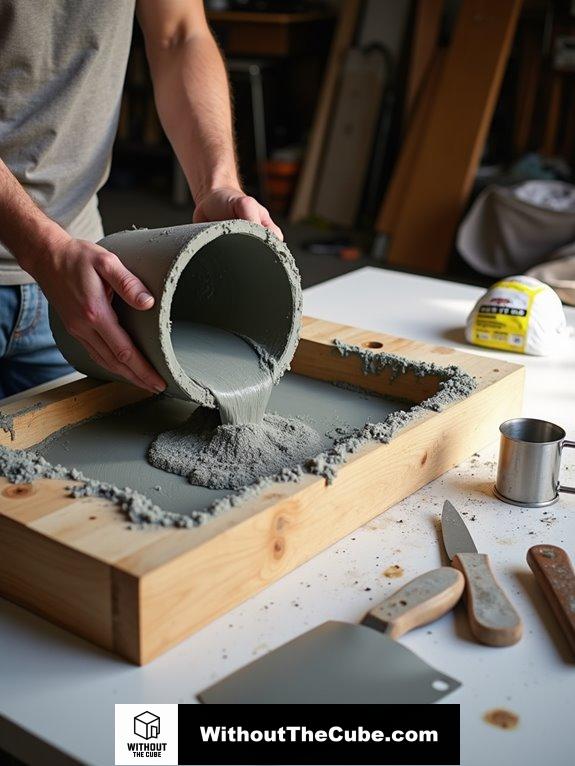
Pouring concrete is where the magic really happens, and I’m excited to immerse myself!
First, I mix my high-strength concrete, like Quikrete 5000, in small batches—1 or 2 bags at a time. I aim for that perfect “oatmeal” consistency, and yes, I wear a dust mask because inhaling concrete dust isn’t on my to-do list. It’s important to note that building test forms can help practice techniques before the actual pour. using the right mixing techniques can significantly enhance the durability of your concrete.
When it’s time to pour, I start at one end, pouring in multiple batches. Trust me, it’s like painting a masterpiece, but with concrete!
I use a long board to level everything out, ensuring my edges are smooth—no one wants a table that looks like it got caught in a storm.
Vibrate and Smooth

It all starts with vibration! Grab a rubber mallet or a palm sander—no sandpaper, please! I usually tap the sides and underneath the mold for about 30 seconds. This helps those pesky air bubbles rise and pop, which is super important. But be careful! Overdoing it can send your sand and gravel sinking, which isn’t what we want.
Once your concrete’s nicely vibrated, it’s time to smooth it out. A concrete trowel or magnesium float works wonders for that flat, level surface. ensure that your work table is level throughout to achieve the best results in your finishing process. Remember that achieving the right consistency of concrete is crucial for a durable countertop.
Don’t forget the edges! A quick pass with a sanding block keeps those corners from turning into surprises later.
Let’s make that tabletop shine, shall we?
Cure and Flip

After you’ve vibrated and smoothed your concrete, the next step is curing it properly. This part is essential—trust me, you don’t want to skimp on it!
Here’s what you’ll do:
- Wait 3-4 days for the concrete to cure.
- Cover it with a plastic bag or tarp to help it cure evenly.
- Keep it moist; hydration is key!
- Guarantee a consistent environment for even curing.
During this time, it’s crucial that you monitor the cure time to ensure the concrete reaches its full strength.
Once it’s set, check for proper curing before removing the mold.
Gently remove screws and pry off the mold carefully, starting with the edges.
When you flip the slab, grab a buddy! Use soft materials underneath to avoid scratches.
It’s like a dance, just with concrete instead of a partner. Let’s create something fabulous!
Sand and Seal
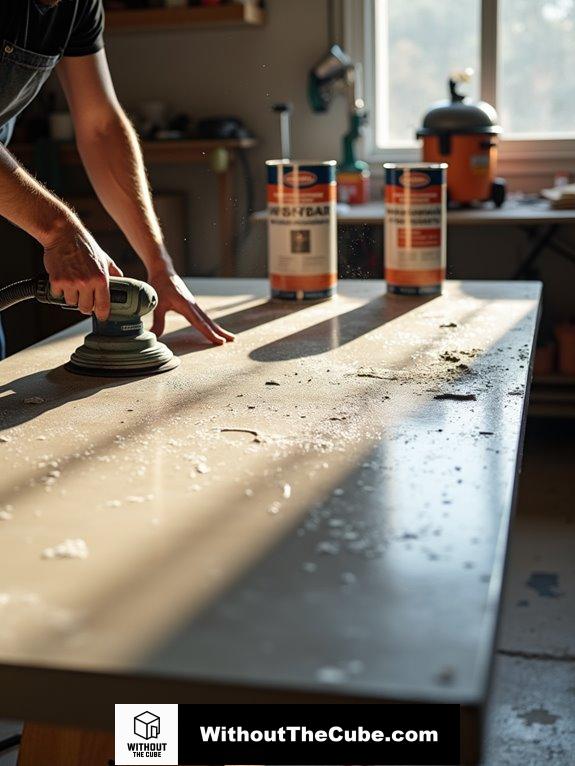
Once your concrete tabletop has fully cured, it’s time to sand and seal the surface for a polished finish. Trust me, this step is where the magic happens!
First, grab some 320 to 400 grit wet/dry sandpaper, or if you’re feeling fancy, a machine with wet diamond pads. Wet sanding helps keep things smooth and prevents scratches—no one wants a bumpy table! Remember to allow the concrete to cure for at least 4 days to ensure the best sealing results.
After sanding, vacuum it up, then wipe down with denatured alcohol to banish any dust.
Now, let’s talk sealers! Choose a food-safe option like polyaspartic or epoxy. Apply it according to the instructions, and don’t skimp on those coats!
Once you’re done, your tabletop will look so good, you might just want to show it off!
Secure Table Top
With your concrete tabletop beautifully sanded and sealed, the next step is to secure it to the base for a sturdy and reliable piece of furniture.
Trust me, you don’t want it wobbling like a seesaw at the park!
Here’s what you’ll need:
- Pipe clamps or another suitable fastening method
- Drill and appropriate drill bits
- Screws or bolts compatible with the base and tabletop
- Measuring tape and level for accurate placement
First, measure everything to guarantee a perfect fit.
Then, mark where you’ll secure the tabletop. Remember, the process of creating concrete countertops involves templating, forming, pouring, curing, and sealing to achieve the desired final product.
Drill pilot holes, apply wood glue if needed, and use pipe clamps to hold it all together.
After tightening everything, double-check that it’s level.
You’re almost there!
Avoid Air Bubbles in Mixture

One of the most essential aspects of creating a flawless concrete tabletop is ensuring a bubble-free mixture.
Trust me, you don’t want pesky air bubbles ruining your masterpiece! To keep your mix smooth, I recommend a few tricks. First, give your mold a good vibration—grab a rubber mallet or shake it a bit. It’ll help those sneaky bubbles escape.
Also, consider a flowing mix; it’s like giving air bubbles a free pass to the surface. If you’re up for it, add a defoamer like Alpha Pro—it’s a game changer!
And keep in mind, avoid that stiff mix; it’s a bubble trap! Proper placement of rebar is crucial to avoid surface visibility, which also helps in maintaining a smooth finish.
With these tips, your concrete will look fabulous, and I promise, you’ll be the envy of your friends. Happy crafting!
Incorporate Natural Elements
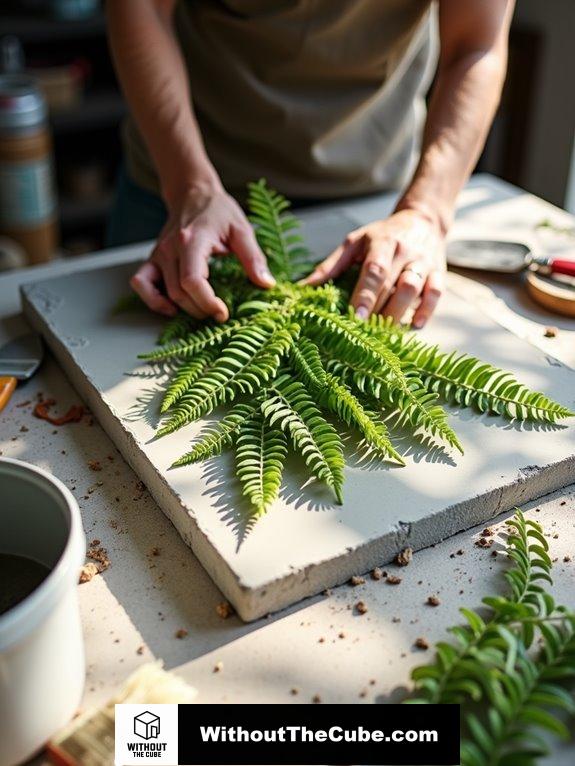
Incorporating natural elements into your DIY concrete tabletop can transform it from a simple slab into a stunning centerpiece.
Trust me, it’s like giving your table a personality!
Here are some fun ideas to ponder:
- Leaf or Fern “Fossils”: Press them flat and let them shine.
- Shave Stems: Keep things neat by trimming down bulky stems.
- Small Decorative Objects: Add flair with unique pieces.
- Color Customization: Use cement colorants for a pop!
So, why not get creative? You might just inspire a Pinterest board or two!
And recall, we’re all about superior interior design here at Without The Cube!
Summary
Creating my own DIY concrete tabletop was a rewarding process. Each step allowed me to express my creativity, resulting in a unique, functional piece for my space. It’s satisfying to craft something that truly reflects my style.
I’d love to hear about your own experiences with DIY projects. What have you created, and how did it turn out?
If you found this guide helpful, please share it on social media to help others discover the joy of DIY with Without the Cube.
Leave a Reply