
Ever thought about transforming your home with a splash of DIY concrete?
I’m here to tell you, it’s easier than trying to assemble IKEA furniture without the instructions—trust me, I’ve been there!
So, let’s kick things off!
First, round up your molds—old bowls or muffin tins will do. Then, mix that concrete until it’s like toothpaste.
Pour it in, smooth it out, and give it a little jiggle to release the bubbles. Now, don’t rush it! Let it cure like a fine wine; moisture is your best friend.
And when you’re ready, unleash your inner artist with some sanding or paint.
Voilà! You’ve made something cool!
I created this blog, Without The Cube, to inspire superior interior design, and I can’t wait to share more tips with you!
Real-Life Experience: Crafting Concrete Dreams
A few months back, I worked with a client who wanted to revamp her patio on a budget. We decided on DIY concrete planters.
After a hilarious mishap with a mold that turned out more abstract art than planter, we finally nailed it!
In the end, those concrete accents not only added character but also sparked conversations. Who knew concrete could be so chic?
So next time you’re in a design rut, consider a little DIY magic!
Key Takeaways
- Choose reliable concrete mix and gather necessary tools, ensuring a clean workspace to avoid mess during the project.
- Prepare molds by cleaning and applying a release agent, considering unique shapes like bowls or muffin tins.
- Mix concrete thoroughly to achieve a toothpaste-like consistency, maintaining the proper water-to-cement ratio for optimal results.
- Pour the mixture into molds carefully, using tools to smooth surfaces and remove air bubbles for a refined finish.
- Allow adequate curing time and apply sealants post-curing to protect your concrete accents and enhance their longevity.
Prepare Materials and Molds
Preparing materials and molds for your DIY concrete accents is essential for achieving the best results. Let’s plunge into it!
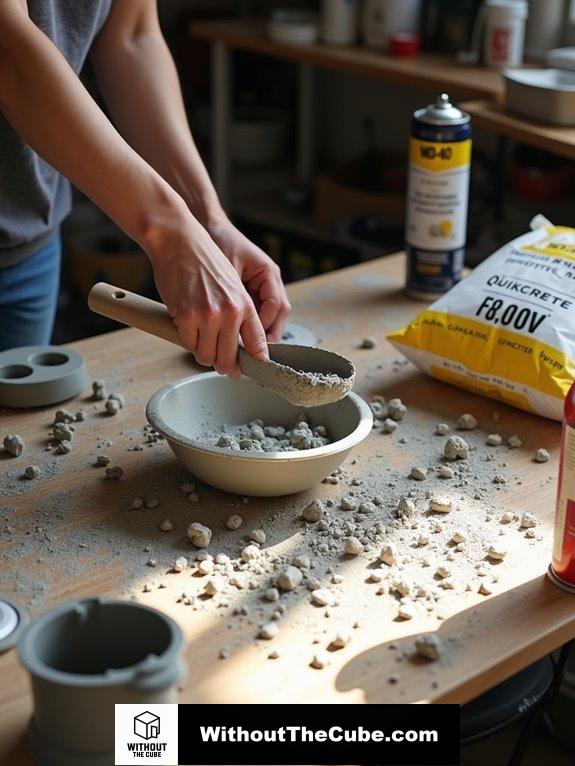
First, grab a reliable concrete mix like Quikcrete 5000—trust me, it’s a game changer. The DIY concrete bowl project is a fantastic way to use affordable materials while achieving a high-end look.
Next, think outside the box for molds. Old plastic bowls and muffin tins? Perfect! Using various types of molds can help you create unique shapes and sizes for your concrete pieces.
Don’t forget the extras: WD-40 to keep things slick, super glue for quick fixes, and a trusty dust mask. Safety first, right?
And if you want to jazz it up, consider faux tiles or even a splash of acrylic paint.
Just keep in mind, clean and dry molds are a must! Apply that release agent so your concrete doesn’t play hard to get.
Excited yet? Let’s get creative together!
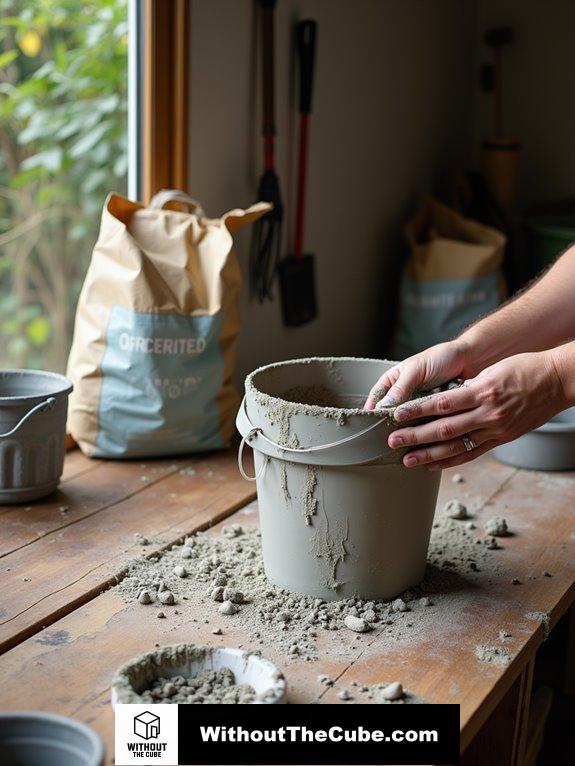
Mix the Concrete
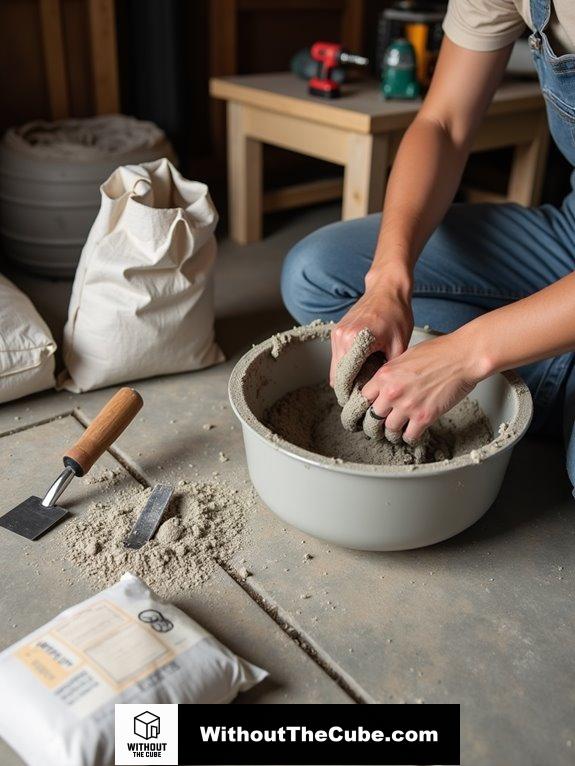
Now that you’ve gathered your materials and molds, it’s time to mix the concrete.
Grab your trusty corded drill with a paddle attachment, or a trowel if you’re feeling adventurous. You want that mix to be just right—think cake batter, but not the kind you can pour!
Start by combining cement, sand, and aggregate. Recall, the water-to-cement ratio is key! Too much water, and you’ll end up with a sad, weak mix. Remember to fill your mixing bowl to about half of a 5-gallon bucket to ensure you have enough for three bowls. The ideal mix will achieve a strong bond that enhances the countertop’s durability.
Add water gradually, and don’t forget those superplasticizers if you want to kick the strength up a notch without drowning the mix.
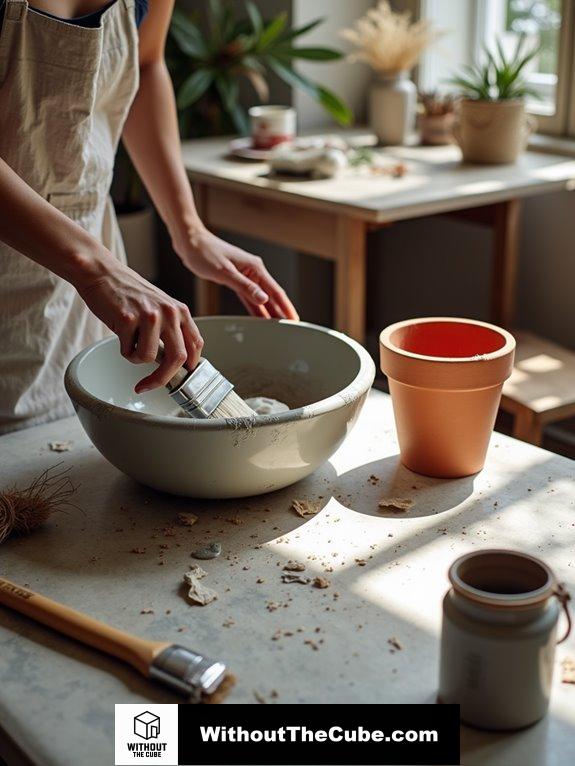
Prepare the Mold
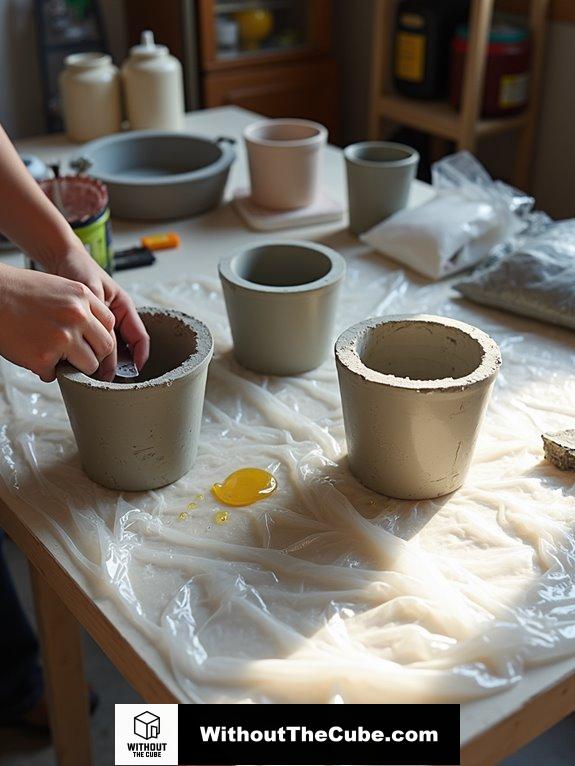
To get started on your concrete project, it’s essential to prepare the mold properly. Trust me, taking the time to do this right will save you a world of headaches later on.
Here are some tips to guarantee your mold is ready for action:
- Cover it with plastic to protect from concrete spills.
- Lightly coat the plastic with olive oil for easier removal.
- Check for gaps or leaks that could ruin your shape.
Before diving in, make sure your workspace is covered. Nobody wants a concrete mess on the floor, right? To ensure a smooth finish, consider using a concrete sealer after your tray has cured.
And hey, don’t forget your gloves! It’s a small step that makes your project so much more enjoyable. Let’s get that mold ready and rock those DIY concrete accents!
Fill the Mold
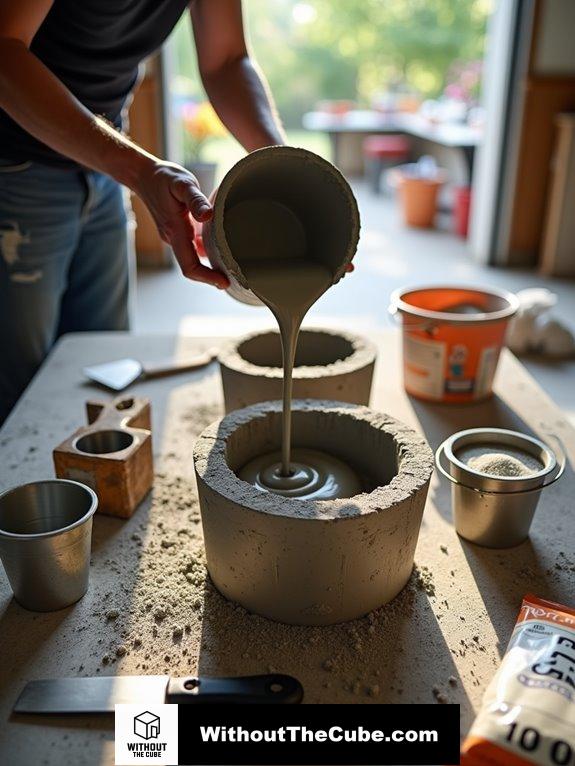
With the mold all set and ready, it’s time to fill it with concrete.
First, let’s mix our concrete to a delightful toothpaste consistency, using a mix of 2-3 parts sand to 1 part Portland cement. This mixture allows for optimal strength in your finished dish rack.
Don’t overlook the water-to-cement ratio of 0.20-0.30—that’s the magic number for smooth pouring! Proper mixing and timing are crucial for achieving desired results, especially when dealing with fast-setting mix applications.
Pour slowly into the mold, covering every nook and cranny, and vibrate it gently to banish air bubbles.
Feeling fancy? Sprinkle some baking soda for texture or mix in pigments for a splash of color.
And recall, using a release agent will save you from mold drama later.
Trust me, it’s worth it when you reveal your stunning DIY concrete creation! Who’s ready to impress?
Cure the Concrete

Curing concrete is essential for achieving maximum strength and durability in your DIY projects. I can’t stress enough how vital this step is! Without proper curing, you might end up with cracks or a weak finish—yikes! Here are some tips to keep your concrete happy:
- Keep it damp and avoid drying out too quickly.
- Consider the thickness; thicker crafts need longer to cure.
- Timing is everything—demold too soon, and you’ll get a matte look!
- proper curing significantly contributes to overall project quality.
- well-cured concrete surface can enhance concrete kitchen countertop aesthetics and ensure longevity.
Finishing Touches
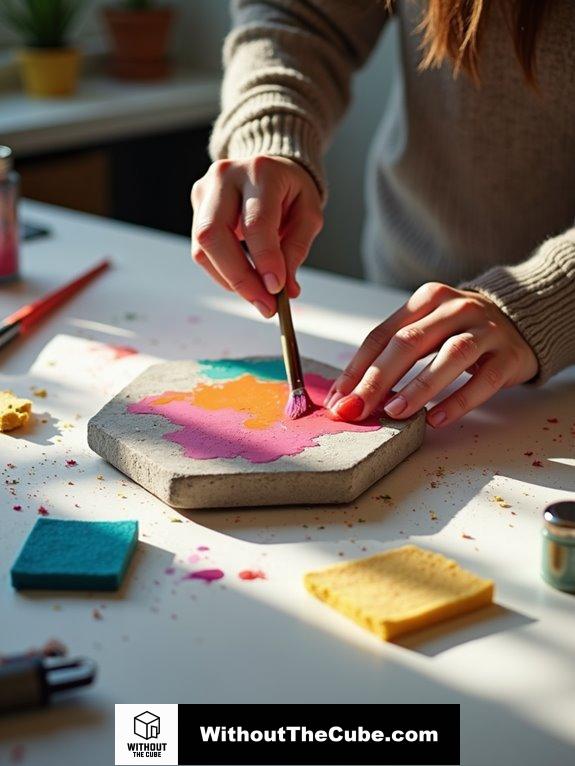
After putting in the hard work to cure your concrete, it’s time to elevate your creations with some finishing touches.
Let’s talk about paint! I love using water-based paints like acrylic or chalk for that smooth, non-textured finish. Darker colors should be applied first to create depth before adding lighter shades for a more dynamic appearance.
Want a pop of color? Go for craft paints or even add pigments for a dramatic black marble effect.
Feeling adventurous? Try adding texture with a stucco patch or joint compound for that chic, aged look.
Don’t forget to seal it! A clear sealer not only protects your masterpiece but also gives it a nice sheen.
Installation
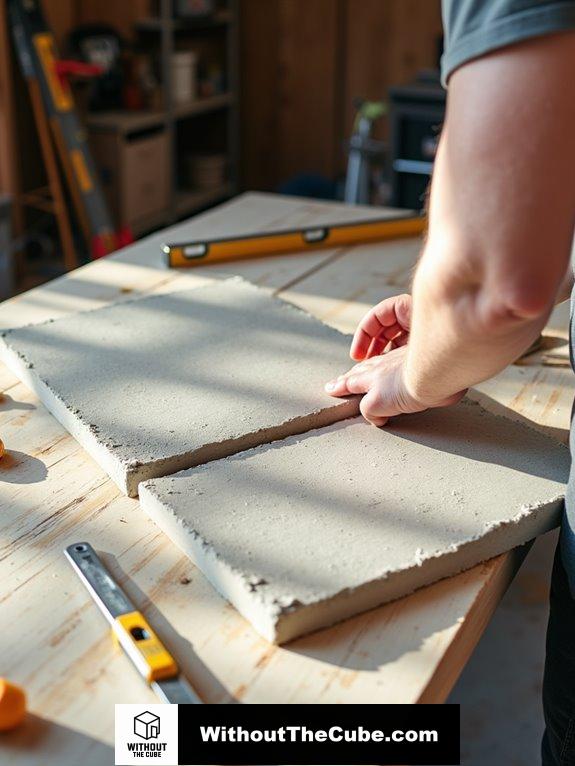
Once you’ve added those finishing touches to your concrete pieces, it’s time to think about installation. Trust me, this part can be just as fun!
First things first, prep your surface like a pro. You’ll want a smooth, level area—think plywood or drywall. A smooth, level surface is crucial for panel installation.
Here’s a handy checklist to keep you on track:
- Choose the right concrete panels: Decorative options are a must!
- Use strong adhesive: Liquid Nails is your best friend here.
- Gather your tools: A level, tape measure, and utility knife are essentials.
Now, generously apply that adhesive and press those panels into place.
Recall to check for alignment and clean up any mess. Trust me, your space will be transformed in no time! How exciting is that?
Common Mixing Errors
Mixing concrete might seem straightforward, but it’s easy to mess up if you don’t pay attention to the details.
First off, let’s talk about that pesky water-to-cement ratio. Too much water can turn your masterpiece into a sad puddle of shrinkage and color chaos. I always add water gradually, mixing thoroughly after each splash to keep things just right. Maintaining an ideal water-to-cement ratio ranging from 0.40 to 0.60 is crucial for achieving strong and durable concrete.
And don’t overmix! You want strength, not a foam party.
Also, if you’re using aggregates, pick wisely! Larger rocks can strengthen your project but may ruin your stamping design.
Remember to read those manufacturer instructions; they’re not just for decoration!
Home Accent Color Coordination
Color coordination is where the magic happens! You can elevate your concrete creations with a splash of creativity.
Here are a few tips I love:
- Start with a neutral base: Gray concrete can go with almost anything!
- Play with contrast: Bright colors or natural wood against concrete can be a showstopper.
- Embrace earthy tones: Think moss or terracotta for a nature-inspired vibe!
- multi-surface paint can enhance the overall appearance and durability of your projects.
Summary
I can easily transform my home with DIY concrete accents in just seven steps. It’s a fun way to personalize my space and showcase my creativity. Plus, it’s a practical skill that enhances my interior design.
I’d love to hear how you’ve incorporated concrete designs into your home. What tips or projects have you enjoyed?
If you found this helpful, please share it on social media to help more people discover our blog, Without the Cube.
Leave a Reply