Crafting a concrete cutting board? Oh, honey, let me tell you—it’s more fun than it sounds!
When I first tackled this project, I thought, “What could possibly go wrong with mixing cement and sand?” Spoiler alert: plenty!
I started with a sturdy mold (aka melamine boards), then mixed my ingredients like I was baking a cake—except way less delicious. After pouring it out like pancake batter, I realized smoothing it out was an art form I hadn’t mastered.
But trust me, once I sealed it up with food-safe goodness, it became a kitchen showstopper!
I created my blog, Without The Cube, to share these interior design adventures. Honestly, who knew a cutting board could spark so much joy?
—
A Design Dilemma: Concrete Meets Kitchen Chic
Once, I worked with a client who wanted a unique kitchen vibe. Their vision? A concrete island! We mixed textures and colors, creating a stunning focal point. The cutting board? It tied the whole look together.
Concrete isn’t just for sidewalks; it can be sleek and stylish, too! Mixing it with wood and metal created a gorgeous contrast. So, are you ready to transform your kitchen into a design masterpiece?
Key Takeaways
- Construct a sturdy mold using melamine boards and secure seams with hot glue for stability during the concrete casting process.
- Mix Portland cement with a 3:1 cement-to-sand ratio, ensuring the right water amount for optimal strength and consistency.
- Pour the concrete into the mold, achieving a thick pancake batter consistency to avoid air pockets and ensure even coverage.
- Level the surface with a self-levelling compound, grinding down any high spots and using wooden rails for precision.
- Finish by applying a food-safe sealant that is waterproof and UV-resistant for durability and safety when using the cutting board.
Prepare the Mold
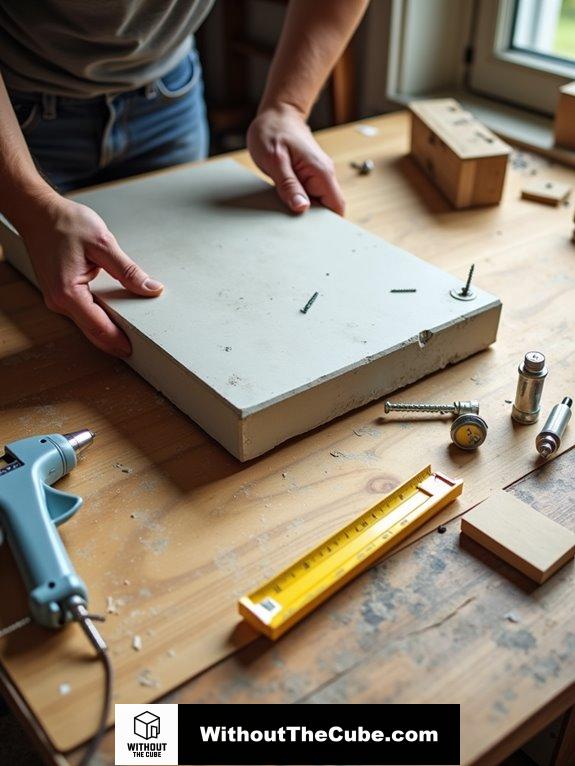
When it comes to preparing the mold for your concrete cutting board, getting it right from the start is essential.
I use melamine boards for mold materials, assembling them with drywall screws.
Ensuring mold stability is key, so I level the box and seal seams with hot glue. the mold dimensions should be based on the size of your live edge slab to ensure a perfect fit.
Using concrete mix that is specifically designed for casting projects can greatly enhance the durability of your cutting board. Trust me, a sturdy mold makes all the difference when you’re ready to cast that gorgeous concrete masterpiece!
Mix the Concrete
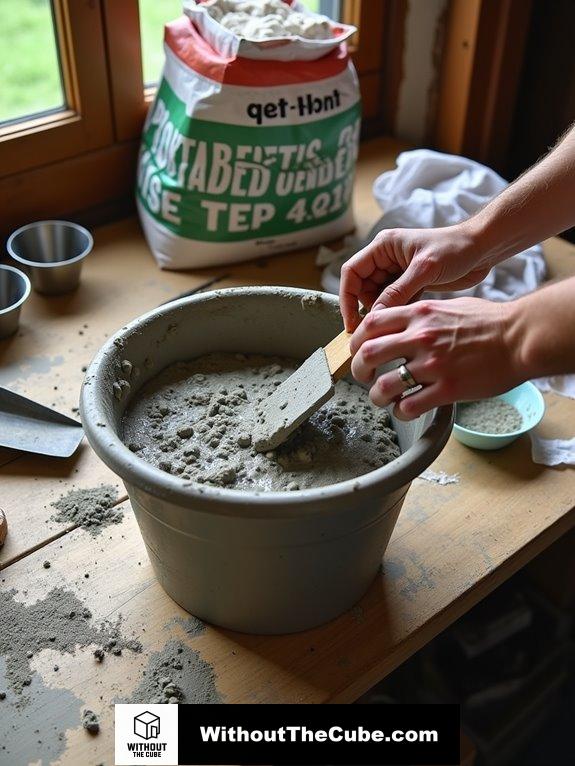
With the mold prepared, it’s time to mix the concrete.
I love using Portland cement for its versatility! For a perfect blend, aim for a 3:1 cement-to-sand ratio. A well-mixed concrete not only enhances the appearance of your board but also contributes to its strength and durability.
Recall, using just enough water is key—too much can weaken our masterpiece.
Try mixing techniques like stirring with a paddle for a smooth, bubbly-free mix.
Remember, achieving the correct cement-to-sand ratio is essential for ensuring the strength and durability of your cutting board.
Trust me, your cutting board will thank you!
Pour the Concrete
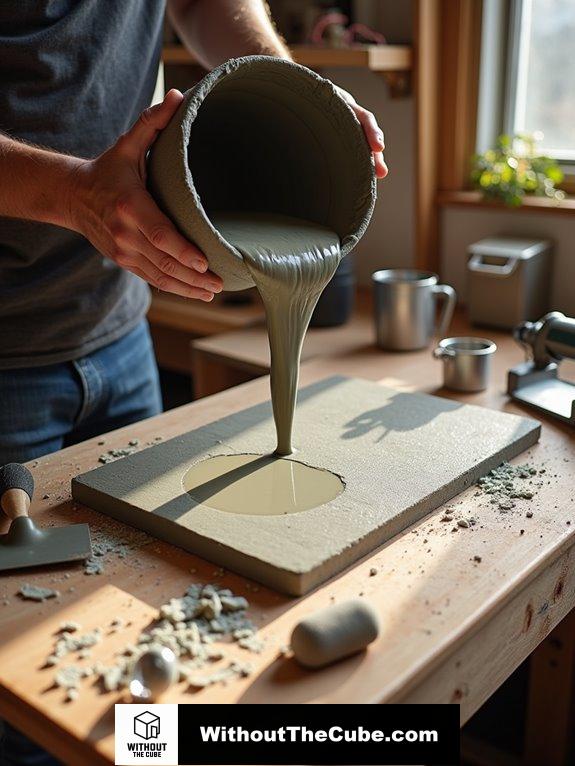
Now it’s time to pour the concrete into the prepared mold.
I love this part!
Make sure your concrete consistency is just right; it should flow smoothly without being too runny. The ideal consistency is often described as a thick pancake batter, which allows for easy pouring and shaping.
Using pouring techniques like a chute helps control the flow, ensuring even coverage.
Don’t forget to spread it out and avoid those pesky air pockets.
Selecting the right tools, such as power cutters, can greatly enhance your cutting accuracy and efficiency.
Let’s create something stunning together!
Level and Smooth Surface
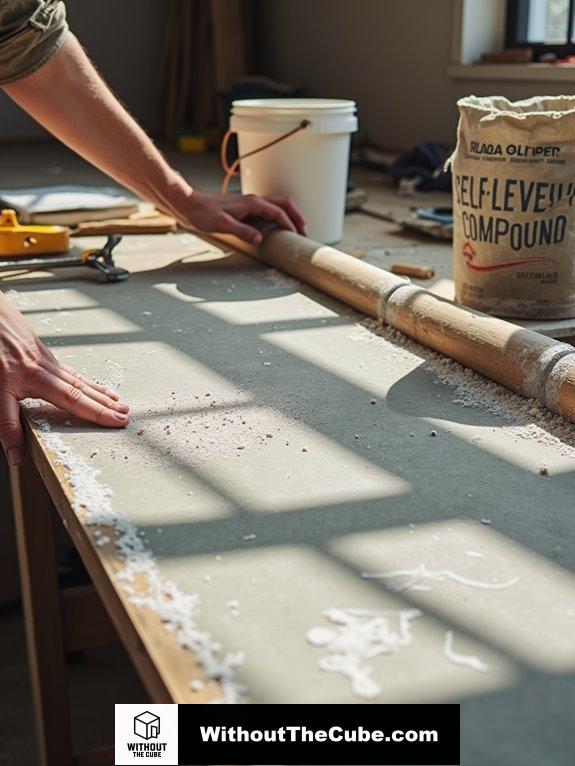
To achieve a perfectly level and smooth surface on your concrete cutting board, I recommend starting with a self-levelling compound to fill any low spots.
Here are a few leveling techniques to help you out:
- Grind down high spots carefully.
- Use a carpenter’s level to mark low areas.
- Employ wooden rails as guides.
- Vacuum dust for a clean surface preparation.
carefully mixing your concrete can significantly affect the final product’s durability. Let’s make it fabulous!
You know, setting time can really vary based on temperature and curing conditions. If it’s too cold, it might take forever!
So, keep it cozy around 68°F for the best results. Don’t forget to monitor moisture, too.
Who wants a cracked cutting board? Let’s make this masterpiece last, buddy! ensuring proper curing conditions can significantly enhance the strength and longevity of your concrete project.
Remove From Mold
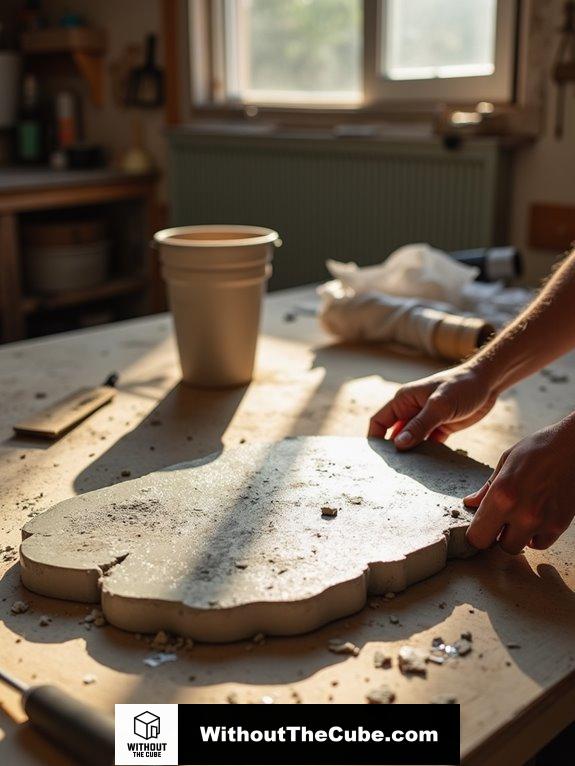
Removing the concrete from the mold is an essential step in creating your cutting board masterpiece.
Here’s what I do:
- Guarantee proper mold preparation with wax and sealant.
- Wait for the concrete curing—2-3 days is key!
- Look for signs of separation.
- Carefully break apart the mold to reveal your creation.
Trust me, the excitement is worth it! ensure that the concrete is fully cured before removing it to avoid any damage to your board.
Sand and Finish

Sanding your concrete cutting board is where the magic happens, transforming a rough slab into a smooth, functional surface.
I love using different sanding techniques, starting with a coarse grit to tackle those pesky imperfections.
Recall to manage dust—wet sanding helps!
After a few rounds with finer grits, you’ll be amazed at how sleek it feels. Incorporating stylish concrete aesthetics into your board can also elevate its overall appeal.
Ready for the next step?
Final Sanding and Polishing

How do you achieve that perfectly smooth finish on your concrete cutting board?
Start with effective sanding techniques, using coarse grit pads to tackle those rough spots.
Gradually move to finer grits, cleaning in between.
For that glossy look, ultra-fine pads and polishing products like burnishing pads work wonders!
Trust me, the effort’s worth it—your board will shine like a diamond!
Apply Final Sealant
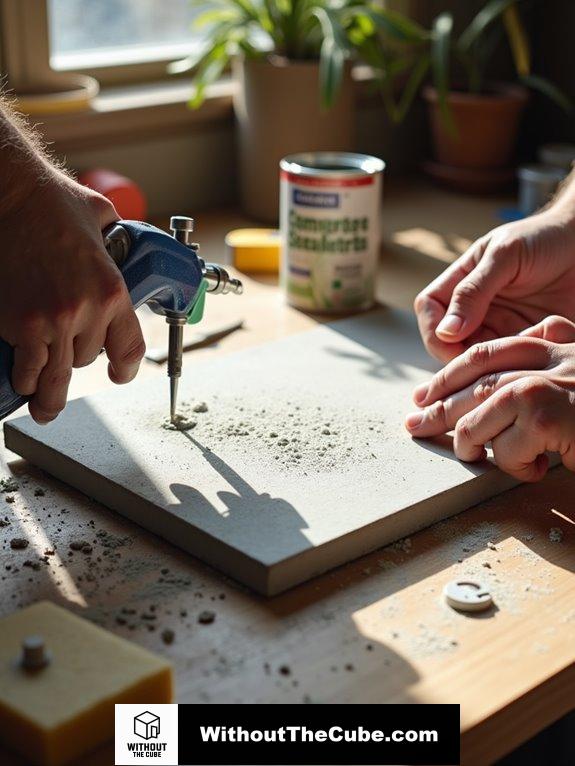
Applying a final sealant is essential for protecting your concrete cutting board and enhancing its durability.
Here’s what I consider for sealant selection and application techniques:
- Choose waterproof and UV-resistant sealants.
- Make sure the surface is clean and dry.
- Use a caulk gun for even application.
- Allow proper curing time, about 24-36 hours.
Trust me, your cutting board will thank you!
Use Food-Safe Sealant
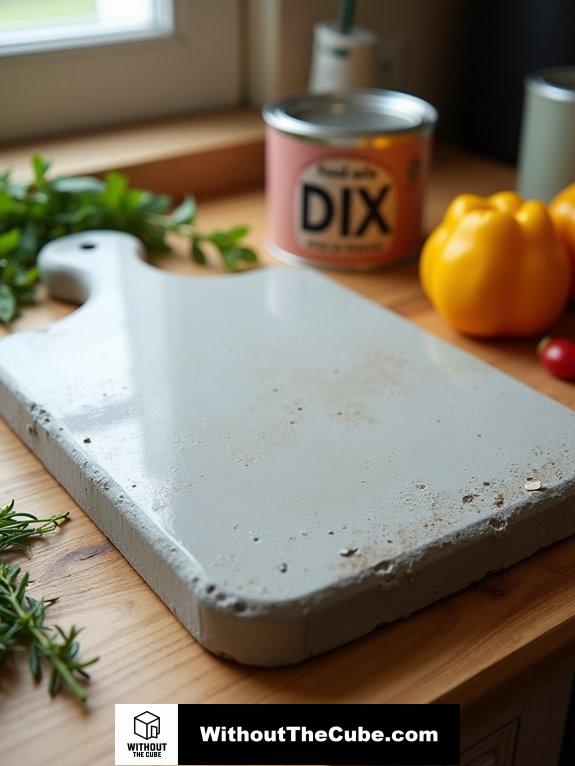
When it comes to ensuring your concrete cutting board is safe for food use, selecting a food-safe sealant is essential.
I love using food-safe wax or concrete countertop sealers for their scratch resistance.
Just keep in mind, clean the surface thoroughly first!
Apply your sealant in a well-ventilated area, following the manufacturer’s application tips.
Trust me, your cutting board will thank you!
Textured Surface for Grip
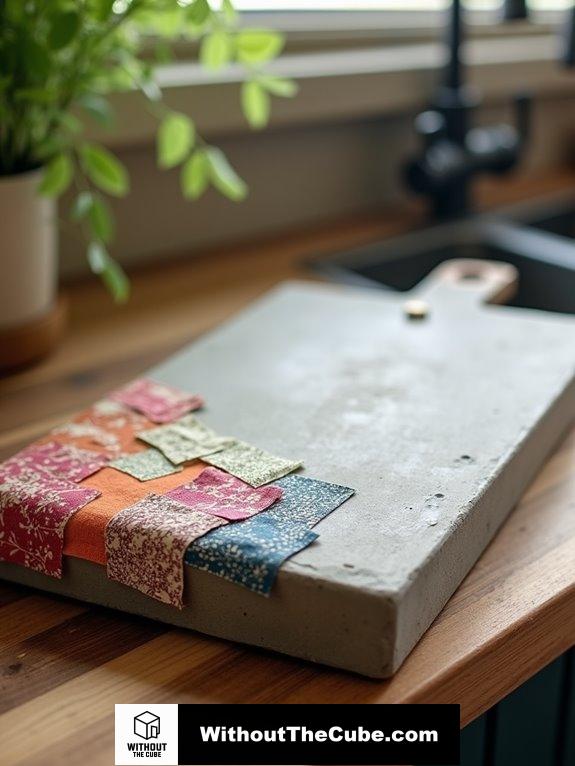
Creating a textured surface on your concrete cutting board not only enhances its aesthetic appeal but also provides a practical grip for safer handling.
Here are some innovative texture materials to ponder:
- Textured tape
- Fabric scraps
- Small objects
- Hot glue for secure attachment
These choices boost grip effectiveness, making your cutting board both stylish and functional.
Who knew DIY could be so fun?
Summary
I made my own concrete cutting board, blending functionality and style. It’s a unique addition to my kitchen that stands up to daily use and looks great while doing it.
DIY projects like this let me express creativity and personalize my space.
I’d love to hear about your experiences with DIY projects. What have you made that transformed your home?
If you enjoyed this guide, please share it on social media to help spread the word about Without The Cube!
Leave a Reply