
Looking to jazz up your bedroom?
Trust me, I’ve been there, staring at a bland wall like it’s judging my life choices.
I decided to take the plunge and craft a DIY concrete headboard. Sounds fancy, right?
First things first, I sketched out a design that screamed “me.” Then, I grabbed some plywood for the mold, cleaning it like I was getting ready for a date.
Mixing concrete? Let’s just say it’s a workout. Once it cured, I went wild with colors and quirky messages. You know, the usual stuff.
And voilà! My space was transformed.
I created my blog, Without The Cube, to share my passion for superior interior design.
Let’s get crafty, shall we?
Client Experience: Transforming Spaces with Concrete Headboards
I once had a client who wanted to ditch their boring bed frame for something unique. We brainstormed together, and they fell in love with the idea of a concrete headboard.
After a few mishaps with the mold (don’t ask), we created a stunning piece that not only anchored the room but also sparked endless compliments.
Combining industrial vibes with warmth, it was a win-win! So if you’re looking to elevate your space, consider the magic of concrete. Trust me, it’s worth the effort!
Key Takeaways
- Choose high-quality materials for the mold and concrete to ensure durability and longevity of the headboard.
- Prepare and clean the mold thoroughly, applying a release agent for easy removal after curing.
- Mix concrete to the right consistency, maintaining the appropriate water-to-cement ratio for strength.
- Allow adequate curing time and use effective techniques to enhance the concrete’s durability and appearance.
- Personalize the headboard with unique finishes, colors, and textures to match your bedroom decor style.
Plan Your Headboard Design
When I set out to plan my concrete headboard design, I knew I needed to nail down a few key elements first.
I found design inspiration in various styles, from industrial chic to sleek minimalism. Incorporating stylish concrete accents can elevate your bedroom’s overall aesthetic.
Next, I considered my material choices, like high-quality concrete for durability. DIY headboards can be customized to fit any style or space, allowing for endless creativity.
Isn’t it exciting to think about how unique your headboard can be?
Let’s get creative together!
Prepare the Mold
How do you assure your concrete headboard turns out perfectly?
Start with smart mold materials selection, like 1/2″ plywood for durability. ensure that the plywood is painted black to conceal gaps and enhance the overall aesthetic of the headboard. To create a sturdy structure, consider using reinforced plywood as it adds extra strength. Clean the surface and apply a mold release agent, like Vaseline, using a brush for even coverage. Recall, mold maintenance tips are key—clean it after use and store it dry to make certain it’s ready for your next innovative project!
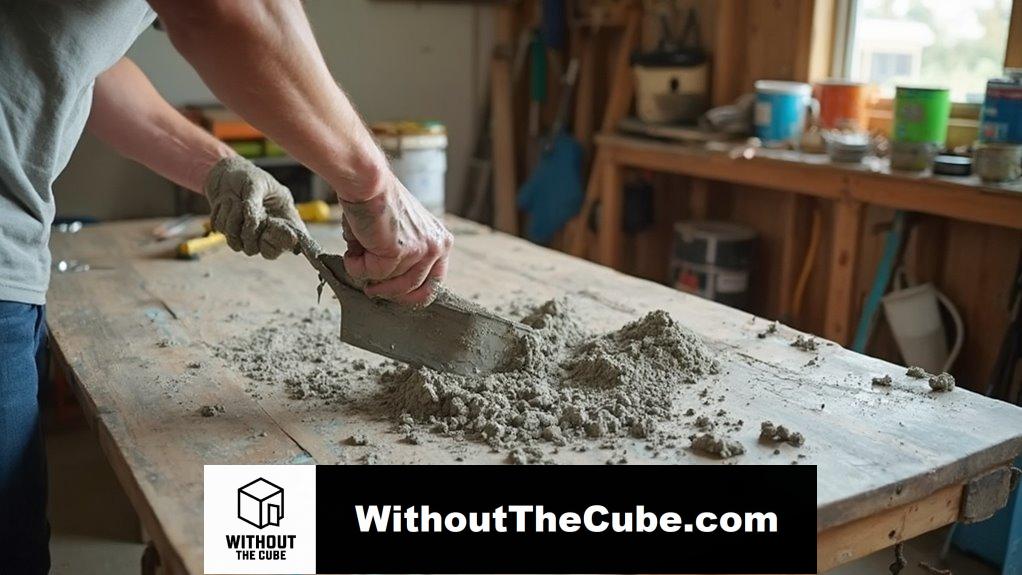
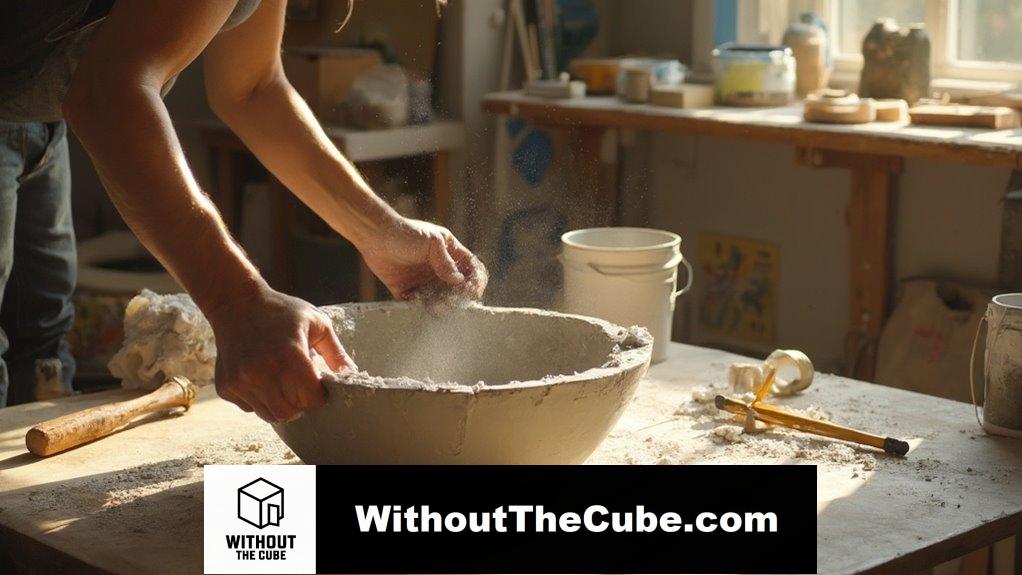
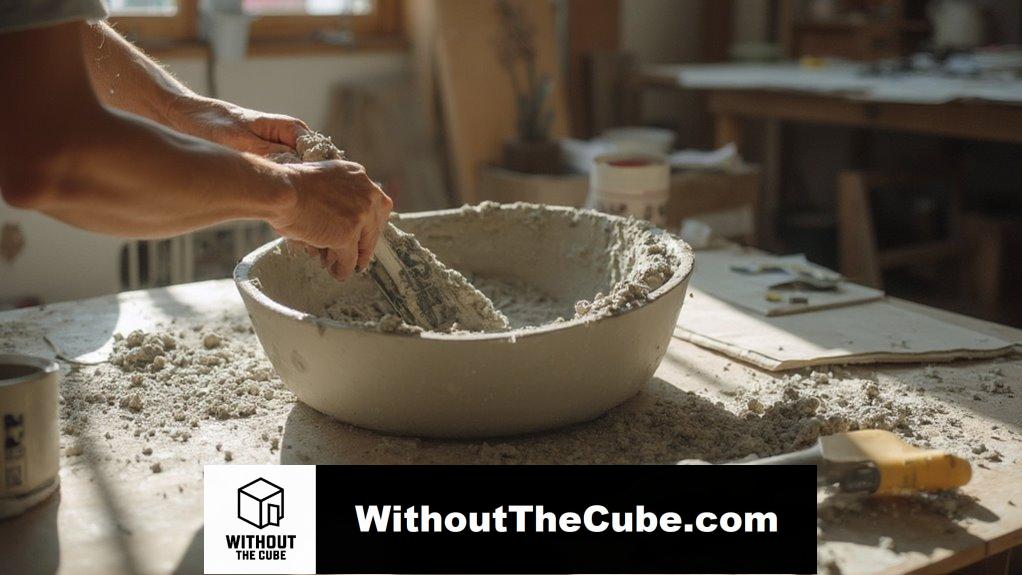
Mix the Concrete
Mixing the concrete is essential for creating a sturdy headboard that stands the test of time. I love using different mixing techniques! Start by measuring your materials and blending them until they look uniform. Proper mixing ensures the quality of fresh concrete, with all aggregate surfaces coated with cement paste; you want to achieve this for the best results. mixing techniques can greatly influence the final product’s durability and appearance. Don’t forget those consistency checks; you want a smooth, workable mix. Trust me, a little extra attention here pays off big time later. Let’s get that perfect blend and create something fabulous!
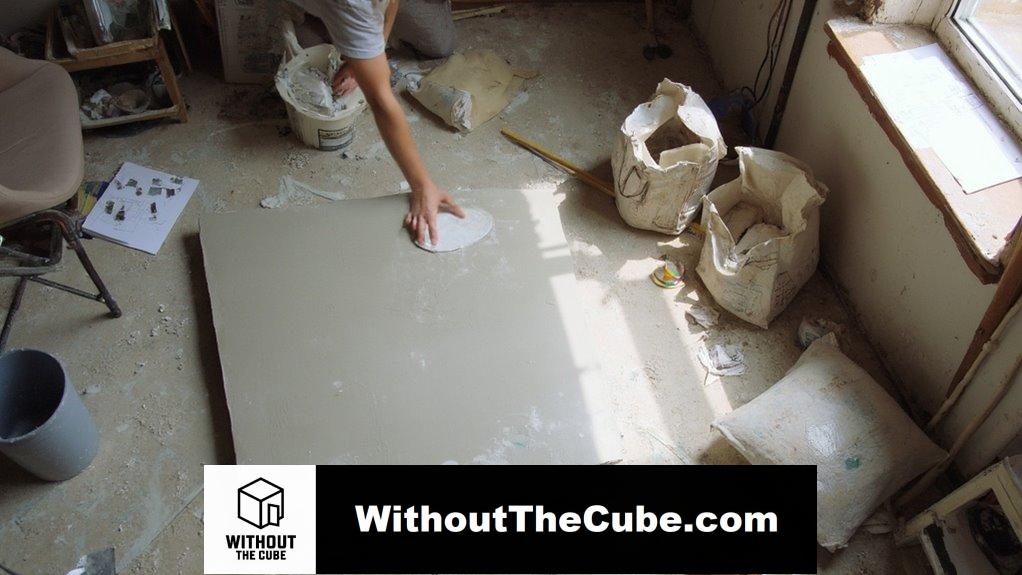
Pour the Concrete
Getting ready to pour the concrete is an exciting step in crafting your headboard.
- Use proper pouring techniques for best results
- Verify concrete consistency to avoid surprises
- Get your tools ready to guide that mix!
I start by pouring at the furthest point, guiding the concrete into place. To achieve a stunning and durable finish, consider incorporating stylish inspirations for your concrete design.
It’s all about even distribution for a fabulous finish. Remember to maintain the correct water-to-cement ratio to ensure optimal strength and durability.
Ready to jump in? Let’s do this!
Allow to Cure
Once the concrete is poured and properly distributed, it’s time to let it cure.
I can’t stress enough how vital this step is! Using effective curing techniques, like moistening the surface, guarantees you reap the amazing curing benefits—like strength and durability. Proper curing minimizes risks of structural failures and ensures your headboard will last for years to come. During this period, maintaining optimal conditions, such as temperature control, can significantly enhance the curing process.
Keep in mind, a little patience goes a long way in creating that stunning headboard you dreamed of. Let’s make it happen, bestie!
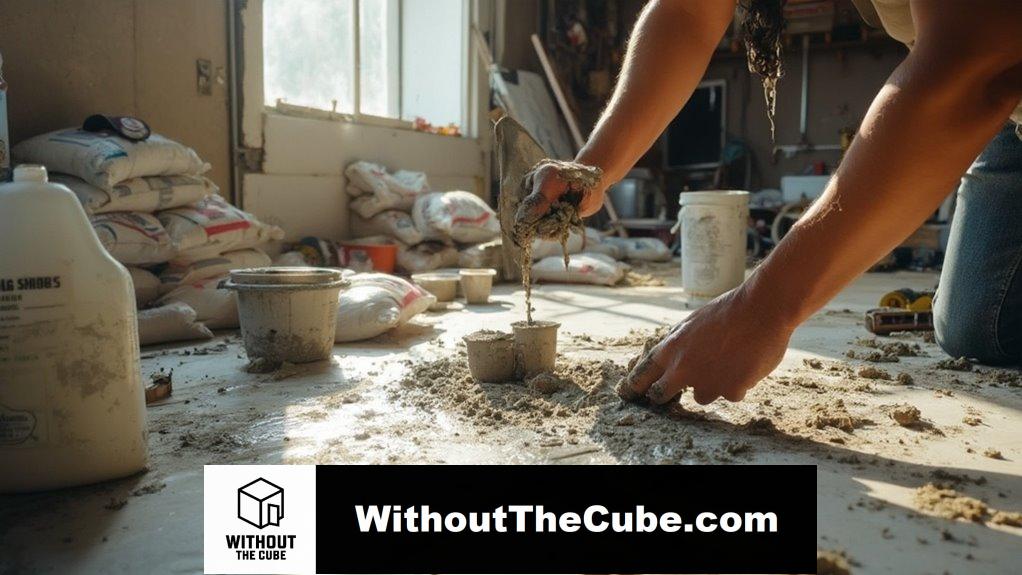
Demold the Concrete
After waiting patiently for at least 24 hours, it’s time to demold the concrete and reveal your hard work.
- Use gentle tapping to release air bubbles.
- Warm the mold with hot water for easier removal.
- Don’t forget post demolding care, like further curing and finishing touches. Ensuring that you allow for proper curing time will help enhance the durability and finish of your concrete piece. A well-cured concrete surface can significantly improve its overall strength and longevity.
With these demolding techniques, you’ll keep those fine details intact. Let’s get started!
Create a Frame (Optional)
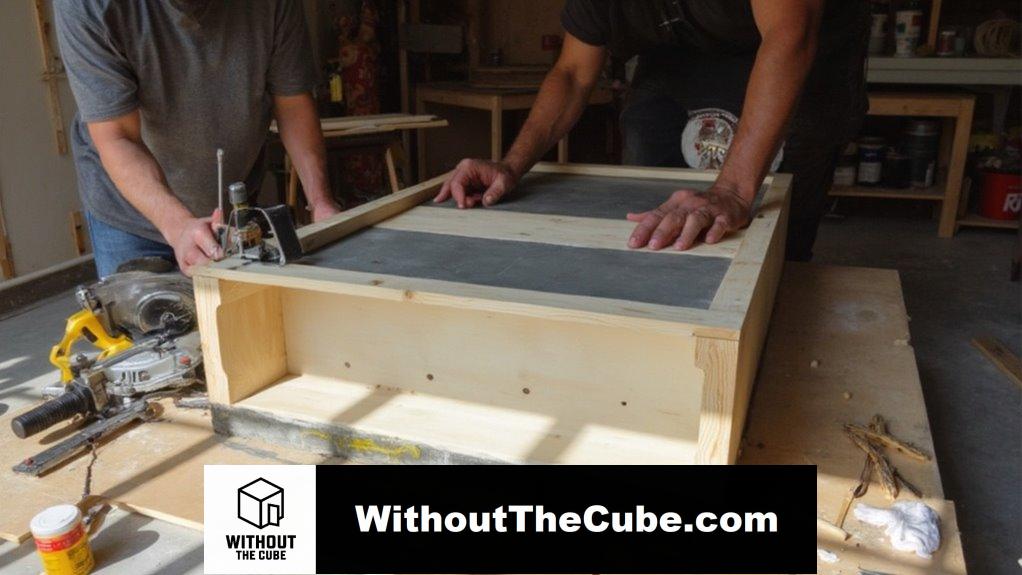
With the concrete demolded and ready for the next step, creating a frame can enhance both the look and stability of your headboard.
I love using poplar or pine wood as frame materials. Using construction techniques like a miter saw for precise angles makes a huge difference.
Plus, adding a faux concrete texture? Instant chic!
Incorporating a DIY concrete planter can also add a unique touch to your decor, making it both functional and stylish!
Let’s get creative together—your headboard’s waiting!
Sand and Finish Edges
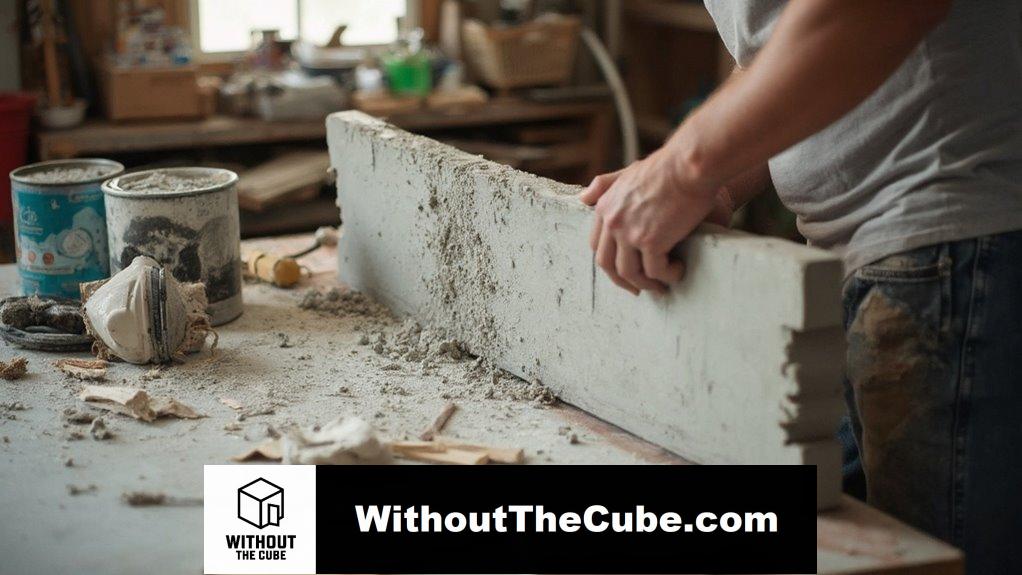
To achieve a polished look for your concrete headboard, it’s essential to sand and finish the edges effectively.
- Start with coarse grit for the initial pass.
- Use sanding techniques that minimize dust.
- Don’t skip surface preparation; it makes a world of difference!
Trust me, a little effort here goes a long way in making your headboard shine! consider using minimalist concrete shelving to complement your headboard and enhance the overall aesthetic of your space.
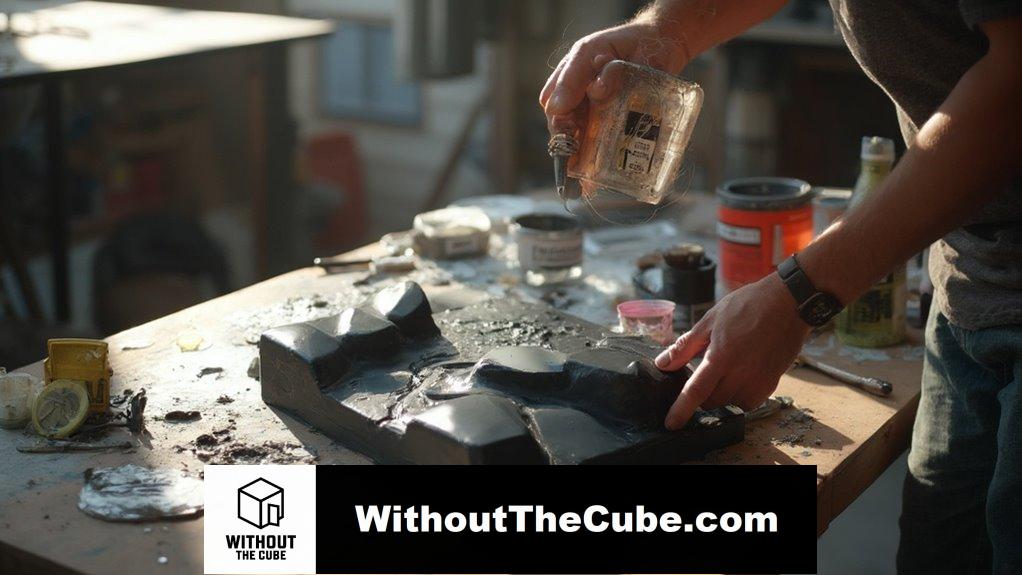
Apply Faux Concrete Technique

Ready to transform your concrete headboard with a faux finish?
Start by mixing Texture Powder and Country Chic Paint for a textured base coat.
I like using random color layering, splotching Rocky Mountain and Simplicity to create depth.
Don’t stress about perfection—embrace those fabulous imperfections!
Incorporating a textural concrete accent wall can elevate the overall aesthetic of your bedroom.
Trust me, this texture application will make your headboard a showstopper.
Let’s get creative together, shall we?
Paint and Customize
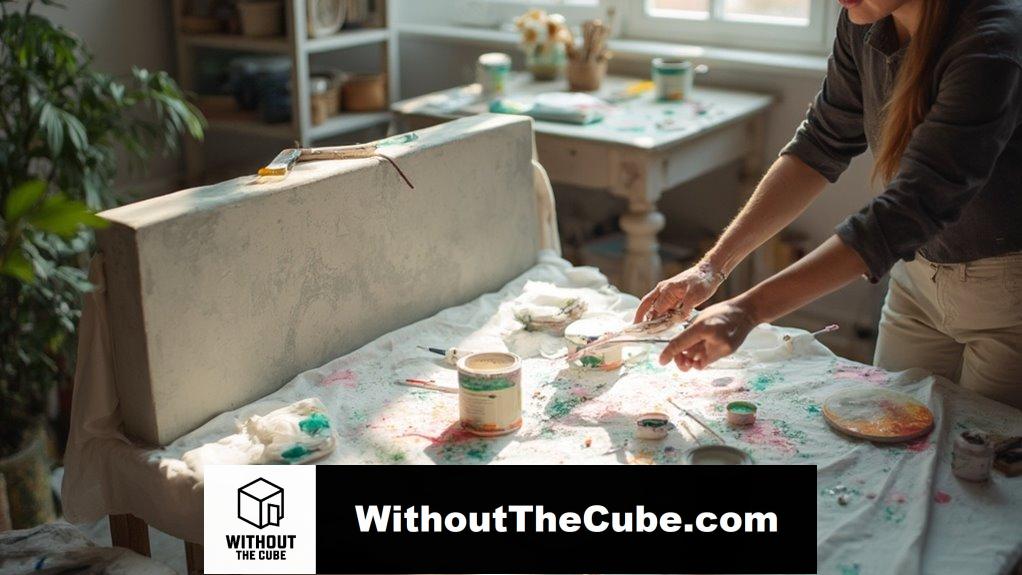
Transforming your concrete headboard doesn’t stop at texture; it’s time to paint and customize for that perfect finish.
- Choose your favorite colors to match your vibe.
- Experiment with texture layering for depth.
- Add unique messages or designs for a personal touch.
With the right paint application, your headboard can be a stunning centerpiece! consider using a minimalist design approach to enhance the overall aesthetic of your space.
Let’s get creative together, shall we?
Avoid Uneven Surface Finishing

Achieving a flawless concrete headboard involves careful attention to surface finishing.
First, clean your slab—no one wants debris ruining their masterpiece! Use a trowel to smooth out those pesky bumps.
I love using a magnesium float for a flat finish. Recall, consistency is key!
With the right concrete surface preparation and finishing techniques, you’ll create a stunning focal point without a hitch.
Let’s do this!
Creative Bedroom Decor Tips
Once you’ve perfected that concrete headboard, it’s time to reflect on how to enhance your entire bedroom decor.
Here are a few creative ideas to contemplate:
- Play with bold color schemes for a fresh vibe.
- Optimize your space with smart furniture arrangement.
- Layer textures for that cozy feel.
Don’t forget to add personal touches—after all, it’s your happy place!
FAQ
What Tools Do I Need for This Project?
For this project, I need tools for mold preparation and finishing techniques. I’ll grab a miter saw, drill, and trowel, ensuring I have everything to create an innovative and stylish concrete headboard.
How Much Concrete Mix Should I Buy?
So, you’re pondering how much concrete mix to buy, huh? It’s like ordering pizza without knowing how many friends are coming. I recommend precise calculations—measure, multiply, and factor in waste for perfect buying recommendations.
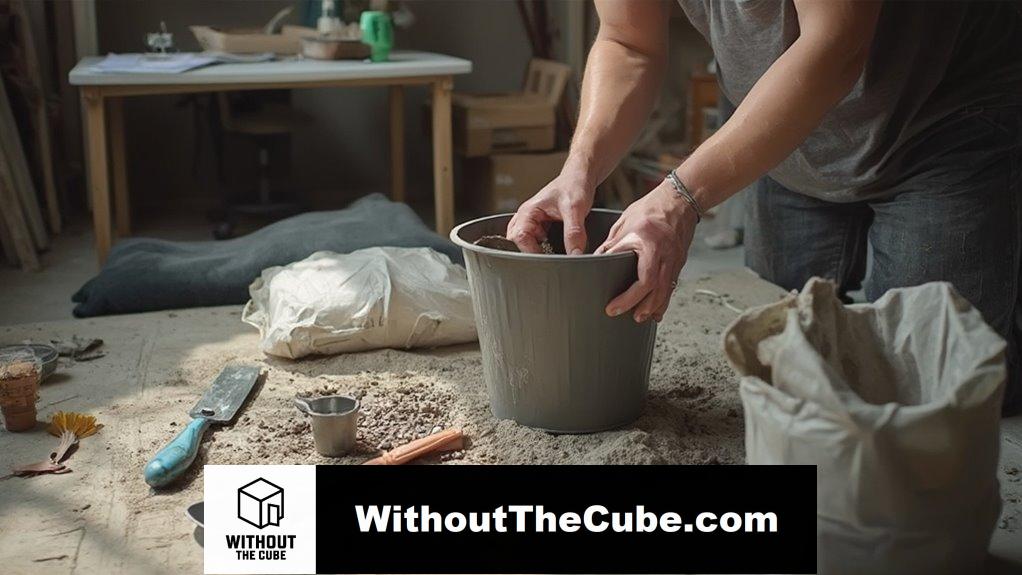
Can I Use Regular Household Items as Molds?
Absolutely, I’ve found that using regular household items as alternative molds sparks my creativity. By experimenting with bowls or bottles, I can craft unique designs, transforming everyday objects into stunning concrete creations that reflect my style.
How Heavy Will the Concrete Headboard Be?
When considering concrete weight, I always factor in design considerations. The size, shape, and materials I choose greatly influence how heavy my headboard will be, so I opt for innovative, lightweight solutions to keep it manageable.
Is It Safe to Use Concrete Indoors?
I’ve found that using concrete indoors can be safe if you prioritize indoor air quality. Just guarantee proper ventilation and take concrete dust safety seriously. Sealing surfaces can further enhance safety and minimize health risks.
Summary
I’ve created my own concrete headboard, and it’s a game changer for my bedroom. Each step in the process matters, much like a recipe, leading to a rewarding final result.
Now, it’s time to gather your materials and let your ideas take shape. Embrace the journey of crafting something unique for your space.
I’d love to hear about your experiences with DIY projects like this one. What challenges did you face, and what tips do you have?
If you found this guide helpful, please share it on social media to help others discover the joys of DIY with us at Without the Cube.
Leave a Reply