Creating a concrete picture frame? Oh boy, let me tell you, it’s quite the adventure!
First, I gathered my essentials: cement, sand, and some wood strips. I even scavenged a cardboard box for my mold—who knew being resourceful could be so thrilling?
Then came the concrete mixing, which I swear turned into a workout. Oatmeal-like consistency? More like a concrete smoothie gone wrong!
I waited, and waited—patience is not my strong suit. But when it was done curing, I decked it out with colors that made it pop!
It felt like I was channeling my inner Picasso.
And hey, if you’re looking to elevate your space, I created my blog, Without The Cube, to promote superior interior design. You’re going to want to check that out!
A Real-Life Design Adventure
I once helped a client who wanted a unique piece for their living room. They had this wild idea of a concrete frame, but with a twist—incorporating pebbles for texture.
We mixed it up, literally! The end result was eye-catching, and it sparked countless conversations. It’s amazing how a simple frame can completely transform a space.
So, if you’re feeling adventurous, why not try it yourself? You never know what magic you’ll create!
Key Takeaways
- Gather essential materials like cement, sand, PVA, and wood strips to create your concrete picture frame.
- Design a mold using cardboard or cereal boxes, ensuring dimensions fit a 5″x7″ frame.
- Mix concrete to an oatmeal-like consistency, adding plasticiser and PVA for smoother results.
- Pour the concrete in layers, allowing proper curing for strength and avoiding air bubbles.
- Finish the frame by cleaning the surface, applying sealant, and incorporating decorative elements for added flair.
Materials and Tools Needed
When I set out to create my DIY concrete picture frame, I made sure to gather all the necessary materials and tools beforehand.
I focused on frame dimensions that suited my space and carefully considered material selection. You’ll need cement, sand, PVA, and more—trust me, it’s a fun mix! ensure to build an outer frame using wood strips to provide structure for your concrete. Adding decorative elements can enhance the overall aesthetic of your frame, making it truly unique and stylish for your space.
Plus, having the right tools makes all the difference in this creative adventure!
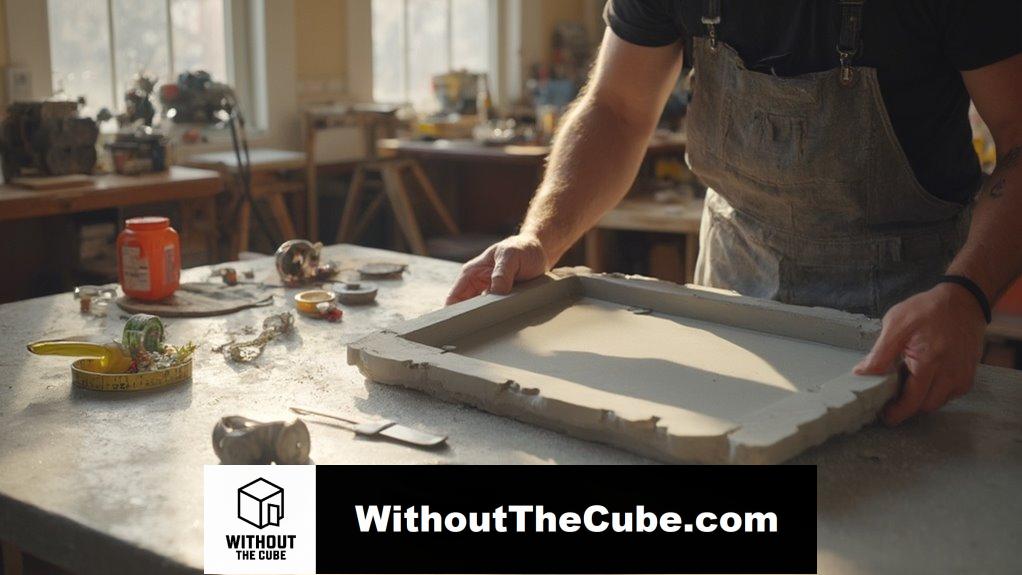
Designing Your Mold
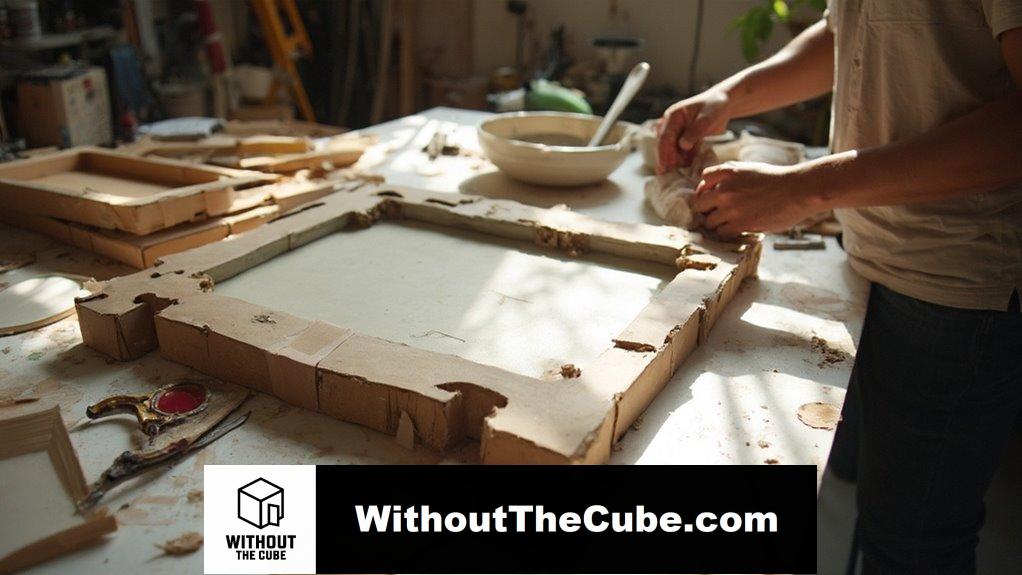
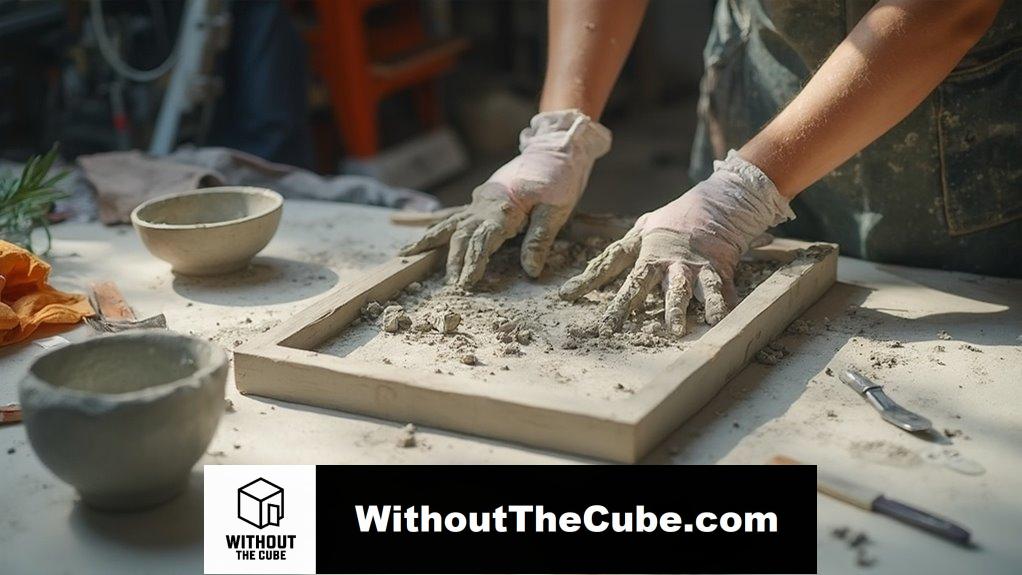
Creating a sturdy mold is essential for achieving the perfect concrete picture frame.
I recommend starting with simple mold dimensions—think 5″x7″ frames! Use cardboard or cereal boxes and reinforce with tape to prevent bulging. Using a non-porous mold material can also help achieve smoother edges and a better finish.
Don’t forget those extra support pieces; they’re key for mold reinforcement. Properly designed molds also ensure a well-defined recessed area for the glass, enhancing both functionality and aesthetics.
Trust me, a solid mold makes all the difference in your crafting adventure!
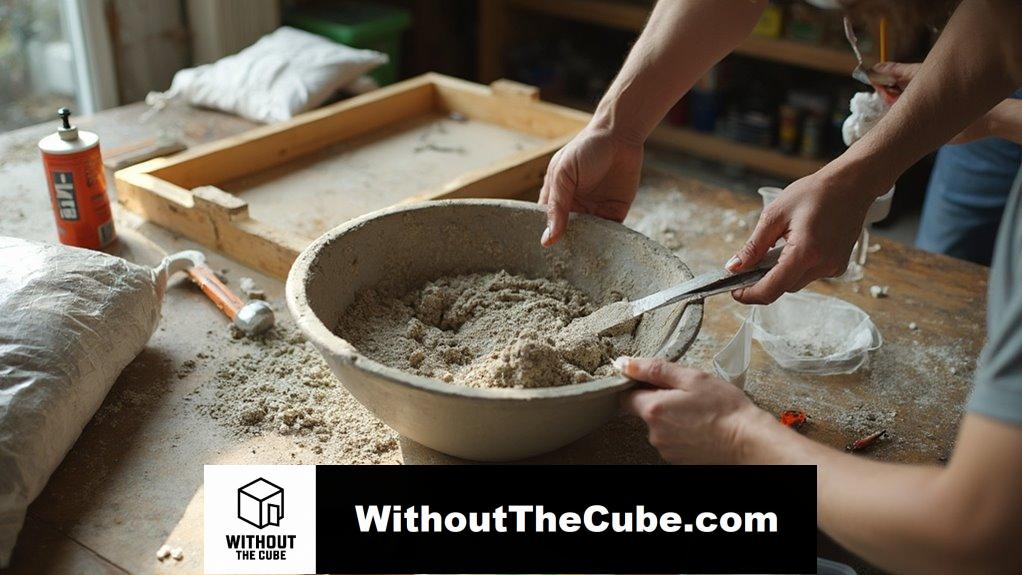
Mixing the Concrete
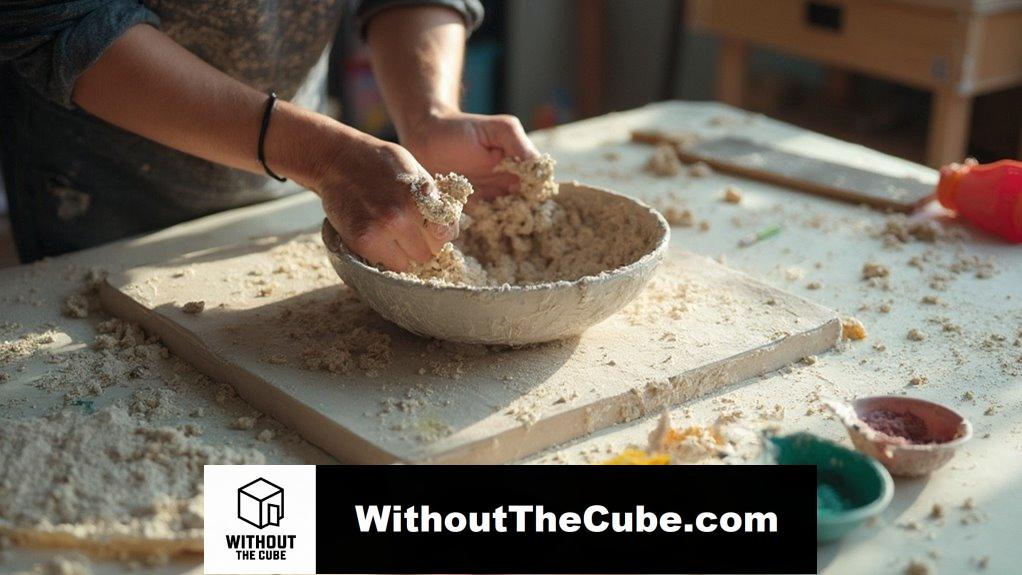
Mixing concrete is a crucial step in crafting a durable picture frame, so getting it right is essential. I recommend following the mix proportions on your concrete bag, aiming for that oatmeal-like consistency. Don’t forget to add concrete additives like plasticiser and PVA for a smoother mix. consider incorporating colorful pigments into your mix to achieve a vibrant finish. Proper mixing also contributes to the strength and durability of the final product—trust me, your frame will thank you for it—innovation never looked so good!
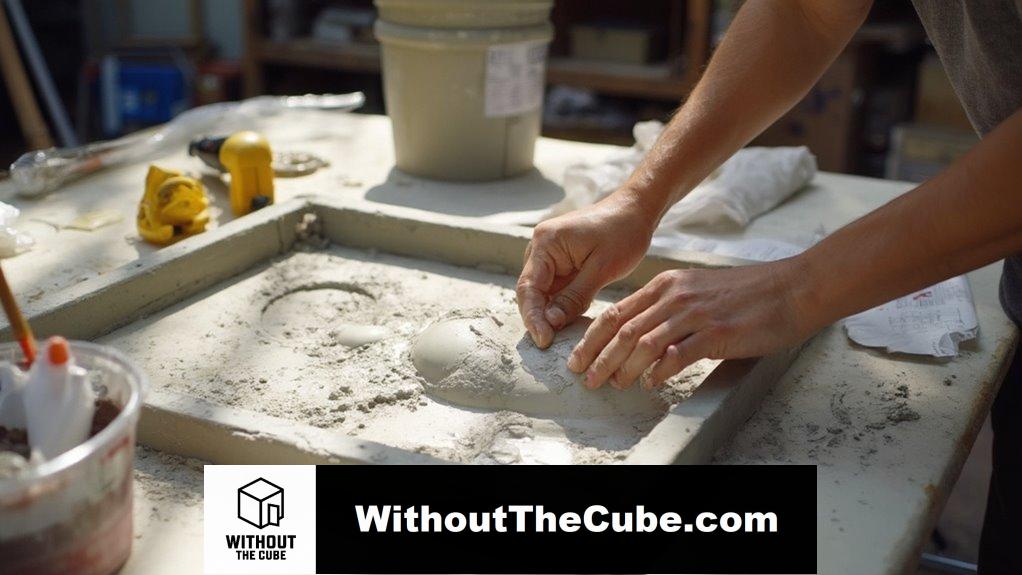
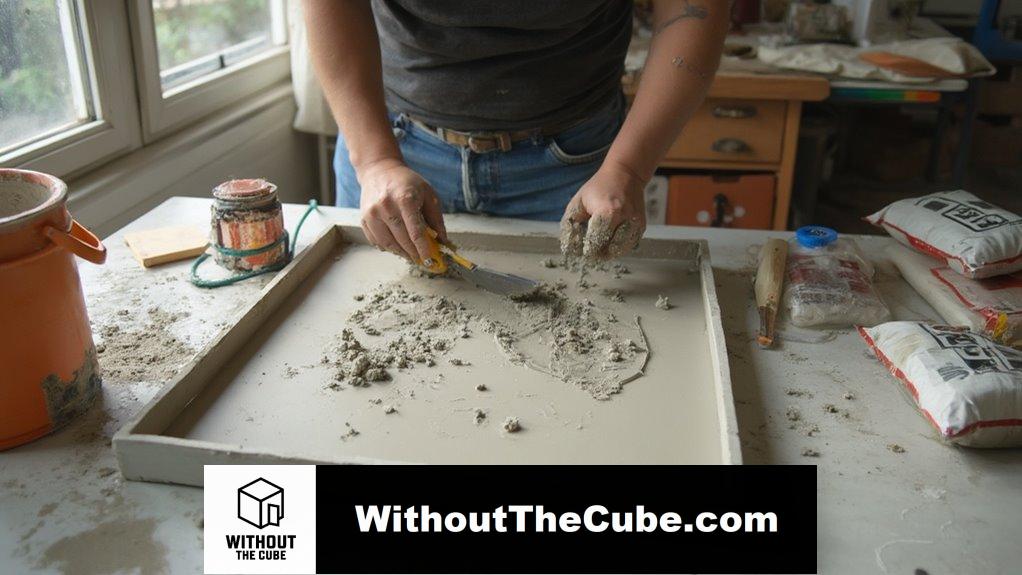
Pouring the Concrete
With the concrete mixed and ready, it’s time to pour it into the mold and bring your picture frame to life.
I love using layering techniques; pour in stages, starting with a thin layer. Proper curing is essential to ensure the strength and durability of your frame, so keep that in mind as you work. To enhance your frame’s aesthetic, consider incorporating color variations in your concrete mix for a stylish touch.
Don’t forget to add reinforcements and smooth the top. This way, you’ll avoid bubbles and create a stunning finish.
Trust me, your frame will look fabulous!
Let’s get pouring, shall we?
Curing Process
After pouring the concrete, the next essential step is the curing process, which guarantees your picture frame gains the strength and durability it needs.
I love using water curing techniques, as they keep my frame moist and happy. Proper curing ensures complete hydration of cement, maximizing its strength and durability. This process is crucial because it allows the concrete to develop its compressive strength over time.
Keep in mind, a curing duration of at least 15 days is key!
Trust me, your masterpiece will thank you for it when it’s strong and stunning!
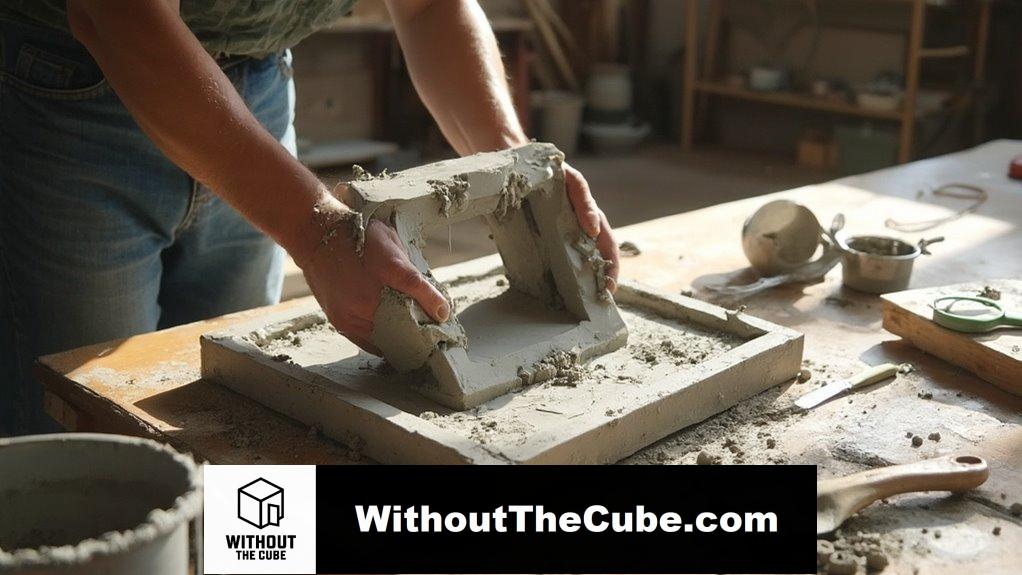
Removing the Frame
Once your concrete has fully cured, it’s time to carefully remove it from the mold.
Trust me, handling it right is key! Slip on your protective gear, like gloves and goggles.
I like using mold removal techniques, like tapering edges and applying a bit of lubricant, to make it easier. This ensures a smoother process and minimizes the risk of damaging the concrete structure. Gently wiggle and pull—no force! Celebrate your creation without chips or cracks! You’ve got this!
Adding Finishing Touches
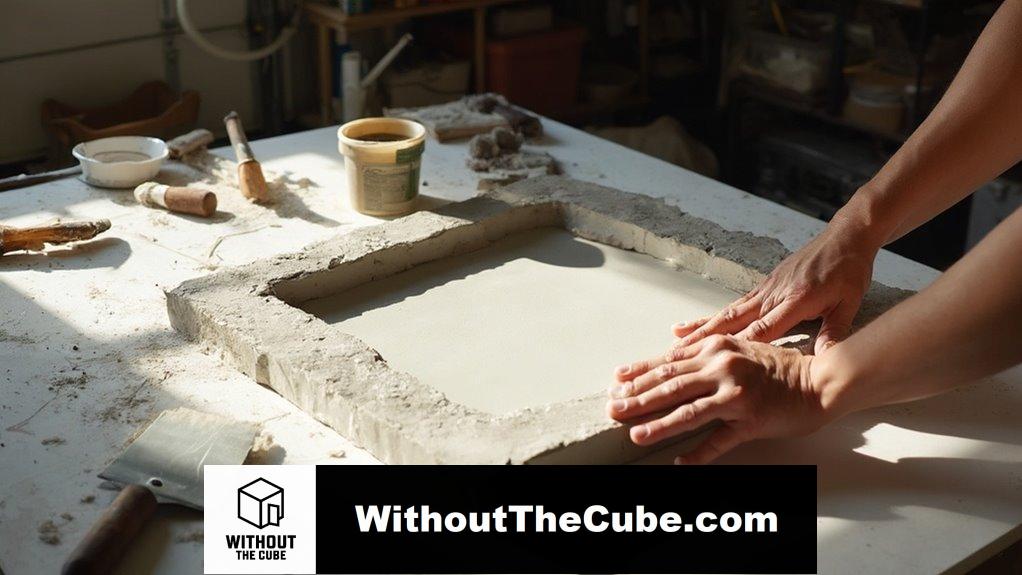
Now that your concrete picture frame is out of the mold, it’s time to enhance its appearance and durability with some finishing touches.
First, clean the surface and fill any gaps.
Then, explore fun finishing techniques like troweling or texturing.
Finally, don’t forget to add a sealant for surface protection! Incorporating decorative concrete tray aesthetics can elevate the overall look of your frame.
Your frame will shine, and your creativity will truly pop!
Tips for Success
To achieve the best results with your DIY concrete picture frame, it’s essential to pay attention to the details throughout the process.
Don’t forget your safety precautions—wear gloves and a dust mask!
Also, guarantee mold stability by securing edges with glue or tape.
Using quality materials will make a world of difference. Trust me, your frame will thank you!
consider incorporating creative design elements into your frame to enhance its visual appeal and uniqueness.
Avoid Air Bubbles in Concrete
Air bubbles can greatly compromise the quality of your concrete picture frame, so it’s essential to take measures to prevent them.
For air bubble prevention, I use careful concrete mixing techniques. I always clean my forms, keeping them smooth and tight.
Oh, and don’t forget to vibrate your concrete after pouring! Trust me, your frame will look so much better without those pesky bubbles ruining the fun! using a smooth concrete mix can further enhance the overall finish of your project.
Creative Frame Embellishment Tips

Adding personal touches to your concrete picture frame can transform it from a simple display to a stunning piece of art.
Why not try some fun embellishments?
- Play with bold color combinations
- Experiment with texture layering
- Add metal trim for a chic look
- Decoupage the inside with lovely patterns
- Seal with a glossy finish
These ideas will make your frame uniquely yours! consider incorporating some stylish concrete bookend ideas as decorative elements to enhance your frame’s aesthetic and functionality.
FAQ
How Long Does the Entire Process Take From Start to Finish?
The entire process usually takes about 28 days. I focus on the curing process, which is essential, and the drying time after pouring the concrete. Patience really pays off for a strong, innovative result!
Can I Use Colored Concrete for My Picture Frame?
I’ve explored colored concrete options, and they’re fantastic for creativity. With various decorative techniques, I can craft a unique picture frame that’s not just functional but also a vibrant piece of art!
What Safety Precautions Should I Take During the Process?
When I work with concrete, I always wear a dust mask and protective gloves. These precautions keep me safe from harmful particles and chemical burns, allowing me to focus on creativity without compromising my health.
How Do I Fix Cracks or Imperfections in the Concrete?
“An ounce of prevention’s worth a pound of cure.” I always focus on using innovative repair techniques while ensuring proper concrete curing. This helps me effectively fix any cracks and imperfections that might arise.
Is It Possible to Use Mold Release Agents for Easier Removal?
I’ve found that using various mold types with effective release techniques makes removal much easier. It’s fascinating how the right mold release agents can transform the process, enhancing both efficiency and quality in my projects.
Summary
I’ve turned a simple bag of concrete into a unique picture frame. It’s fascinating how something that’s so durable can hold precious memories. I hope you enjoyed crafting your frame as much as I did mine.
I’d love to hear about your own experience creating a concrete picture frame. What design did you choose?
If you found this guide helpful, please share it on social media to help others discover our blog, Without the Cube.
Leave a Reply