Ready to create the most epic pet bowl ever? Let’s dive in!
I mean, who knew concrete could be so fun?
First things first—grab your supplies. I went with QUIKRETE 5000, gloves, and eye protection, because safety first, right?
Then, I found a stainless steel bowl to use as a mold. A little cooking oil made it easier to pop out later.
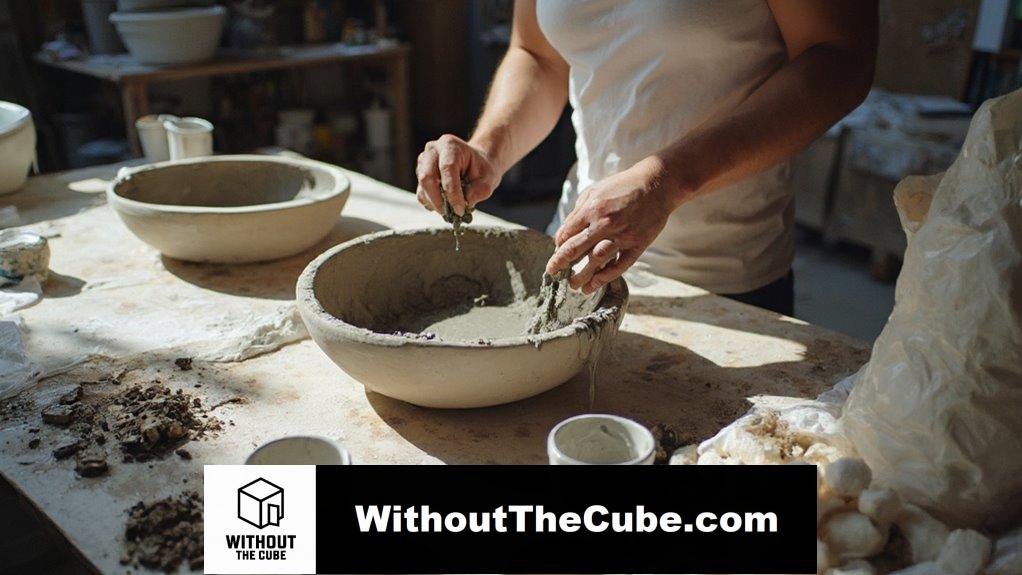
After mixing the concrete to a pudding-like consistency (seriously, who decided that’s the right analogy?), I poured it halfway and placed a smaller bowl for my masterpiece.
Fast forward 48 hours, and voilà! I sanded it to perfection and sealed it like a pro.
Oh, and if you’re thinking, “this sounds messy,” you’re not wrong. But hey, isn’t that half the fun? Stick around for more tips from my blog “Without The Cube,” where I promote superior interior design—because your pet deserves the best too!
—
A Client’s Delight: Designing a Unique Pet Space
I once worked with a client who wanted a pet nook that was both stylish and functional. We incorporated custom furniture that doubled as a cat bed and a chic shelf. Imagine a cozy corner with a sleek, modern look!
The key was balancing aesthetics with practicality. We even crafted a stunning concrete pet bowl that tied the whole space together. Who knew pets could inspire such fabulous interior design? Talk about a win-win!
Key Takeaways
- Gather necessary materials including QUIKRETE 5000 concrete mix, safety gear, mixing tools, and a suitable mold for your pet bowl.
- Prepare the mold by cleaning it, applying cooking oil as a release agent, and sealing any seams with silicone.
- Mix the concrete to a thick pudding consistency, adding water slowly and ensuring there are no air bubbles present.
- Fill the mold halfway, press a smaller bowl into the mix for texture, and stabilize it to prevent spills during curing.
- Cure the bowl by keeping it moist for about 48 hours, then sand the surface and seal it for added durability.
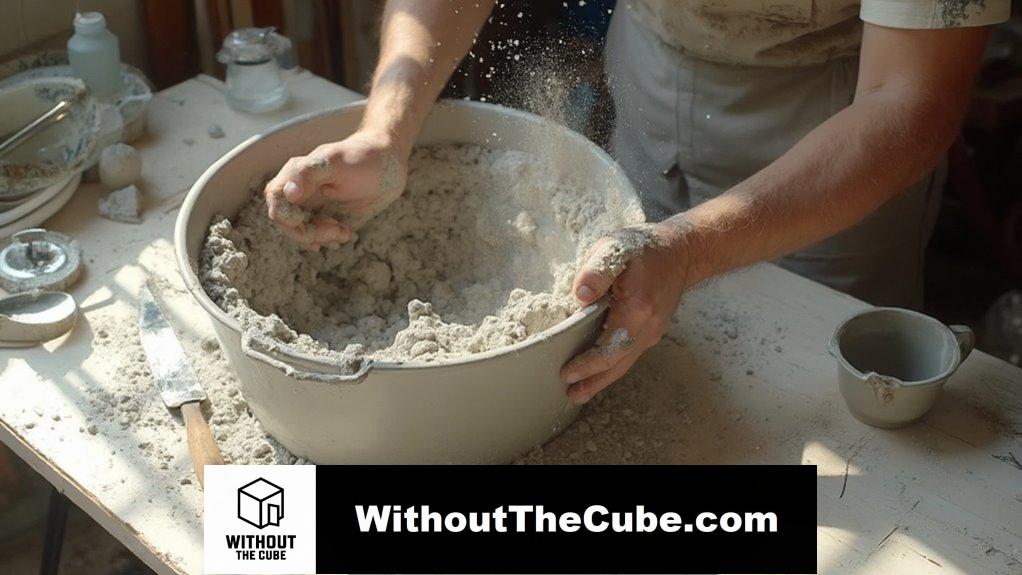
Gather Your Materials
To create a durable DIY concrete pet bowl, I need to gather all my materials first.
I’m talking about a solid cement mix, like QUIKRETE 5000 for that long-lasting vibe. Using a high-quality concrete mix will ensure the strength and durability of your pet bowl.
Don’t forget your safety precautions—waterproof gloves and eye protection are a must!
Additionally, ensure your workspace is well-ventilated to avoid inhalation of dust.
Plus, I’ll grab a mixing bucket, sandpaper, and some disposable tools.
Let’s get innovative and crafty together!
Prepare the Mold
Now that I’ve gathered all my materials, it’s time to prepare the mold for my concrete pet bowl.
Here’s what I need to focus on:
- Mold selection: Choose a stainless steel bowl or a specialized mold.
- Size matters: Aim for 9 inches wide and 3 inches tall, which is the dimensions of the mold.
- Clean it up: Make sure the mold’s dry.
- Release agent: Spray it with cooking oil.
- Seal the seams: Use silicone if necessary. Additionally, consider using a concrete sealer after the bowl has cured to enhance its durability and appearance.
Let’s get creative!
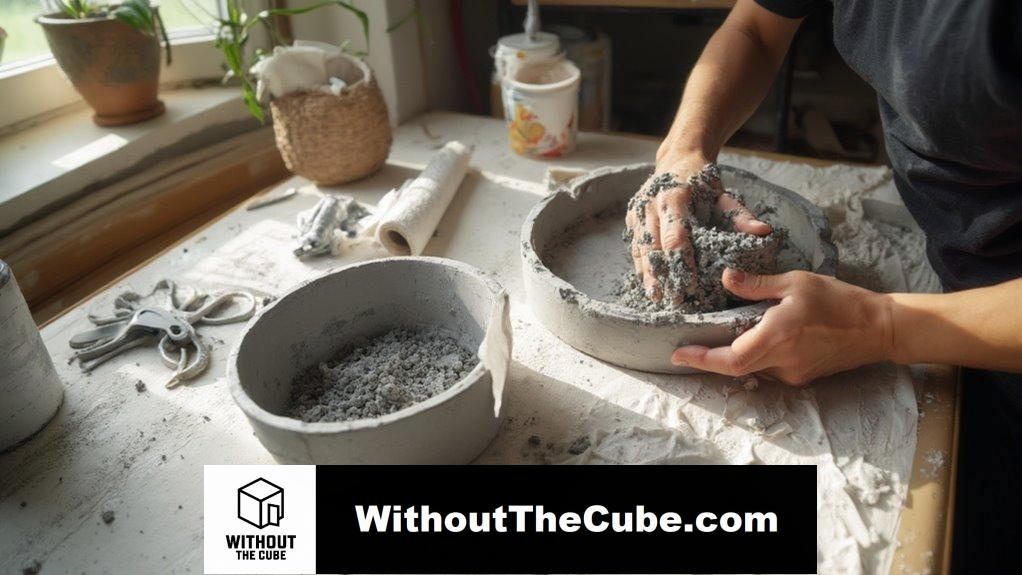
Mix the Concrete
As I plunge into mixing the concrete, it’s important to get the consistency just right—think thick pudding.
I start with the right water ratio, adding it slowly while stirring to avoid disaster.
Using solid mixing techniques helps eliminate air bubbles, ensuring a smooth blend. Concrete bowls offer durability against elements and pet damage, making them a great choice for long-lasting pet care. In addition, the right *curing process* is essential for achieving optimal strength and durability in your concrete project.
Keep in mind, too much water can lead to a soupy mess, which we definitely don’t want for our fabulous pet bowl!
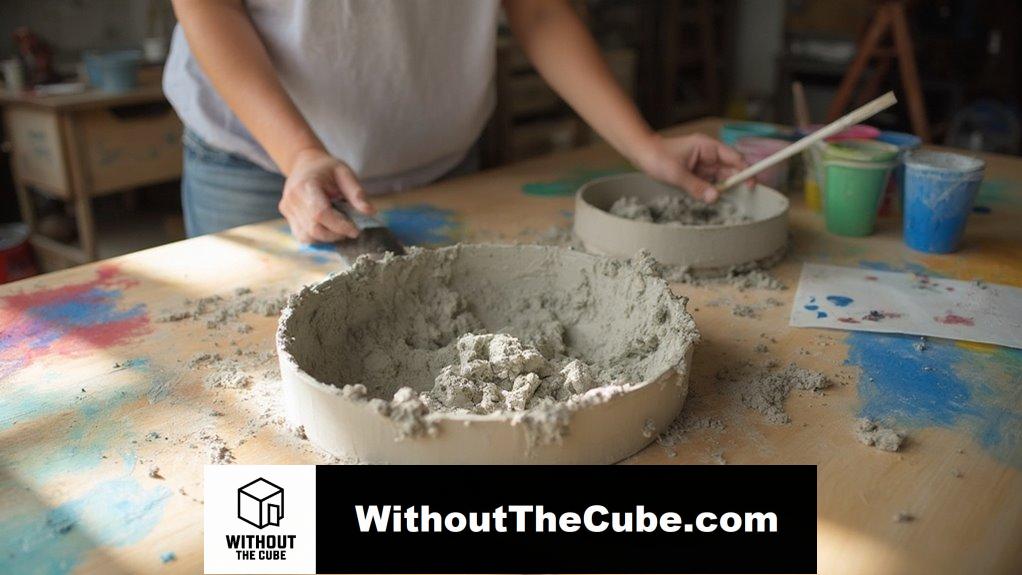
Fill the Mold
Once I’ve prepped the mold, it’s time to fill it with the concrete mix.
- Choose your mold types wisely for unique shapes.
- Pour that concrete like a pro, halfway up the larger bowl.
- Press the smaller bowl in place for the perfect texture.
- Use a rock to keep it steady.
- Avoid spills for a smooth finish!
Your pet’s bowl will be a masterpiece! Additionally, ensure that you use a concrete mix ratio that suits your project for optimal durability.
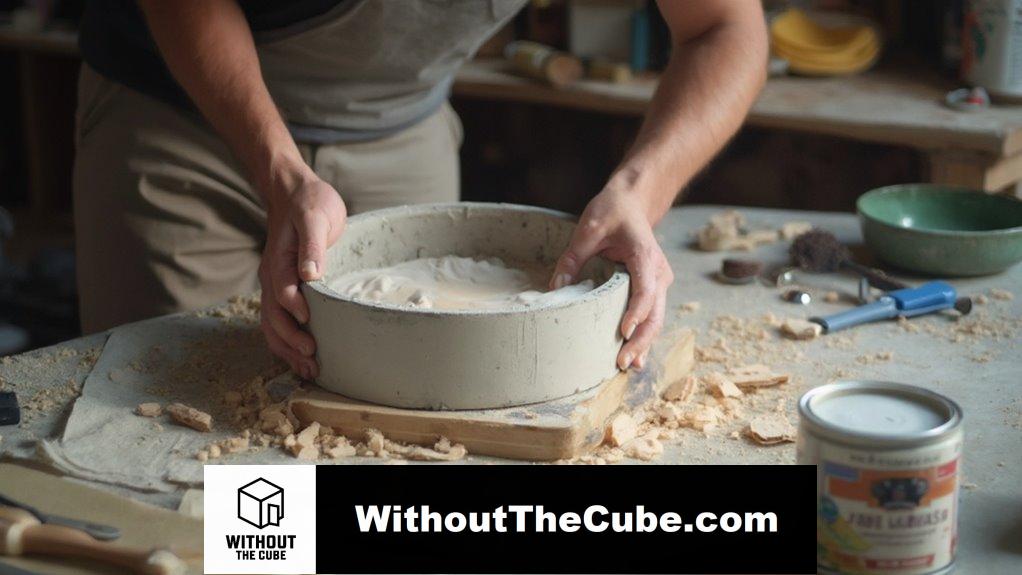
Cure the Concrete
Curing concrete is a critical step in ensuring your pet bowl achieves maximum strength and durability.
To keep things solid, I use effective curing techniques to enhance moisture retention. Think of it as giving your bowl a revitalizing drink! Cover it with plastic or sprinkle water regularly. Concrete requires approximately 48 hours to fully cure, so be patient and let it do its magic. Trust me, this simple step can boost strength by up to 50%. Additionally, using a durable concrete mix can further improve the bowl’s longevity. Your furry friend deserves the best, right?
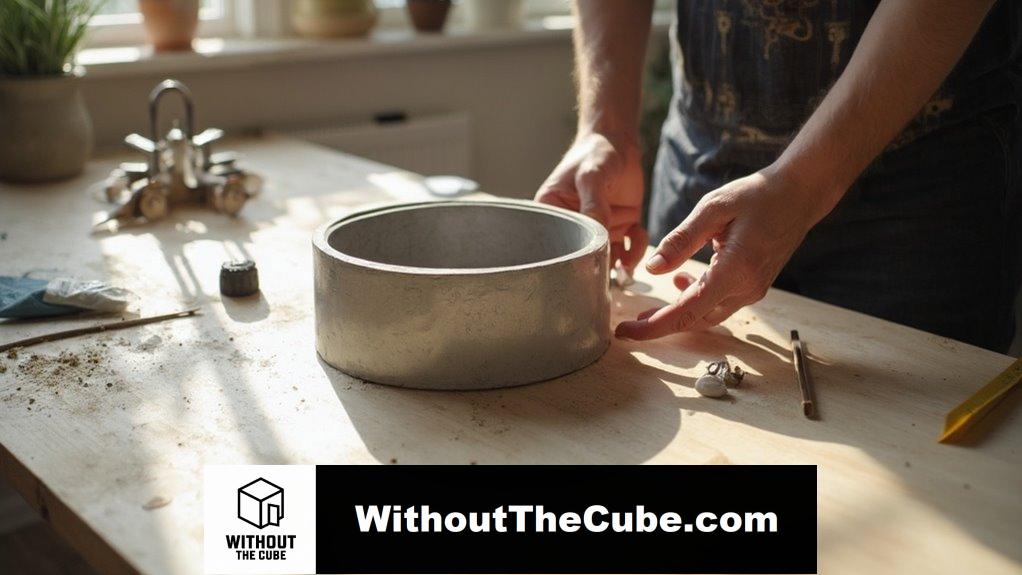
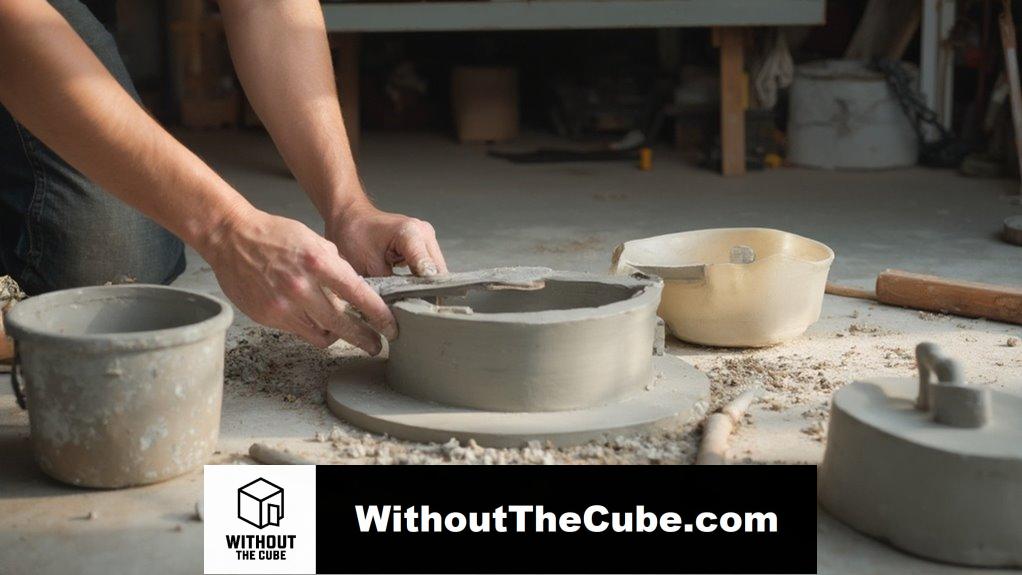
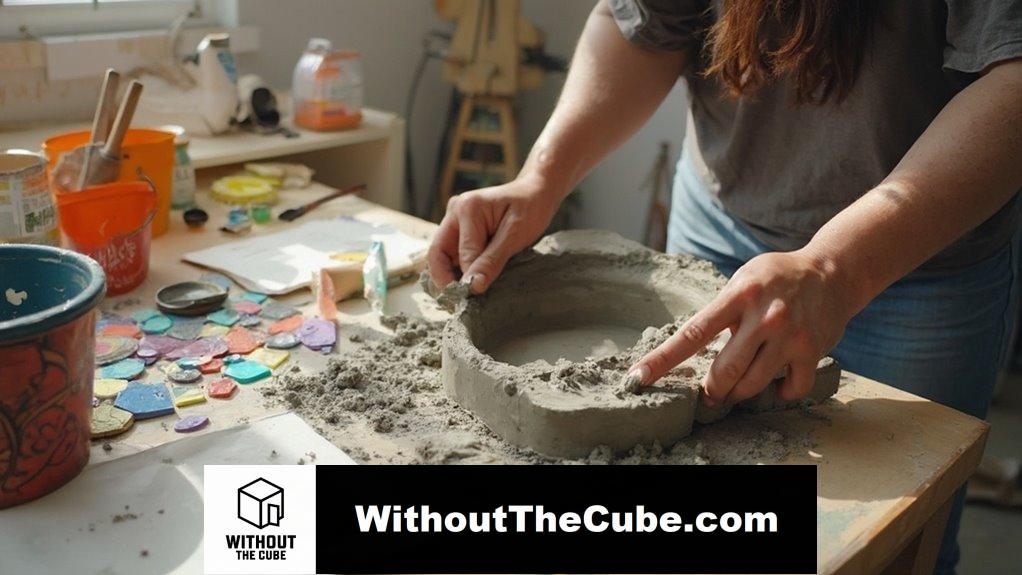
Remove the Mold
Removing mold from your DIY concrete pet bowl is essential for both its appearance and your pet’s health.
Here’s what you need to keep in mind:
- Identify mold types
- Use safe cleaning solutions
- Wear protective gear
- Guarantee proper ventilation
- Practice mold prevention by ensuring that the concrete remains dry and well-ventilated.
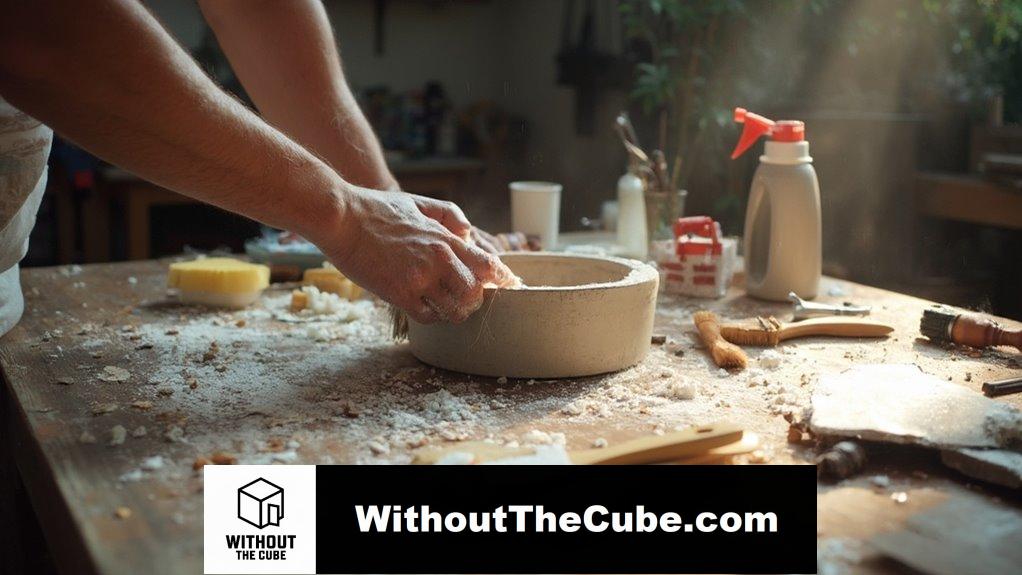
Finish the Pet Bowl
To give your pet bowl a polished and professional look, it’s essential to finish the surface properly. Start by sanding the top to enhance pet bowl aesthetics and guarantee smoothness. A well-finished bowl can also showcase creative designs that reflect your pet’s personality. After drying completely, seal the concrete to boost its durability. Additionally, this process ensures that the bowl is weather-resistant, making it suitable for outdoor use. You can even add a metallic spray for flair! Trust me, your furry friend will appreciate it, and so will your home!
Customize Your Design
While customizing your design, consider how unique shapes and materials can elevate your pet bowl.
- Play with different mold sizes for varying depths.
- Use recycled glass for a sparkly touch.
- Explore vibrant color options with paint or stains.
- Try custom shape forms using melamine boards.
- Add a stainless steel insert for easy cleaning.
Incorporating custom concrete aesthetics can truly transform your pet’s dining experience.
Let’s make your pet’s bowl a showstopper!
Unique Pet Bowl Designs
After ensuring your concrete mix is free from air bubbles, it’s time to get creative with unique pet bowl designs.
Here are some fun creative design ideas to inspire you:
- Geometric shapes for a modern twist
- Personalized patterns with your pet’s name
- Colorful mosaics for a pop of color
- Rustic finishes for a farmhouse vibe
- Fun animal-themed engravings
Additionally, consider incorporating stylish inspirations from concrete kitchen countertop ideas to elevate the aesthetic of your pet’s bowl.
Let’s make your pet’s dining experience fabulous!
FAQ
How Long Does Concrete Take to Fully Cure?
I’ve learned that concrete’s curing time can range from 7 to 28 days. During this period, it gains strength, reaching about 70% of its compressive strength by a week. Patience truly pays off in durability!
Can I Use Any Type of Concrete Mix?
When it comes to mixing techniques, not all concrete types are created equal. I prefer fast-setting mixes for my projects, ensuring a smooth finish. It’s about choosing the right blend for innovative results!
What if My Pet Is Allergic to Certain Materials?
If your pet has allergies, I’d consider material alternatives like bamboo or hypoallergenic concrete. These options reduce allergen exposure while ensuring comfort. It’s essential to prioritize your pet’s health when choosing the right materials.
Is This Project Safe for Pets During the Process?
While crafting, think of a safe haven for your furry friend. I prioritize safety precautions and pet supervision, ensuring my workspace is pet-proofed. Keeping them secure while I innovate makes the project safer for everyone involved.
How Can I Store Leftover Concrete Mix?
When I store leftover concrete mix, I prioritize mix preservation. I keep it in a dry, ventilated space, using original packaging, and cover it to avoid moisture. Innovative storage solutions like raised platforms really help too!
Summary
I just finished making a custom concrete pet bowl for my furry friend. Crafting it myself made the project special, and I can’t wait to see my pet enjoy their treats in it.
Have you tried making something similar? I’d love to hear about your experiences with DIY pet projects!
If you found this guide helpful, please share it on social media to help more people discover Without The Cube!
Leave a Reply