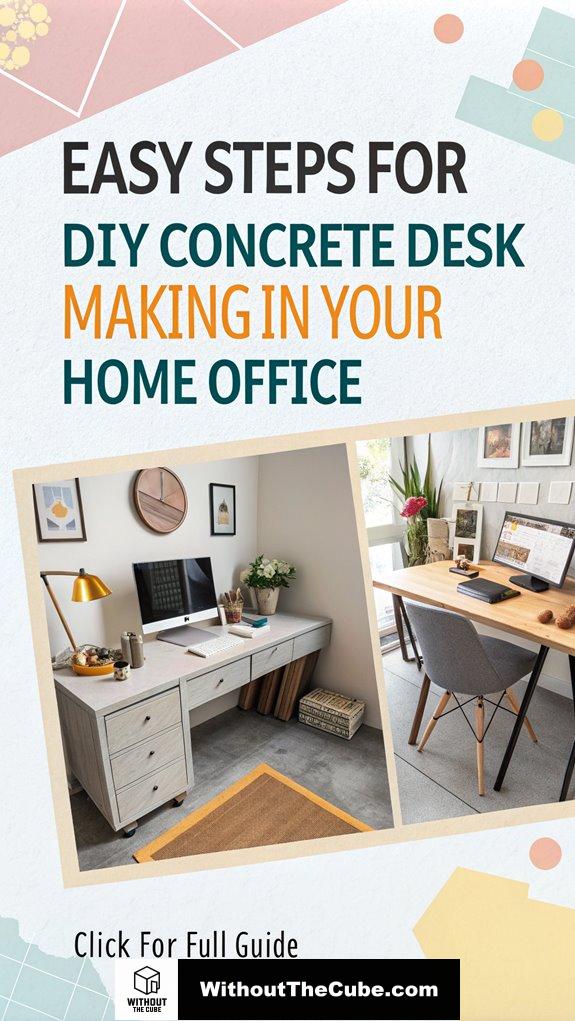
Ever dreamt of a chic concrete desk? Well, I did, and let me tell you—it’s a wild ride!
First off, I made a mold from melamine board. Who knew woodworking could be this thrilling?
Then came the concrete mixing. Let’s just say, I looked like a modern-day alchemist with a dash of chaos.
Remember, safety goggles are not just a fashion statement!
After leveling it out, I sanded those edges like a pro. The final touch? A water-resistant sealant. Voilà!
Now, my workspace is the envy of my friends.
Stick around on my blog, Without The Cube, where I promote superior interior design and share more tips!
Real-Life Concrete Desk Transformation
I once helped a client, who was drowning in clutter, create a sleek concrete desk that transformed her chaotic workspace into a serene oasis. We mixed it up with unique colors and textures, creating not just a desk but a conversation piece!
From that project, I learned the importance of personal touch in design. There’s magic in making a space that feels uniquely yours. Whether it’s concrete or cozy, let your personality shine through!
Key Takeaways
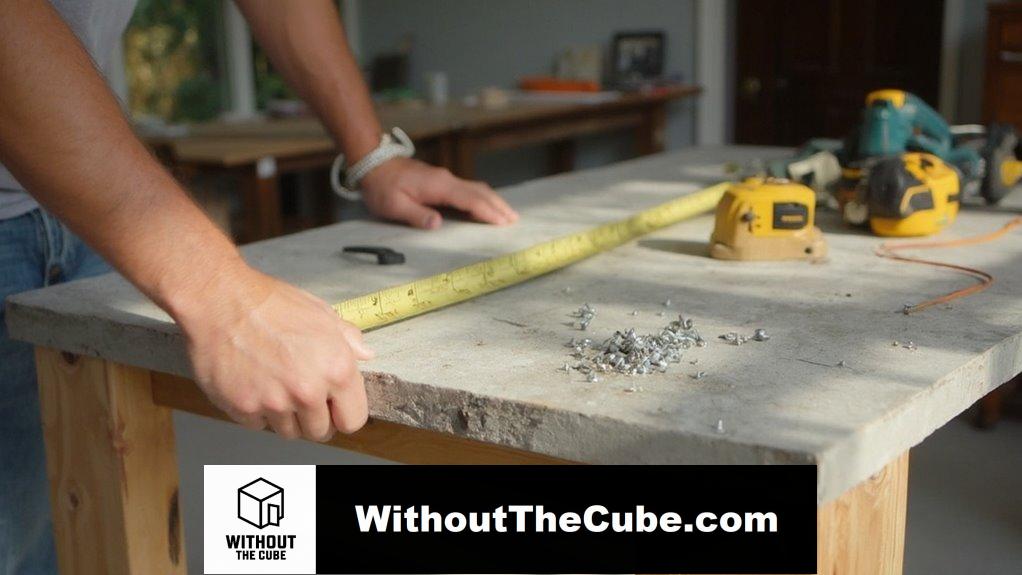
- Prepare your workspace by clearing the area and ensuring a flat surface for even concrete pouring.
- Create molds using melamine board for a sleek finish, securing them with glue and caulk.
- Mix high-quality concrete, following the correct water-to-mix ratio for a smooth consistency.
- Pour the concrete into molds, using a trowel to level the surface and minimize air bubbles.
- After curing, sand edges, apply sealant for protection, and attach legs for stability.
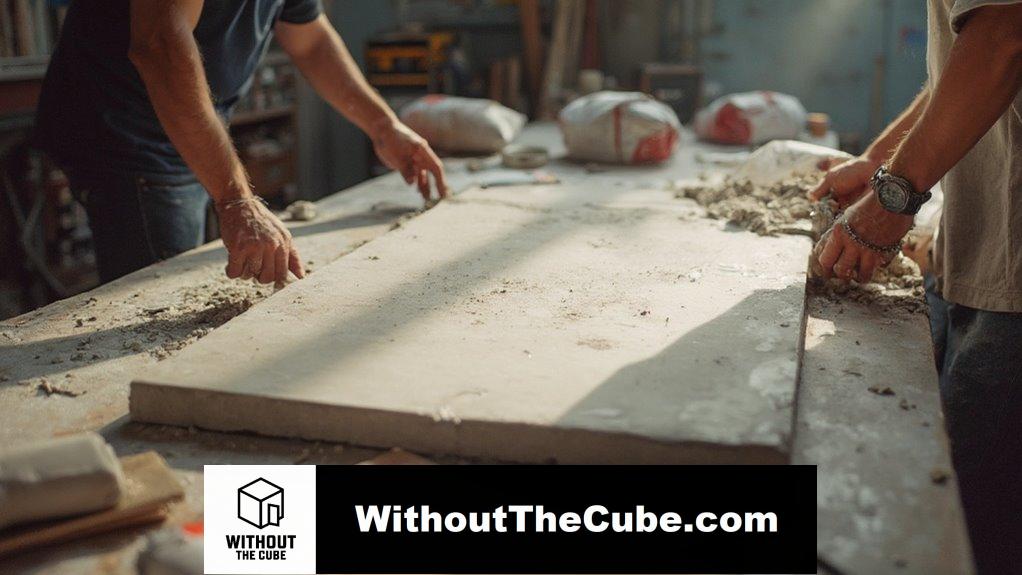
Create the Mold
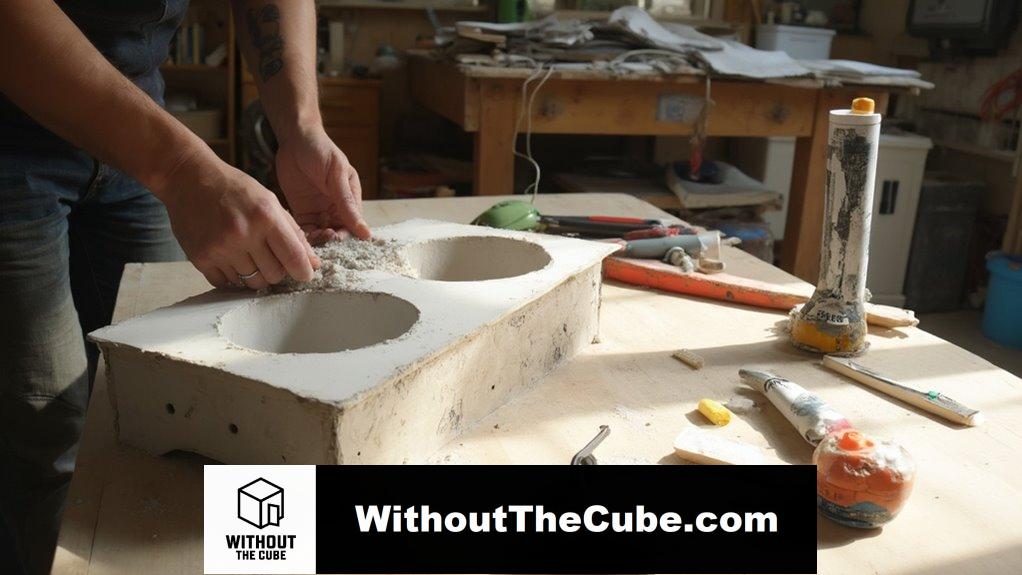
Creating a mold for your DIY concrete desk is the foundation of your project. I recommend using melamine board for its sleek finish and reliability. For mold assembly, cut the side pieces to fit perfectly around the bottom. Don’t forget—gluing guarantees everything stays in place! make sure to apply caulk along the inside edges to prevent the concrete sticking! This will help ensure a smooth surface when you create your countertop. Who knew mold materials could be so fun? Get creative, and let’s make your innovative desk a reality!
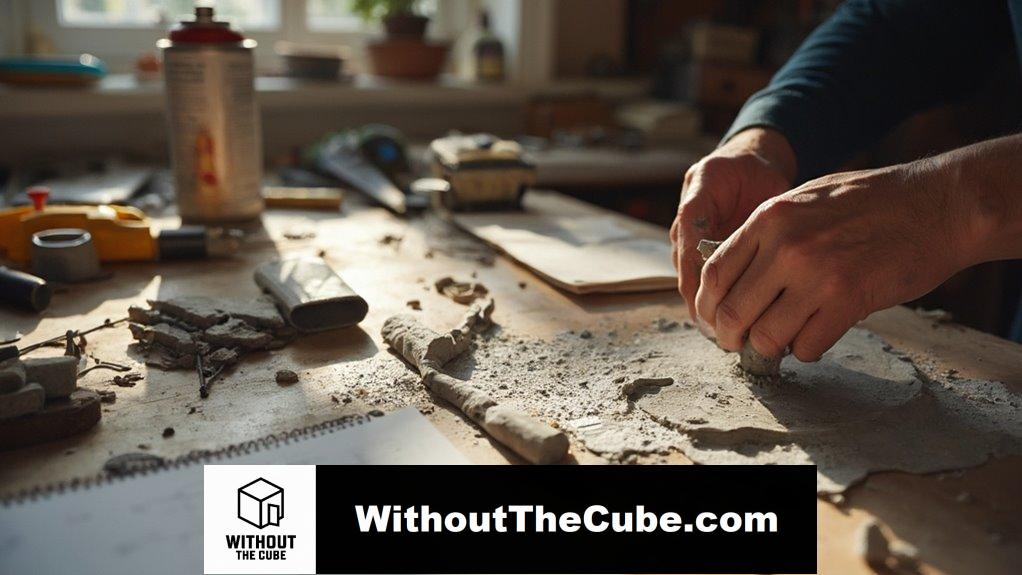
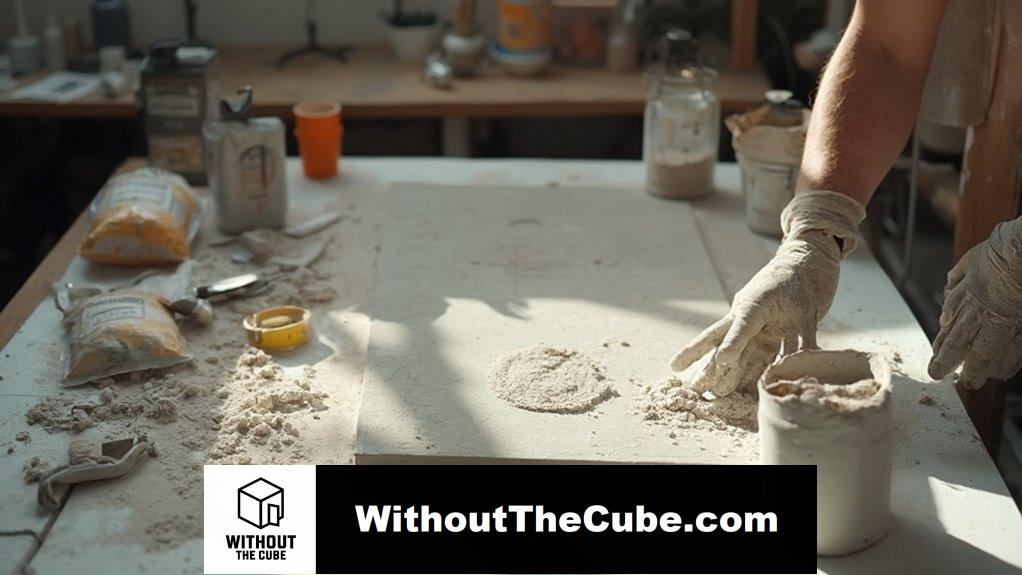
Mix Concrete
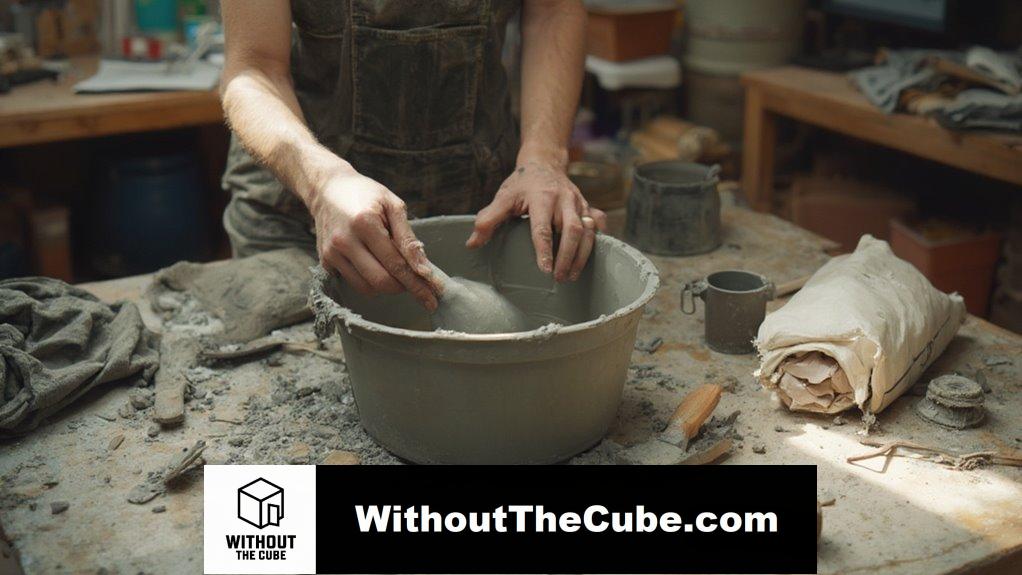
Mixing concrete is an essential step in bringing your DIY desk to life.
I always gear up with gloves, goggles, and rubber boots to follow those safety guidelines. For mixing techniques, I load my dry materials and blend them for five minutes. Then, I add water and mix until it’s just right. It’s important to remember that mixing methods depend on your project size, so choose the right technique for your needs. using the right mixing ratio can ensure a strong and durable finish for your concrete accent. How cool is that? You’ll feel like a concrete wizard!
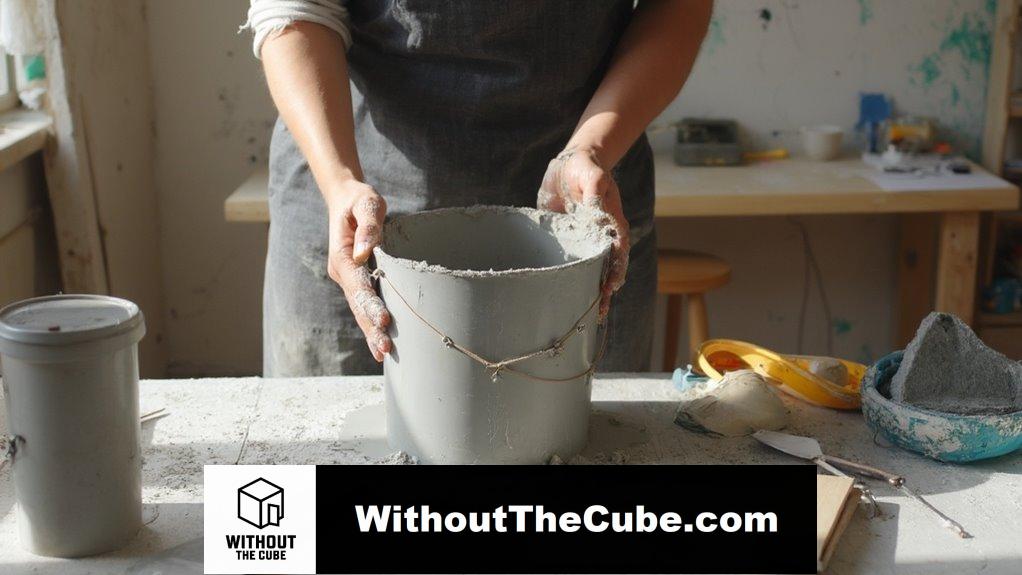
Pour Concrete Into Mold
With the concrete ready, it’s time to pour it into the mold and shape your desk.
Here’s how I do it:
- Start from the lowest point to let it flow.
- Pour in a circular motion to keep air bubbles at bay.
- Gently shake the mold for an even settle.
- Level it off for that flawless finish. Incorporating heavy-duty concrete top not only enhances durability but also adds to the overall aesthetic of your desk, as concrete countertops are known for their versatility in design.
Let’s get creative!
Add Wire Mesh
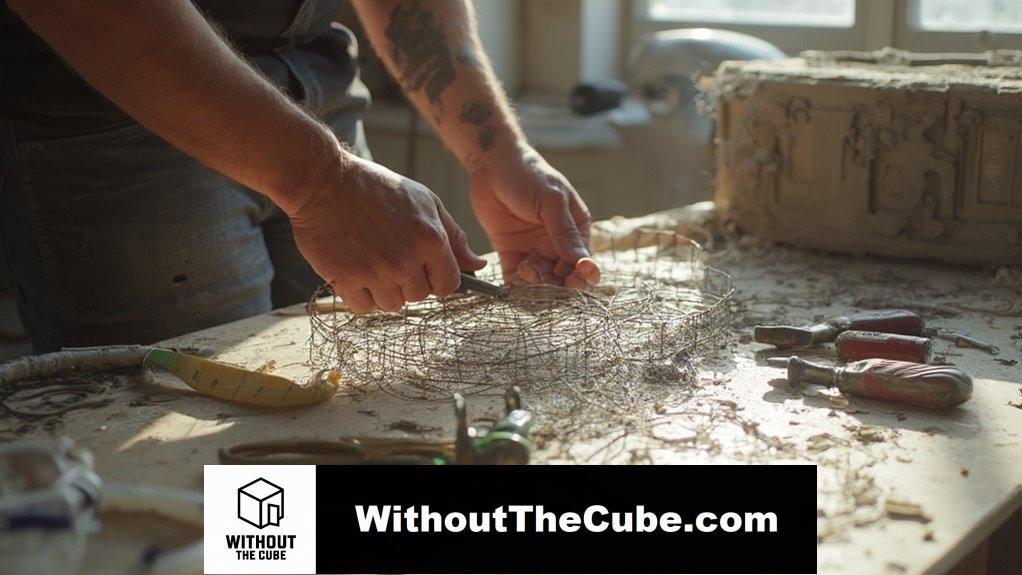
Adding wire mesh is a game-changer! Its benefits include enhanced tensile strength and crack prevention. This is because wire mesh improves the overall safety of the structure by distributing loads evenly and reducing the risk of structural failures. using reinforcement techniques like wire mesh can significantly prolong the lifespan of your concrete projects.
For installation, cut the mesh to size, leaving a ¾” gap from the mold edges. Center it in the mold and secure it well.
Trust me, your desk will thank you later—durability and safety are key! Let’s build it right with Without The Cube!
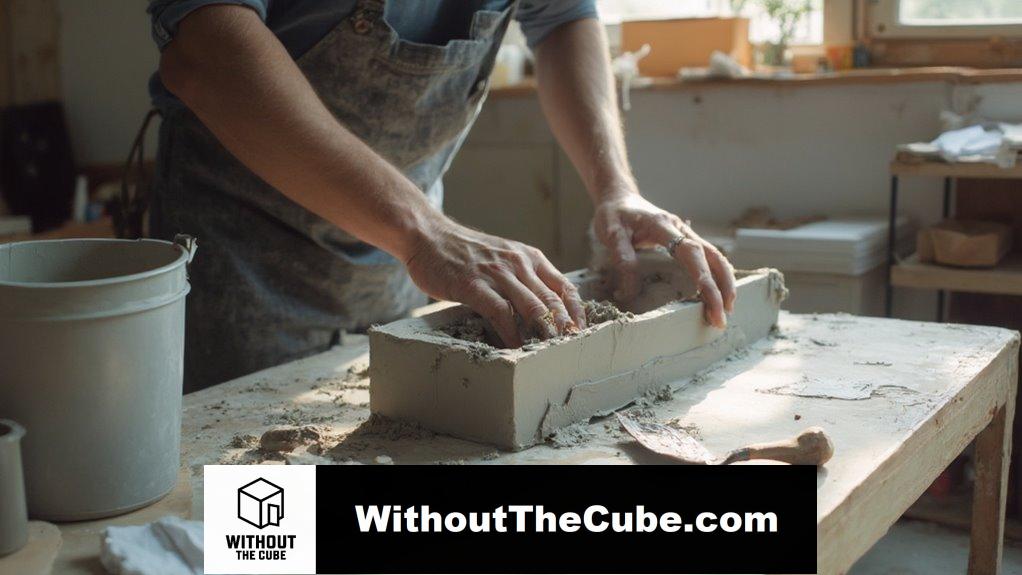
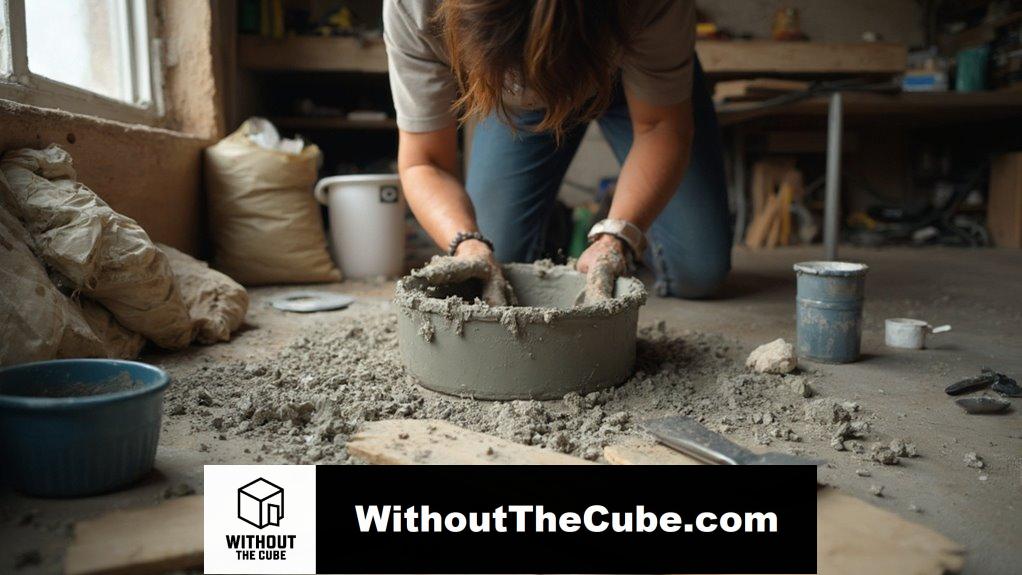
Cover With More Concrete
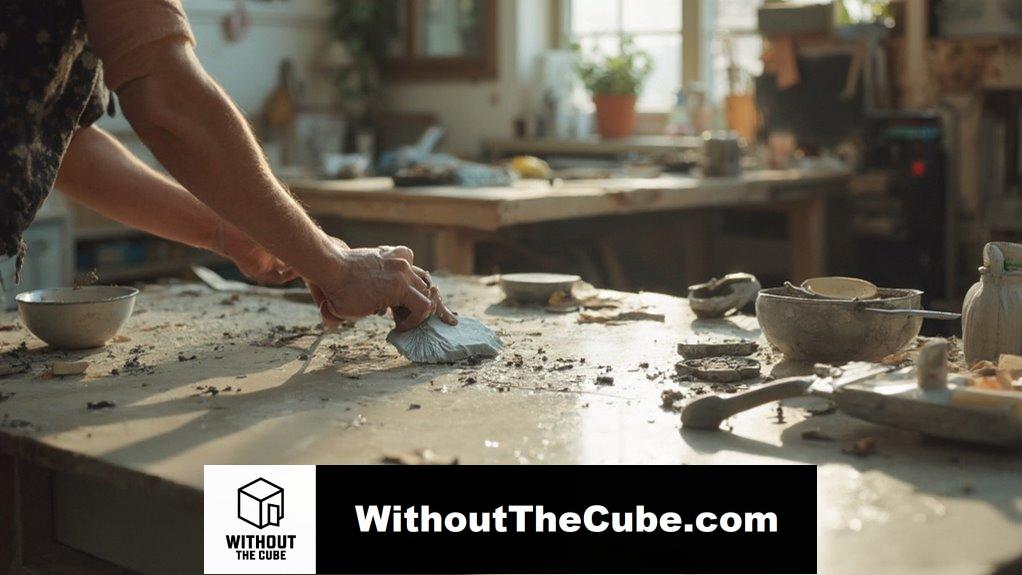
Before I cover my concrete desk with more concrete, I make sure the surface is spotless and free from any contaminants.
- I apply a bonding agent to boost adhesion.
- I whip up the new concrete mix just right.
- I use my trusty trowel for even distribution.
- I keep it thin to avoid those pesky shrinkage cracks. it’s important to use high-quality concrete mix for the best results. Applying a thin layer also helps to ensure proper adhesion between layers and a smoother finish.
Ready to elevate your desk game? Let’s do this!
Prepare the Legs
Prepare the Legs
After the concrete surface is prepped and ready, it’s time to focus on the legs that will support my desk.
I’m thinking of using builder’s tubes for a lightweight touch, with a chic finish for design aesthetics. Securing them well guarantees leg stability, so I’m all set to create a sturdy masterpiece! The rebar cut into four pieces will provide additional structural support to ensure the legs hold up well over time. using decorative concrete can enhance the overall look and feel of the desk.
Ready to get started? Let’s make this desk fabulous together!
Attach Desktop to Legs
It’s time to securely attach the concrete desktop to the legs, ensuring a stable and stylish finish for my DIY desk.
Here are some tips to keep in mind:
- Choose the right screw selection, like 4.5mm for most designs.
- Don’t forget pilot holes to prevent cracking!
- Keep legs 5cm from the edge.
- Silicone caulk adds extra support!
In addition, incorporating functional concrete storage can enhance both organization and aesthetics in your workspace.
Let’s get this beauty assembled!
Finishing Touches
The satisfaction of completing my DIY concrete desk comes not just from assembling the pieces, but from perfecting the final details.
I immerse myself in sanding techniques, starting with 60 grit for a smooth foundation, then refining with finer grits.
Sealing options? I opt for a matte finish to highlight the concrete’s beauty. Incorporating minimalist concrete shelving can elevate the overall aesthetic of my workspace.
Trust me, those finishing touches make all the difference in creating a stunning workspace!
Safety Precautions
How can you guarantee a safe and enjoyable DIY concrete desk project?
By prioritizing safety gear and injury prevention, you can keep yourself protected.
Here are some essentials to keep in mind:
- Wear safety glasses to shield your eyes.
- Slip on sturdy rubber boots for foot protection.
- Don long sleeves and gloves to guard your skin.
- Use a respirator to dodge concrete dust.
it’s important to work in a well-ventilated area to minimize exposure to toxic fumes and dust while mixing and applying concrete.
Let’s make safety a priority!
Avoid Mixing Too Quickly
Why rush through the mixing process when proper technique can make all the difference in your concrete desk project?
Trust me, using the right mixing techniques is key to achieving that concrete strength you want. Instead of hurrying, gradually pull the dry mix into the water.
It prevents air pockets that can weaken your desk and keeps it looking fabulous. Let’s keep it strong and stylish, bestie! using the correct water-to-cement ratio ensures optimal durability and performance of your concrete.
Creative Workspace Decor Tips
Often, I find that a well-decorated workspace can considerably boost creativity and productivity.
Here are some creative workspace decor tips I love:
- Mix textures with a concrete desk and warm wood accents.
- Experiment with invigorating color palettes.
- Utilize shelves within desk legs for organization.
- Add whimsical decor for a personal touch.
These organizational strategies enhance workspace aesthetics, making your space uniquely you!
FAQ
What Is the Ideal Thickness for a Concrete Desk?
When considering ideal thickness for a concrete desk, I focus on desk design and weight distribution. Generally, I find 1.5 to 2 inches strikes the perfect balance between durability and aesthetic appeal for innovative spaces.
How Long Does Concrete Take to Cure Completely?
When I first tackled a concrete project, I learned the curing process is like nurturing a seed—initially, it needs 24-48 hours of moisture, and full drying time takes about 28 days for true strength.
Can I Use Colored Concrete for My Desk?
Absolutely, I can use colored concrete for my desk! I love exploring colored concrete options and experimenting with mixing techniques to achieve unique shades that enhance my workspace’s aesthetic. It’s all about creativity and innovation!
What Tools Are Essential for This DIY Project?
I’ve found that essential tools for this project include a concrete mixer, trowel, and finishing options like sealers. Mastering mixing techniques and using the right tools really elevates the final result. Safety gear’s vital too!
Is This Desk Suitable for Outdoor Use?
I wouldn’t recommend using a concrete desk outdoors without proper weather resistance. If you insist, follow maintenance tips like sealing the surface and using reflective treatments to prolong its life against harsh elements.
Summary
I’m excited to create my own DIY concrete desk. This project not only gives my workspace a personal touch but also enhances my productivity. With the right supplies and a little effort, I can turn an ordinary corner into a functional masterpiece.
I’d love to hear about your experiences with DIY projects. What have you created for your home office?
If you found this post helpful, please share it on social media to help others discover the joy of DIY projects with Without the Cube.
Leave a Reply