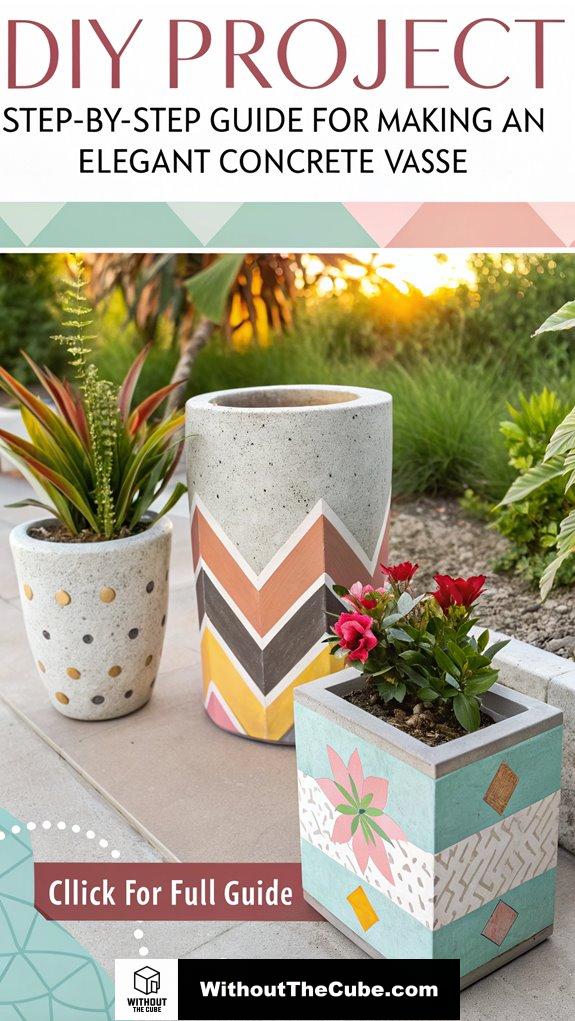
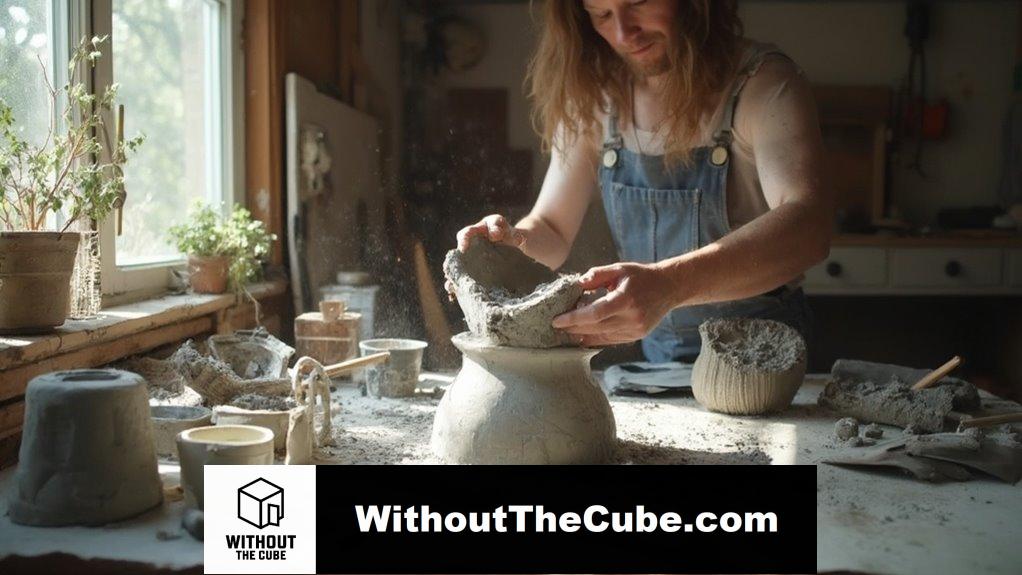
I’m super excited to share my journey of making a chic concrete vase that totally elevated my space!
You know, I started this blog, Without The Cube, to help folks like us nail superior interior design—because who doesn’t want their home to shine, am I right?
First off, I gathered my trusty materials: a mailing tube, quality concrete mix, and some plastic cups.
Then came the fun part—prepping my mold with Vaseline. Seriously, trying to yank a stubborn vase from a mold? No, thank you!
Pouring the concrete was oddly therapeutic, and I even learned to love those little cracks that give it character.
So, what’s stopping you from diving in?
—
A Transformative Client Experience
Not long ago, I helped a client who was convinced that concrete was just for sidewalks. I took them on a little journey, transforming their dull space with a stunning concrete planter that stole the show.
They were blown away! We even incorporated some greenery and funky textures to complement the sleekness of the concrete. It was all about blending modern elements with nature.
Trust me, when done right, concrete can be a game changer in interior design.
Key Takeaways
- Prepare your mold using a sturdy mailing tube, ensuring it’s cleaned and lubricated with Vaseline or cooking spray to prevent sticking.
- Mix Rockite concrete thoroughly with water to achieve a smooth, consistent texture for your vase.
- Pour the concrete into the mold, using proper techniques to shape and smooth the surface for an elegant finish.
- Allow the vase to cure completely before removing it from the mold to ensure durability and stability.
- Enhance the design with unique textures or wrapping techniques, like velvet cord, to elevate the aesthetic appeal of your concrete vase.
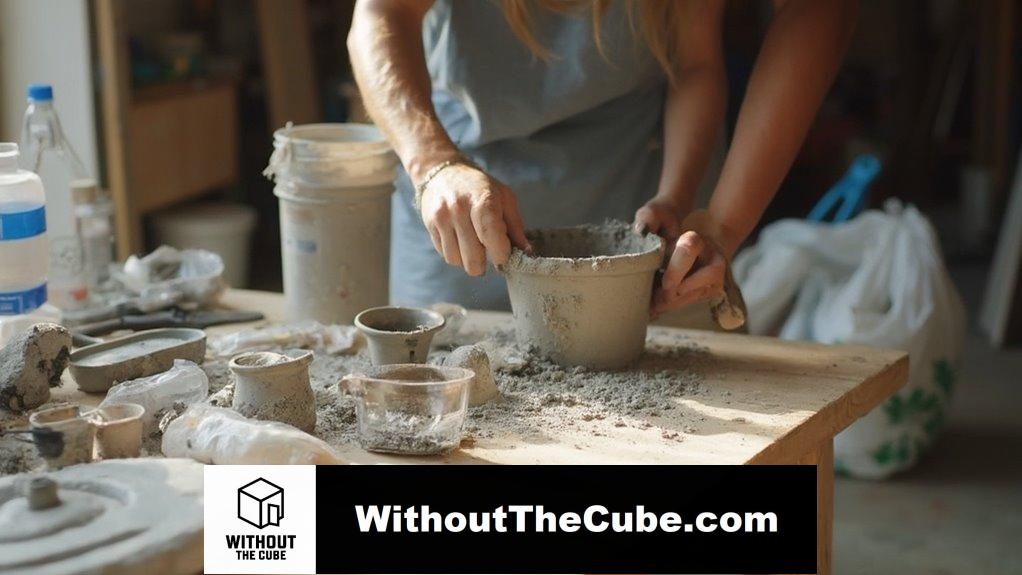
Materials Needed for Your Project
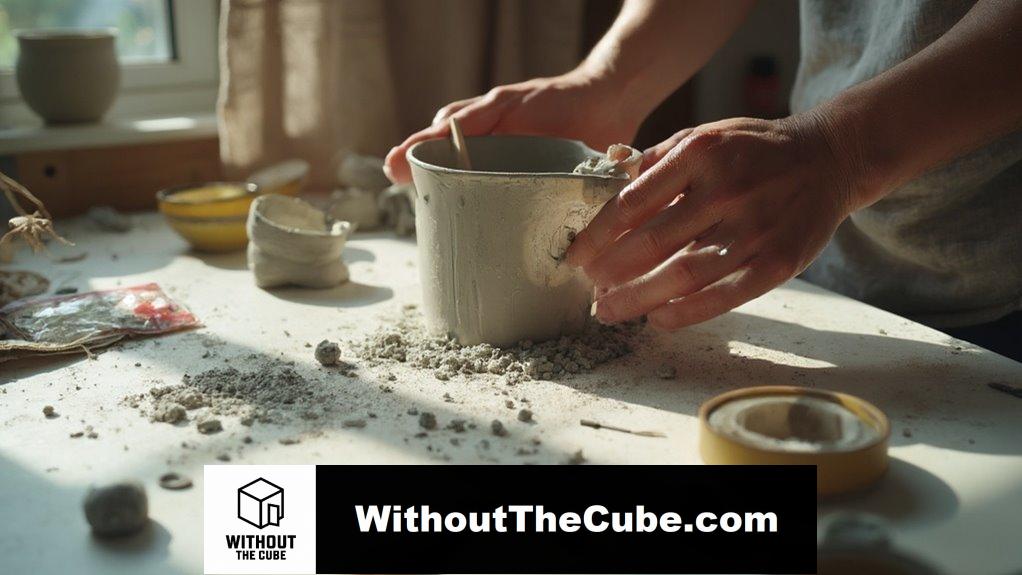
When I set out to create my own concrete vase, I quickly realized the importance of gathering all the right materials beforehand.
For mold preparation, grab a large plastic cup and a smaller one for shaping. The right mold materials can make or break your project, ensuring a smooth finish.
You’ll need cement mix, water, and a stir stick for mixing techniques. Mixing cement until the right consistency is crucial for a successful project.
Don’t forget packing tape to secure everything in place. Trust me, being prepared makes all the difference in your DIY adventure!
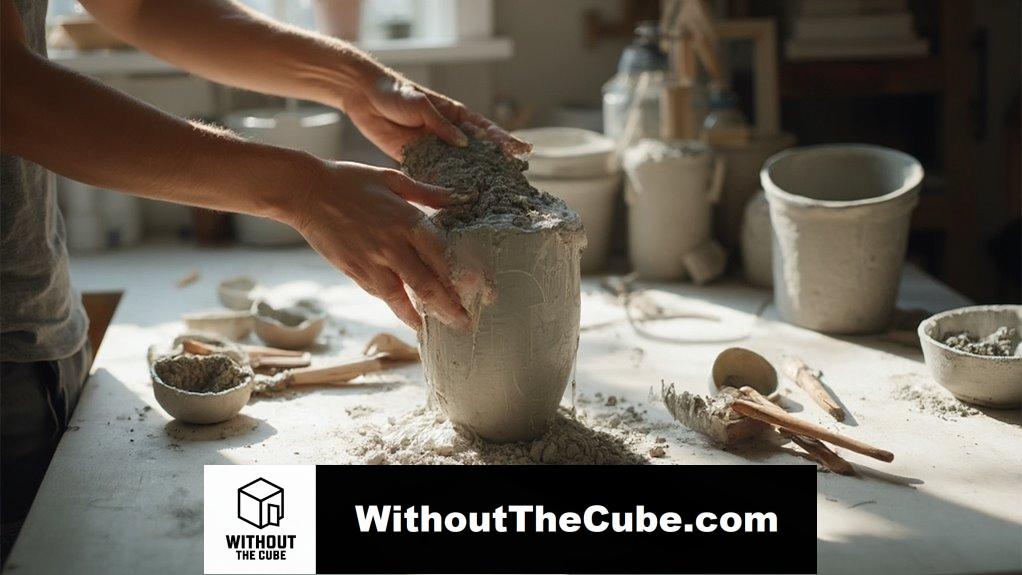
Creating a Concrete Vase With a Mailing Tube
After gathering all the necessary materials, I was excited to get started on creating my concrete vase using a mailing tube.
- A sturdy mailing tube
- Some Vaseline or cooking spray
- My trusty cement mix
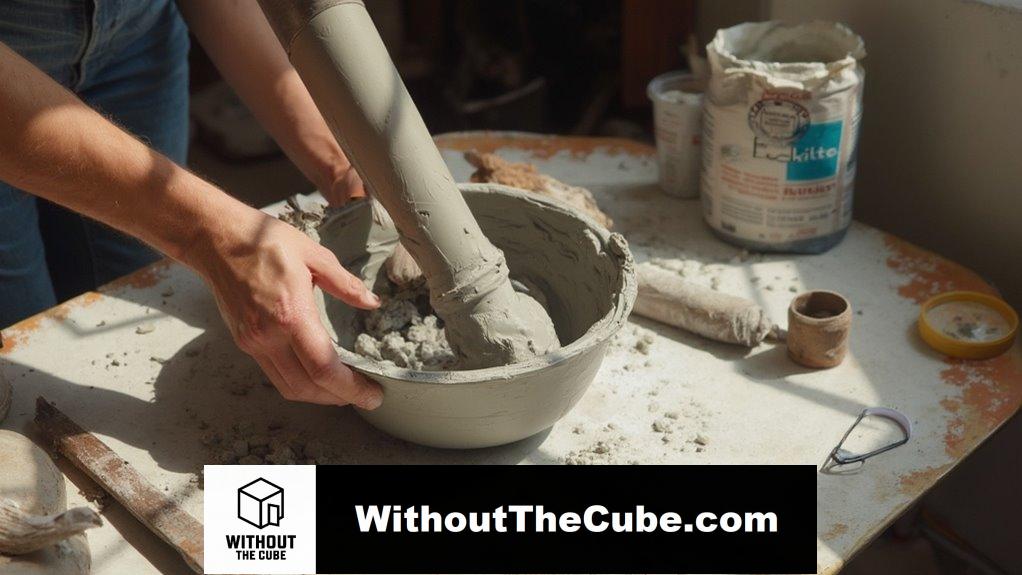
Using these mailing tube techniques, I mixed the concrete, poured it in, and shaped it perfectly. Chic concrete vase styling is essential for showcasing your new creation effectively. Rockite concrete mix, known for its high-quality performance, made my crafting process even smoother.
With a little concrete finishing, I couldn’t wait to see the final product shine!
Making a Vase Using Plastic Cups

Creating a vase using plastic cups isn’t only simple but also a fun way to upcycle materials you might already have at home. Upcycling materials like clean, 16oz plastic cups not only reduces waste but also encourages creativity in crafting. I love diving into plastic cup crafts because they let my creativity shine! By gluing cups together and wrapping them in velvet cord, I can create stunning decorative upcycling pieces.
Ready to give it a whirl? Let’s get crafty!
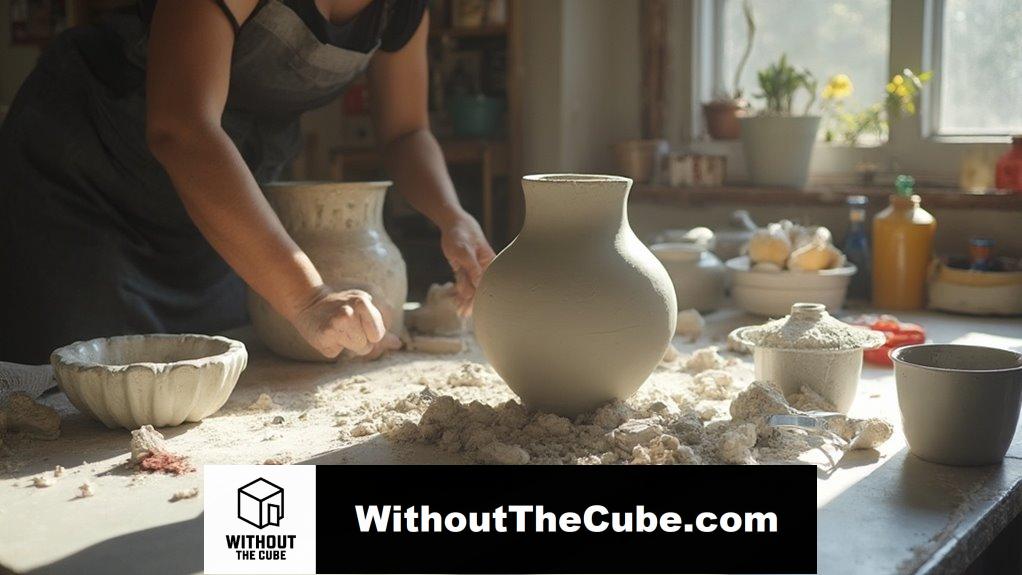
Crafting a Cracked Cement Vase
Crafting a cracked cement vase offers a unique blend of creativity and functionality that can elevate your home decor.
- Embrace the beauty of cracked texture
- Transform simple cement into stunning art
- Enjoy the trendy cement aesthetics, which can also complement minimalist concrete shelving.
Let’s release your inner designer! Mixing the concrete is a crucial step that ensures your vase has the desired strength and finish.
This project not only adds flair but also creates conversation starters.
Ready to plunge into it? Your stylish home awaits!
Tips for Successful Concrete Molding
Successful concrete molding hinges on careful preparation and attention to detail.
Start with clean mold preparation to avoid pesky texture issues. Choose the right mold for your vase’s size and shape, and don’t forget to measure your ingredients accurately—trust me, it makes a difference! Utilizing high-quality materials for your mold will also enhance the durability and finish of your concrete piece. consider incorporating stylish inspirations into your design to elevate the aesthetic of your vase.
Oh, and always wear protective gear; safety first, right?
Let’s get creative with those concrete dreams!
Avoid Overmixing the Concrete
Avoid Overmixing the Concrete
After you’ve nailed the mold preparation, it’s time to focus on mixing the concrete.
Keep an eye on these key points:
- Use proper mixing techniques to maintain consistency.
- Avoid adding extra water; it can cause workability issues.
- Stick to recommended mixing times to prevent overmixing.
Trust me, overmixing can lead to a hot mess of bubbles and weak concrete. Proper mixing techniques ensure adequate compaction and help create a durable final product. using the right mixing ratios can enhance the quality and appearance of your concrete project.
Let’s keep it strong and beautiful!
Decorative Plant Arrangements Ideas
Creating beautiful decorative plant arrangements can transform any space into a vibrant oasis.
I love using colorful pots to group different plants together for a pop of personality.
For a cozy reading nook, try trailing plants like pothos in hangers. They’re eye-catching!
And don’t forget to mix in your favorite decor pieces—who doesn’t love a little charm?
Adding functional elements like stylish concrete storage solutions can also enhance the overall aesthetic of your plant arrangements.
Let’s elevate those spaces together!
FAQ
How Long Does the Concrete Take to Fully Cure?
Curing time really depends on the concrete types I choose. Rapid-setting mixes might cure in just 3-5 hours, while standard mixes could take weeks. I always plan ahead to guarantee ideal results!
Can I Use Other Types of Paint on the Vase?
When it comes to painting your vase, I’ve learned not to put all my eggs in one basket. While some paint types create stunning finishes, others simply won’t hold up. Stick with masonry paint for the best results!
What Should I Do if My Vase Cracks?
If my vase cracks, I’d tackle crack repair by cleaning the area, applying mortar, and securing it. Once mended, I’d explore decorative options like paint or stencils to give it a fresh look.
How Do I Clean My Concrete Vase?
When cleaning my concrete vase, I use gentle methods like dish soap and water. Regular maintenance tips, like avoiding harsh chemicals, keep it looking fresh and innovative, ensuring it remains a stunning centerpiece in my home.
Are There Any Safety Precautions When Working With Concrete?
Working with concrete’s like dancing with a giant; it requires respect and caution. I always prioritize protective gear and guarantee my workspace ventilation is excellent to keep myself safe and innovative while creating.
Summary
I made these beautiful concrete vases using simple materials and a bit of patience. It’s amazing how chic concrete can look. It’s a great way to enhance my decor and showcase my DIY skills.
I would love to hear about your own experiences with DIY projects like this. What have you created?
If you enjoyed this post, please share it on social media to help more people discover our blog, Without The Cube.
Leave a Reply