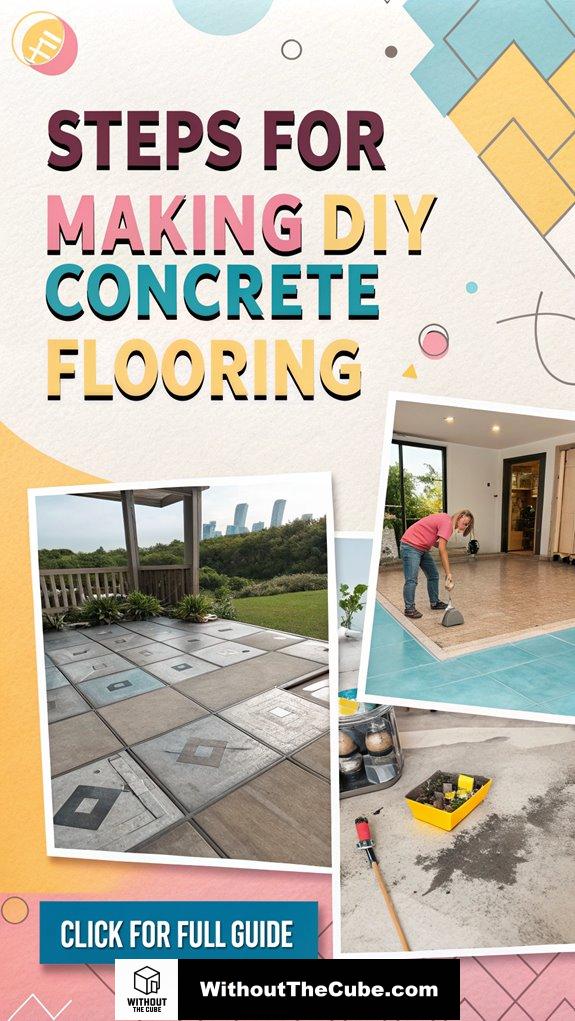
Ready to Transform Your Space? Let’s Dive into DIY Concrete Flooring!
I still remember the first time I decided to tackle a concrete floor. Spoiler alert: it was a mess, but what’s life without a little chaos, right?
First, I prepped my space like a champ—no one wants to work in a junkyard! I laid the base and insulation, and then came the concrete mixing. Honestly, I felt like a mad scientist.
But guess what? I nailed that smooth texture. And those pesky air bubbles? Just a little tap here and there, and they vanished.
Now, I’m all about those finishing touches—rounded edges and a seal for durability. Who doesn’t love a cozy rug on a warm floor?
If you’re ready to make your home pop, stick with me! I’m all about superior interior design here at Without The Cube. Let’s get creative!
A Client’s Journey: A Concrete Flooring Adventure
Once, I helped a client who wanted a trendy, industrial vibe in their loft. They were nervous about the concrete floor and its potential for being cold. So, I suggested heating elements beneath the surface. The look was stunning, and they loved the warmth! It’s amazing how thoughtful design can turn a simple idea into a cozy, chic reality. Who knew concrete could be so inviting?
Key Takeaways
- Prepare the ground by clearing debris, compacting the base, and ensuring proper depth for a stable foundation.
- Install insulation and a damp proof membrane to retain heat and prevent moisture issues.
- Mix concrete using a standard ratio and apply a bonding agent for better adhesion to the surface.
- Cure the concrete properly by maintaining moisture and using tools like a bull float for finishing.
- Consider aesthetic options like textured finishes or coatings, and secure rugs for comfort and warmth.
Preparation of the Space
When preparing the space for your DIY concrete flooring project, the first step is essential: I always start by compacting the ground. You wouldn’t want a wobbly foundation, right? So, clear away those pesky stones and debris. Proper concrete floor preparation ensures longevity and durability for your flooring.
Next, measure the floor area accurately. Trust me, you don’t want to order too much concrete unless you enjoy having extra in your garage. Oh, and don’t forget to account for the damp proof membrane and that lovely sub base—add an extra 100mm for a solid foundation.
Laying the Base Layer

After preparing the space, it’s time to focus on laying the base layer, which sets the foundation for a durable concrete floor.
First, I assess the soil type and moisture levels—let’s avoid any surprises later!
Next, I clear out any pesky undergrowth and dig down at least 150mm deep.
Don’t skip the compaction, folks! I usually use a roller or tamper to guarantee a solid base. Compacting the bottom of the pit is crucial for achieving a level surface.
Once that’s done, I layer in MOT Type 1 hardcore, compacting as I go.
To keep things cozy, I spread a layer of sand on top—who wants punctured membranes, right?
And voilà! You’re on your way to a fabulous floor.
Keep in mind, we created this blog Without The Cube to inspire your design adventures!
Insulation and Damp Proofing
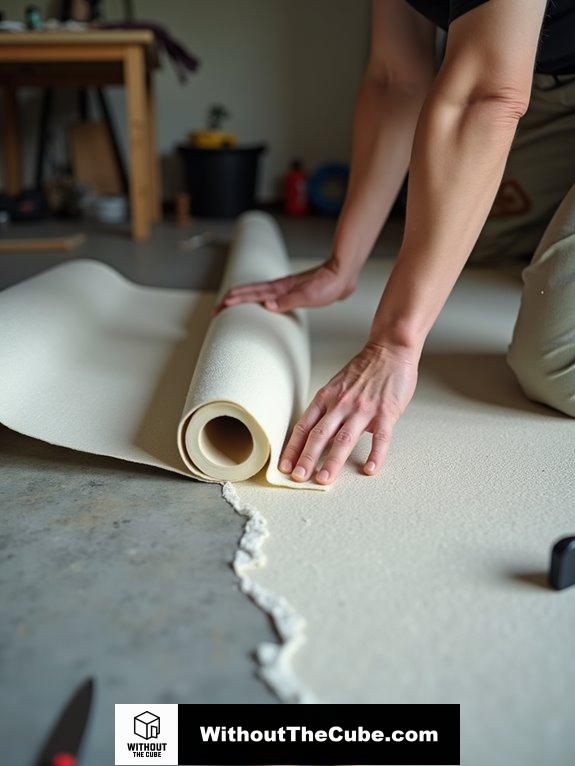
Insulation and damp proofing are essential steps in creating a comfortable and long-lasting concrete floor.
You wouldn’t want chilly drafts sneaking in, right? That’s why I love FloorFoam Insulation, which rolls out like a breeze and keeps the warmth inside. It’s like wrapping your floor in a cozy blanket! Plus, it fights pesky moisture too. Using highly reflective foil in FloorFoam helps retain heat and prevents cold ingress. Moreover, for a stylish finish, consider using concrete kitchen countertops that complement your flooring and enhance the overall aesthetic of your space.
Don’t forget the damp proof membrane! First, clean your concrete surface—trust me, it makes a difference. Measure, cut, and secure it neatly.
With these steps, you’re not just creating a floor; you’re setting up a comfy oasis that saves on heating costs and keeps your space peaceful.
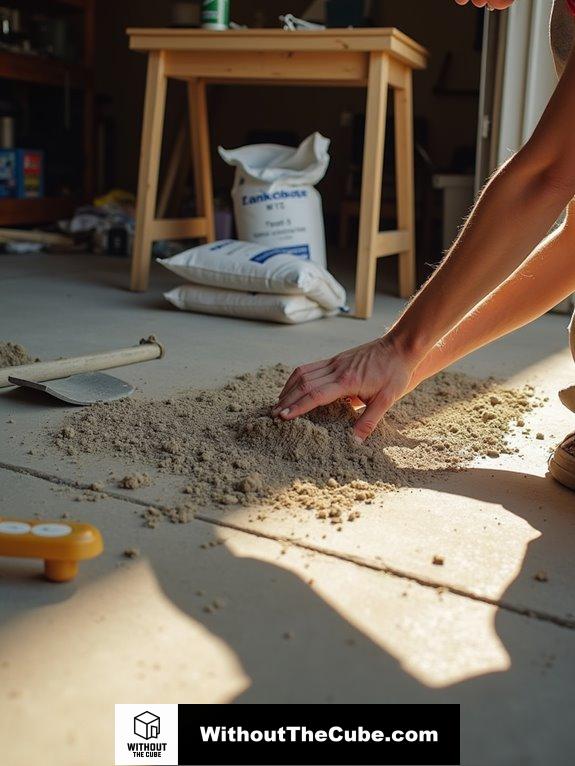
Mixing the Concrete

Mixing concrete can seem challenging, but with the right approach, it’s quite manageable. Let’s dig in!
First, gather your tools: a wheelbarrow, shovel, buckets, and safety gear. Trust me, you don’t want to mess with concrete dust in your lungs! Always remember to wear safety gear like gloves and goggles for protection.
For a standard mix, use 1 part cement, 3 parts sand, and 6 parts coarse aggregate. Measure carefully with buckets, because accuracy is key—no one likes a wonky floor!
Once you’ve mixed the dry ingredients, create a little reservoir for water. Add it slowly, mixing until it looks like cookie dough.
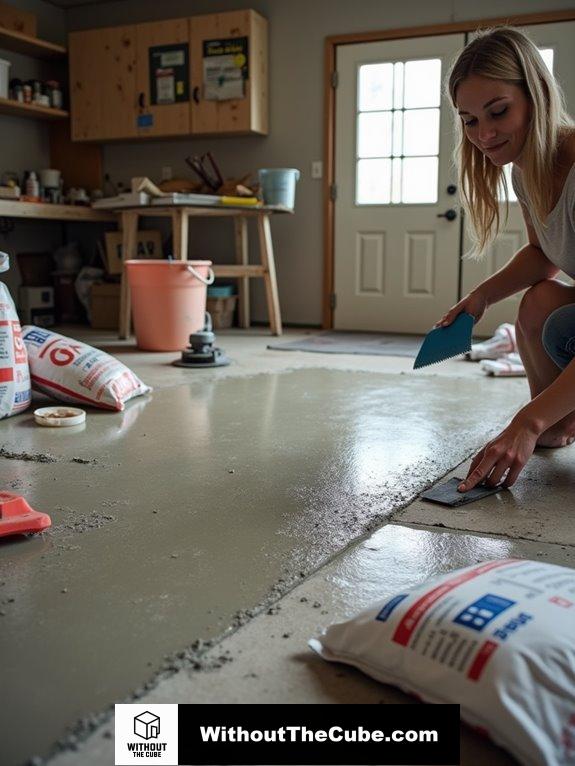
Application of Concrete
When it comes to applying concrete, preparation is everything. Seriously, you can’t rush this part!
First, I clean the old floor like it’s the last piece of chocolate cake—no crumbs allowed! I sweep away debris, repair any cracks, and guarantee the surface is just damp, not a swimming pool.
Then, I grab a bonding agent and give the floor a nice, even coat. Think of it as setting the stage for a grand performance! This step is crucial because it enhances the adhesion between new and old concrete. A solid bonding agent also helps to prevent issues like cracking and peeling later on.
Once that’s tacky, I mix up my concrete like I’m making a delicious smoothie—no lumps, please! I pour it over the primed surface, spreading it evenly with a trowel.
Voila! You’re one step closer to a stunning concrete floor that’ll knock everyone’s socks off!
Achieving Soft Set

Achieving a soft set is essential for a flawless concrete floor, and I can’t stress enough how important it’s to start with a clean and level surface. Seriously, if your base isn’t ready, you’re setting yourself up for disaster!
First, sweep any dust away—your floor deserves some TLC! If it’s a bit grimy, a splash of hydrochloric acid should do the trick. Using hydrochloric acid will help remove old adhesives and ensure a clean base for your new flooring. ensuring that your surface is properly prepared can significantly enhance the adhesion of your concrete mix.
When mixing your self-leveling cement, aim for a texture like thin pancake batter—delicious, right? I always let my mixture sit for about a minute before pouring; it really makes a difference!
And hey, don’t forget to work in sections to keep things smooth. Trust me, a little prep goes a long way in creating that stunning flooring you dreamed of.
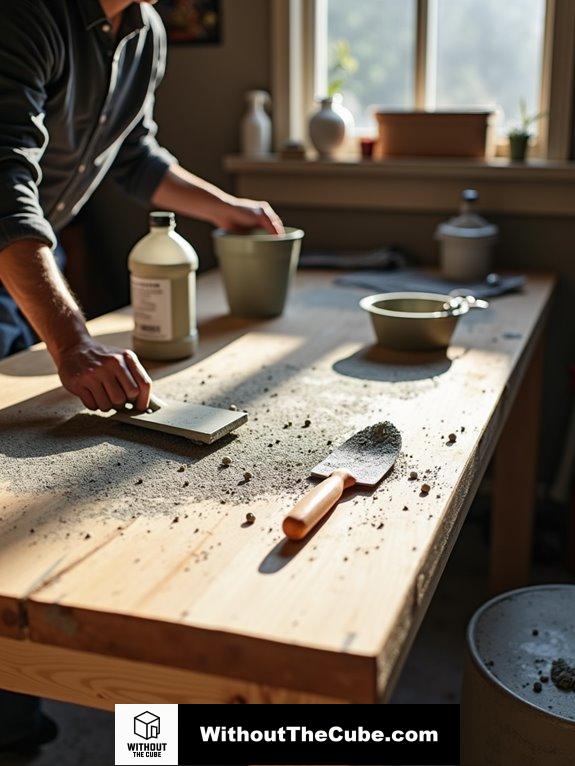
Finishing Techniques
Concrete flooring’s finishing techniques can truly elevate your project from ordinary to extraordinary.
Here’s what I love about finishing:
- It transforms your floor’s look and feel.
- You get to choose between sleek, polished, or textured finishes.
- It protects your investment for years to come. Proper grinding and cleaning are essential for dye adhesion.
- the right finish can enhance the aesthetic appeal of your space, making it more inviting.
First, start with initial grinding to get rid of any pits.
Next, fine grinding will have your concrete gleaming like a diamond, especially if you go for a high-gloss finish!
Finally, don’t forget to seal it. This not only protects your masterpiece but also makes cleaning a breeze.
Are you ready to impress your friends?
Trust me, once you see the results, you’ll want to share your journey on Pinterest!
Welcome to the world of DIY greatness, sans the cube!
Curing the Concrete
Curing the concrete is essential for ensuring it reaches its maximum strength and durability, so I always emphasize the importance of maintaining proper moisture levels.
Think of it as nurturing a baby—those first 7-10 days are vital! I mist or spray the surface daily, especially when the sun’s blazing. Water curing is essential during this time for optimal strength increase.
For larger areas, I create little ponds with barriers to keep the water around.
And hey, if you’re pouring at night to dodge the heat, that’s genius! Just keep in mind, covering it with plastic sheeting or wet blankets helps, too.
Keep it moist and protected, and you’ll be rewarded with a strong, beautiful floor.
Trust me, a little TLC during curing goes a long way. You’ve got this!
Creating Concrete Molds

Creating molds for your concrete projects opens up a world of possibilities, allowing you to shape your vision into reality.
Here’s what you might consider for your molds:
- Wood: Perfect for simple slabs and sidewalks, plus it’s budget-friendly.
- Styrofoam: Great for those fancy designs; just cut it to your heart’s content!
- Synthetic Materials: These can handle complex shapes and look fabulous too.
Whether you’re going for a basic look or something super detailed, the right mold makes all the difference.
Just keep in mind, the material needs to withstand concrete’s pressure—no soggy cardboard allowed!
And hey, if you’re feeling fancy, why not explore digital machining for those precise, unique shapes?
Let your creativity flow like concrete itself!
Adding Final Touches

Once you’ve crafted the perfect molds for your concrete project, it’s time to focus on adding the final touches that will elevate your flooring.
First, grab a bull float to smooth out those pesky ridges and fill in voids. Trust me, a sleek surface is a game-changer! Make sure to complete the bull floating before the excess moisture appears, as it can affect the finish.
Next, round those edges using an edger—no one wants a harsh, sharp corner ruining their vibe, right?
And don’t forget to groove in joints; it’s like giving your floor a little breathing room to prevent cracks.
When you’re done, seal it all up to protect your masterpiece from stains.
Now, if you’re feeling adventurous, try a microtopping or an epoxy coating for that wow factor. Who says concrete can’t be chic?
Avoid Air Bubbles During Pouring
When I first started working with concrete flooring, I quickly learned that avoiding air bubbles during the pouring process is essential for achieving a smooth and professional finish.
Trust me, those pesky bubbles can ruin your masterpiece!
Here’s how I tackle them:
- Choose the right concrete mix: Go for a high-quality mix with smaller aggregates.
- Prepare the mold: Clean it thoroughly and use a mold release agent—your future self will thank you! Proper preparation is crucial for successful casting.
- Pour carefully: Go slow, and tap the mold gently after each pour to help settle things.
I’ve found that a little bit of vibration goes a long way, too.
Incorporate Rugs for Warmth
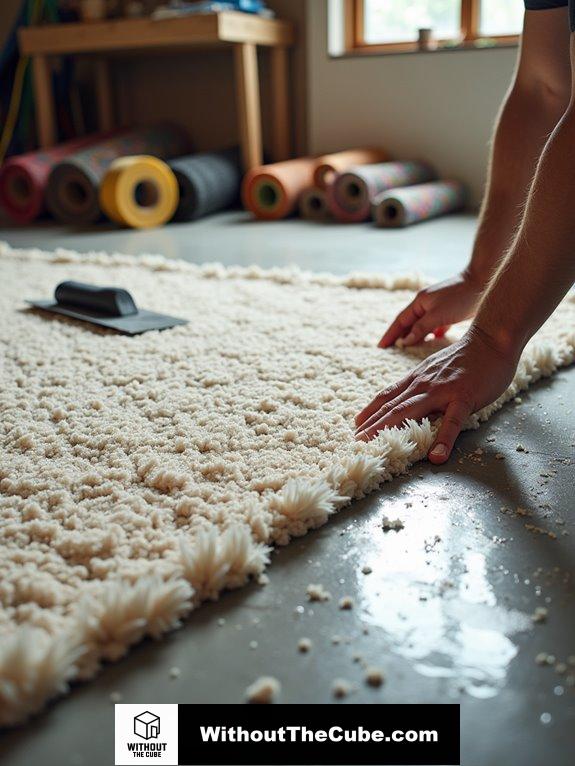
Incorporating rugs into your concrete flooring not only enhances comfort but also adds a touch of style to any space.
Think about it – wool, sheepskin, or shag rugs can transform cold, hard concrete into a cozy retreat.
Plus, they create a fabulous focal point! Just keep the R-values in check; aim for rugs with R-0.5 or lower, so you don’t turn your heating efficiency into a sad joke.
Patterned rugs, like those boho Aztec designs, pair beautifully with concrete, adding color and texture.
And securing them? Easy-peasy! A little double-sided tape or Velcro does the trick.
Summary
I’ve just completed my concrete flooring project, and it feels rewarding to see the transformation. Each step was crucial in achieving a polished look. Now, I’ll add some rugs for comfort and warmth to enhance the space.
I’d love to hear about your own DIY flooring experiences. What tips or tricks did you find helpful?
If you enjoyed this post, please share it on social media to help spread the word about Without the Cube!
Leave a Reply