
Creating my own DIY concrete kitchen countertop? Yeah, that turned out to be quite the adventure!
First, I measured my base cabinets and drew up a mold plan. Easy peasy, right? Then I built that mold with melamine particleboard—smooth as a baby's bottom, I tell ya.
Next came mixing the concrete and pouring it like I was some kind of concrete Picasso. But wait—air bubbles? Not on my watch! Once it cured, I demolded it and did some touch-ups. Sealed it up, and voilà! I felt like a countertop king.
Seriously, who wouldn't want a stylish countertop? Stick around for more at Without The Cube, where I promote superior interior design.
A Real-Life Concrete Countertop Experience
I once worked with a client who was convinced concrete was just for sidewalks. After showing them my DIY project, they were amazed! We ended up designing a stunning kitchen with a sleek concrete countertop, paired with modern cabinetry. The transformation was unreal! It's crazy what a little creativity can do, right? Trust me, once you go concrete, you'll never look back!
Key Takeaways
- Accurately measure and prepare the base cabinets, allowing for a ½" to ¾" overhang before constructing the mold for the countertop.
- Use melamine particleboard to build a sturdy, waterproof mold, ensuring all seams are sealed with silicone caulk.
- Mix concrete with precision, adding superplasticizer for a smooth finish, and pour it quickly into the mold while eliminating air bubbles.
- Allow the concrete to cure for 6-7 days, ensuring a warm and humid environment, before carefully removing the mold.
- Inspect the countertop for imperfections, perform touch-ups, and apply a food-safe sealant to enhance durability and protect the surface.
Planning and Preparation
When you're diving into the DIY concrete kitchen countertop project, proper planning and preparation are essential for success.
First things first: measure your base cabinets! Adding a little extra for overhang is a must.
Have you ever tried fitting something in a tight space? Yeah, not fun.
Next, a concrete mix designed for countertops is your best friend—trust me, you want that smooth finish. Additionally, consider the estimated cost for materials, as budgeting wisely can help you avoid unexpected expenses. To achieve a professional look, be sure to incorporate a well-designed mold that can shape your countertop perfectly.
And don't forget, concrete is heavy! About 18 pounds per square foot, so think about how you'll transport it.
Choose a workspace that can handle the mess. A garage or basement works great, but don't forget ventilation!
Lastly, budget wisely and set a timeline. Planning ahead makes everything smoother.
Ready to get started? Let's do this together!
Building the Mold

Now that you've got a solid plan in place, it's time to tackle building the mold for your concrete countertop.
First off, I love using melamine particleboard for its smooth, waterproof surface. Measure your cabinets, then add a little overhang—about ½" to ¾". A well-constructed mold for concrete is essential for achieving a professional finish.
Bring out a 4' x 8' piece of that melamine to serve as your base plate.
Find the flattest surface, like your garage floor, and lay down a big piece of plastic underneath—trust me, it saves a cleanup headache!
Cut the sides to match your desired thickness, and secure everything with screws.
Don't forget the silicone caulk for those pesky seams. Using a specialized concrete formulation with additives for countertops ensures enhanced durability and strength.
And voilà! You're one step closer to that stunning countertop—let's keep this momentum going!
Preparing for Concrete
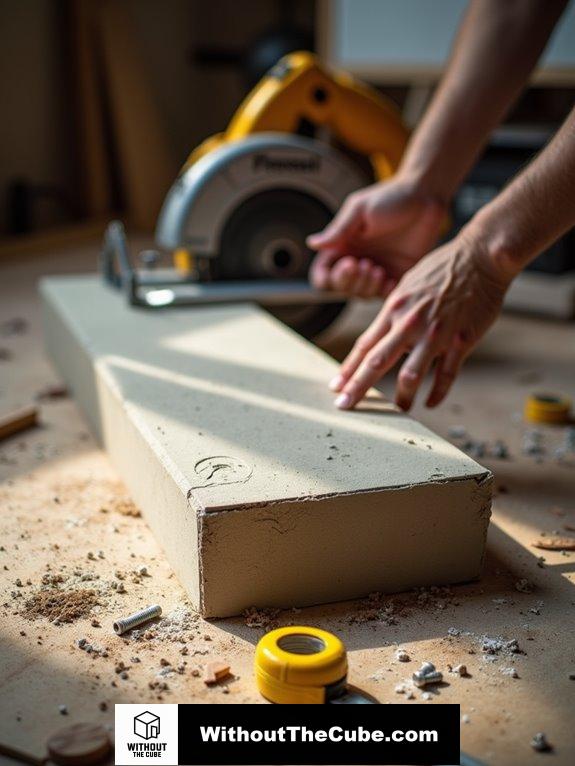
Preparing is essential for achieving a flawless concrete countertop. Trust me, you don't want to skip this step!
First, find a sturdy, level surface for your mold—no one wants a lopsided countertop, right? The weight of concrete is significant, so ensuring structural support is crucial. A well-constructed mold is also key for achieving smooth finishes that enhance the overall aesthetic.
Next, clean that mold like your life depends on it; a smooth surface is key.
Grab your circular saw and measure those dimensions accurately, adding a little overhang for flair.
And let's not forget safety! Gear up with gloves and goggles, because concrete dust is no joke.
Lastly, assemble your mold with screws, seal those seams with silicone caulk, and let it dry for a day.
With these prep steps, you'll be ready to create a stunning countertop that'll make your kitchen the talk of the town!
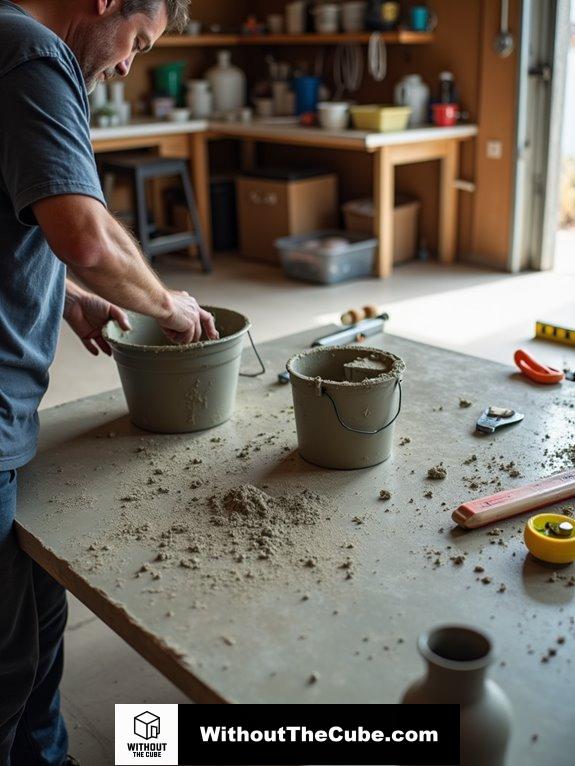
Mixing and Pouring Concrete
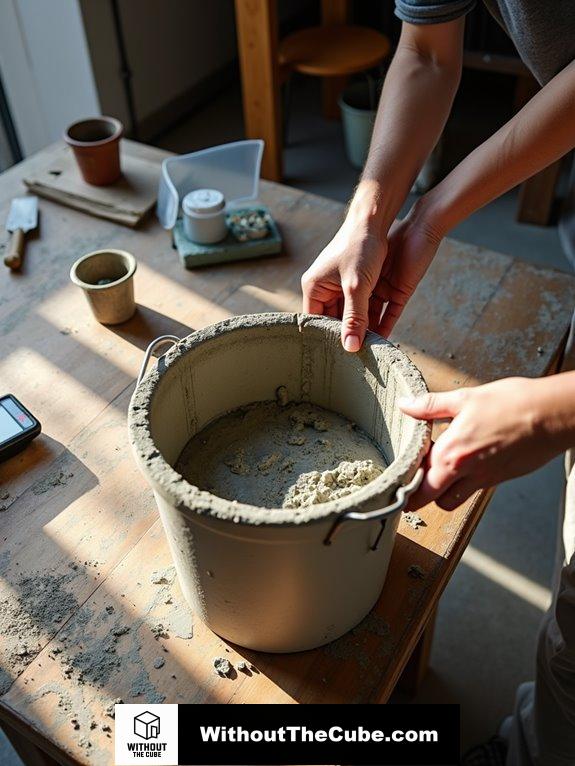
With the mold ready and waiting, it's time to mix and pour the concrete.
Grab your trusty digital scale and let's measure those ingredients accurately—no winging it here!
Start with sand and aggregates in the mixer, then slowly add cement.
For a super-smooth finish, mix in a high-quality superplasticizer with some of the water before blending it all together. Remember, using Rapid Set Cement All allows you to complete your project in about 4 hours! Additionally, using proper ratios of water will ensure optimal curing of your concrete.
When pouring, work quickly! The concrete's clock is ticking.
Use a vibrating device or give the mold a few gentle taps to kick those pesky air bubbles to the curb.
And keep in mind, teamwork makes the dream work! Grab a buddy; mixing and pouring is way more fun together.
We created this blog, Without The Cube, to inspire your superior interior design journey!
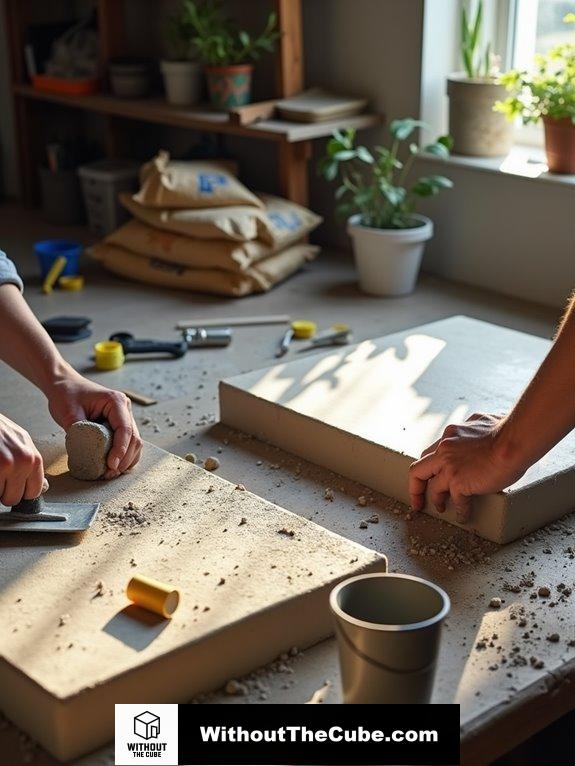
Leveling and Smoothing
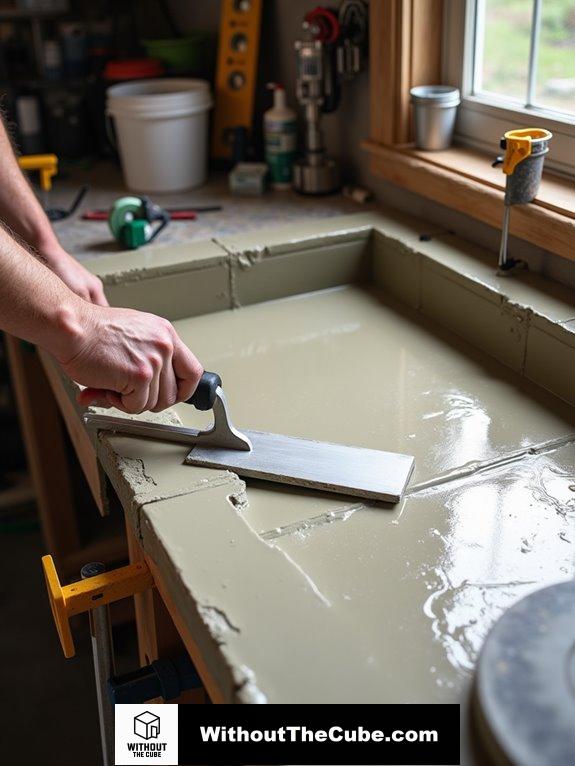
Achieving a perfectly level and smooth countertop is essential for both aesthetics and functionality. Trust me, no one wants a wobbly kitchen workspace!
Here's how I tackle leveling and smoothing:
- Make sure the mold is level to prevent any uneven drama later.
- Use plastic underneath to catch any sneaky concrete spills.
- Secure the mold sides tightly to keep everything in place.
- Clean that mold surface—no one wants imperfections ruining the fun!
I love using a steel trowel to push the concrete into place, tapping edges to release air bubbles like a pro. The standard thickness of concrete is 1.5 inches, ensuring a solid and durable countertop. A well-mixed concrete mix ratio is crucial for achieving the desired strength and durability.
A magnesium float works wonders for smoothing, and I always check for bubbles—because who needs those?
Let's make countertops that dazzle, not disappoint!
Curing
Curing is your secret weapon! After pouring, let it cure for about 6-7 days. You can demold it after four days, but hang tight for a couple more to achieve that rock-solid strength.
Keep the countertop in a warm, humid spot—just not in direct sunlight, please! Ideal ambient conditions help ensure proper curing, so aim for temperatures between 50-90°F with humidity above 25%.
Remember to monitor it; if it feels soft, it's not ready for sanding yet. A quick scratch test with your nail should leave no mark.
Want to keep it looking fabulous? A plastic sheet can help maintain humidity during the curing process.
Trust me, this patience pays off when your countertop becomes the star of your kitchen!
And hey, we created this blog, Without The Cube, to promote superior interior design!
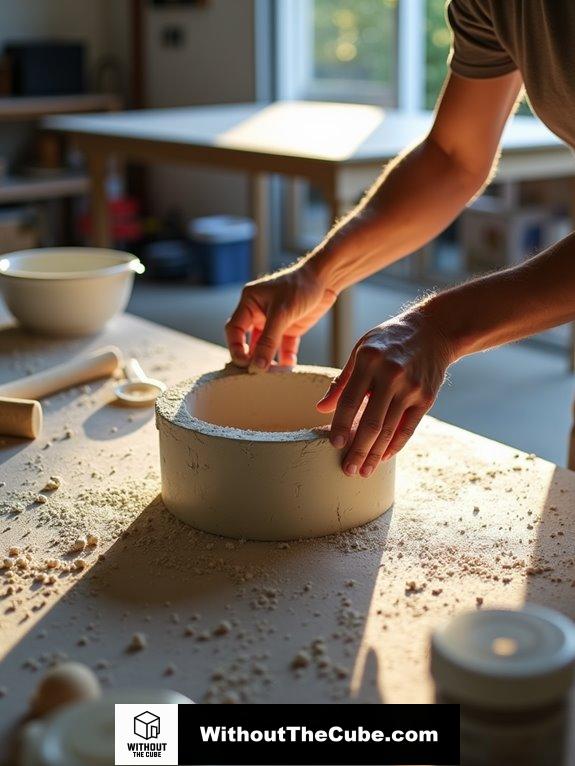
Removing the Mold
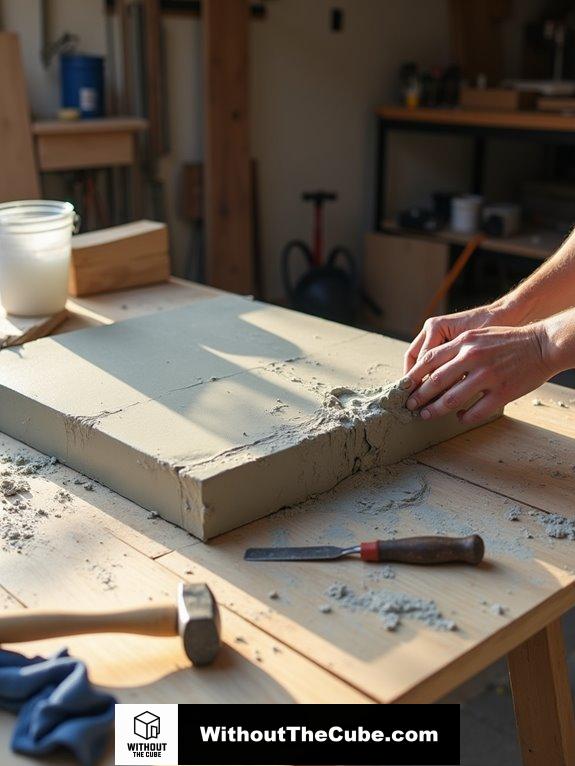
Removing the mold from your concrete countertop is an exciting step that brings your hard work to fruition. I mean, who doesn't love seeing their labor of love come to life?
Here's how I tackle this part:
- Wait patiently for the concrete to cure, usually 24-48 hours. Trust me, it's worth it!
- Inspect the surface for air pockets or cracks. You don't want any surprises!
- Use a hammer, chisel, or putty knife to carefully pry off the mold. Be gentle; we want the concrete intact!
- Clean up after removing the mold. A little tidiness goes a long way! Remember, proper curing process is essential to ensure your countertop achieves its optimal strength.
Now, let's admire that beautiful countertop together! Isn't this DIY journey just fabulous?
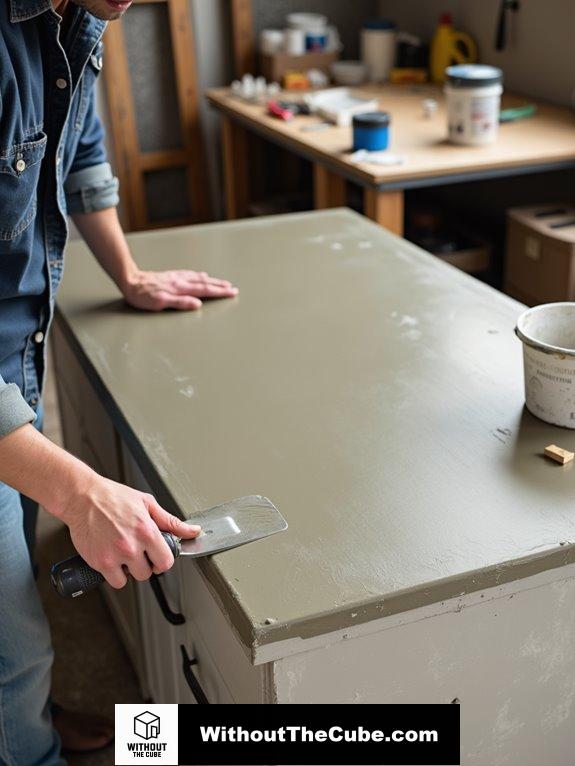
Touch-ups and Sealing
With the mold gone, it's time to focus on touch-ups and sealing to guarantee your concrete countertop looks its best and stays protected.
First, grab a touch-up kit—seriously, it's like a superhero for minor scratches! If you need to, you can buff or polish those pesky spots away, but be careful not to overdo it.
Cleaning is key before applying any new sealer; think of it as giving your countertop a spa day. If the old sealer's in bad shape, lightly grind it off.
And let's talk sealers! Polyurethane or epoxy? Choose wisely for that perfect finish. Minimum curing time of 15 days is essential for achieving optimal strength before applying any sealers.
Regular re-sealing keeps your countertop looking fresh and fabulous.
Installation
Before diving into the installation of your DIY concrete kitchen countertop, it's essential to prepare your workspace effectively.
Trust me, a clean, well-ventilated area saves you from a mountain of messy regrets!
Here's what you should do:
- Ensure proper workspace: Keep it clean and far from living areas.
- Protect surfaces: Lay down plastic or drop cloths to catch any sneaky spills.
- Prepare tools and materials: Gather rebar, concrete mix, and molds before starting.
- Calculate concrete needs: Estimate how much mix you'll need for your fabulous countertop. Remember, the total cost for DIY concrete countertops is approximately affordable alternative to traditional materials.
Now, lift those heavy slabs with care and position them like the design queens you are!
If all this feels intimidating, keep in mind, you can always call in reinforcements.
We created this blog, Without The Cube, to help you shine in your interior design journey!
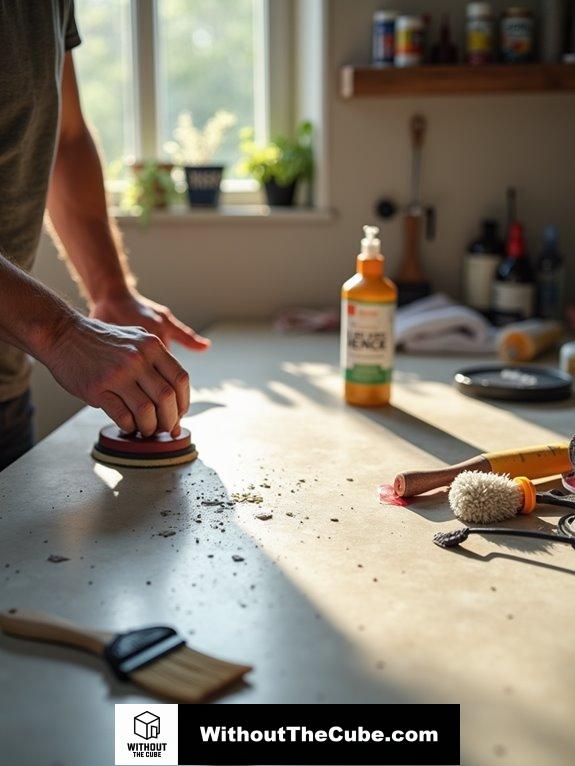
Finishing Touches

After you've successfully installed your DIY concrete countertop, it's time to focus on the finishing touches that will elevate its look and durability.
First, wet the surface to make sanding a breeze. Grab some 220-grit wet sandpaper and go to town in circular motions to smooth those edges. Trust me, sandwiching the sandpaper with a 2×4 block really helps during those early stages.
Once that "cream" layer is gone, it's time for the fun part! Choose a matte finish for a rustic vibe or polish for that ultra-smooth, shiny look. Additionally, make sure you have the right sandpaper grit on hand to achieve the desired finish.
Don't forget to seal it up with a food-safe sealer, because nobody wants a countertop that can't handle a little action.
Avoid Air Bubbles During Pouring
Air bubbles can be a major headache when pouring your concrete countertop, but there are solid techniques to minimize their occurrence. Trust me; I've been there, and I've got your back!
Here are some nifty tricks to keep those pesky bubbles at bay:
- Uniform Aggregate: Choose aggregate with similar-sized pieces to prevent air traps.
- Vibration: Give the mold a gentle shake during pouring to let air escape.
- Tapping the Form: Use a rubber mallet to tap the sides while the mix is still wet—goodbye bubbles!
- Superplasticizer: Add this little wonder to boost fluidity without making your mix too watery. Additionally, be cautious with your usage of superplasticizers, as excessive use can lead to segregation in fluid mixes.
With these steps, you'll have a stunning, bubble-free countertop. Let's get pouring!
Choose Complementary Decor Elements
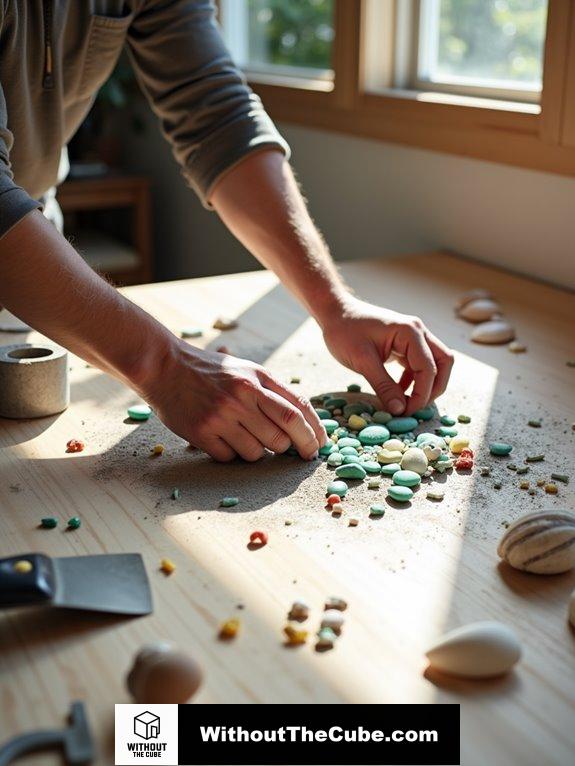
Once your concrete countertop is beautifully poured and bubble-free, it's time to think about how to enhance its aesthetic appeal with complementary decor elements.
Why not kick it up a notch with some embedded treasures? Envision adding decorative stones, glass pieces, or even shells from that beach trip!
You can also mix in different materials like wood or metal for those trendy inlays. Talk about a conversation starter!
Now, let's not forget about colors and textures! From earthy tones to vibrant hues, your countertop can truly shine. With a wide selection of colors, you can choose shades that perfectly match your kitchen decor.
Gray is classic, while white can make your kitchen feel open and airy.
Summary
I created a DIY concrete kitchen countertop that enhances my space and reflects my style. It's satisfying to see my vision take shape and adds a unique touch to my kitchen. This project truly showcases my creativity.
I'd love to hear about your experiences with DIY projects. What challenges did you face, and what tips do you have for others?
If you found this helpful, please share it on social media to help others discover our blog, Without the Cube.
Leave a Reply